Table of Contents
Table of Contents

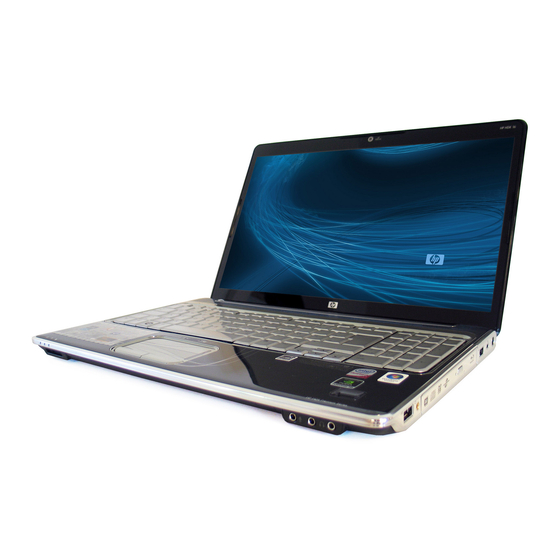
Related Manuals for HP Pavilion HDX X16-1140


Summary of Contents for HP Pavilion HDX X16-1140
- Page 1 Notebook Tour User Guide...
- Page 2 The information contained herein is subject to change without notice. The only warranties for HP products and services are set forth in the express warranty statements accompanying such products and services. Nothing herein should be construed as constituting an additional warranty.
- Page 3 Safety warning notice WARNING! To reduce the possibility of heat-related injuries or of overheating the computer, do not place the computer directly on your lap or obstruct the computer air vents. Use the computer only on a hard, flat surface. Do not allow another hard surface, such as an adjoining optional printer, or a soft surface, such as pillows or rugs or clothing, to block airflow.
- Page 4 Safety warning notice...
-
Page 5: Table Of Contents
Table of contents 1 Identifying hardware 2 Components Top components ... 2 TouchPad ... 2 Lights ... 3 Buttons, speakers, and fingerprint reader ... 4 Keys ... 6 Display ... 7 Front components ... 8 Rear component ... 9 Right-side components ... 10 Left-side components ... -
Page 7: Identifying Hardware
Identifying hardware To see a list of hardware installed in the computer, follow these steps: Select Start > Computer > System properties. In the left pane, click Device Manager. You can also add hardware or modify device configurations using Device Manager. NOTE: Windows®... -
Page 8: Components
Components Top components TouchPad Component TouchPad light TouchPad* Left TouchPad button* TouchPad on/off button TouchPad scroll zone Right TouchPad button* *This table describes factory settings. To view or change pointing device preferences, select Start > Control Panel > Hardware and Sound > Mouse. Chapter 2 Components Description ●... -
Page 9: Lights
Lights Component Caps lock light Power lights (2)* Volume mute light Volume down light Volume up light Treble light Bass light Treble or bass volume down light Treble or bass volume up light Description On: Caps lock is on. ● On: The computer is on. -
Page 10: Buttons, Speakers, And Fingerprint Reader
On: Num lock is on or the embedded numeric keypad is enabled. ● Blinking: The hard drive or optical drive (select models only) is being accessed. ● Amber: HP ProtectSmart Hard Drive Protection has temporarily parked the internal hard drive. ● On: A battery is charging. ●... - Page 11 Component Power button* Speakers (2) Media button Previous/rewind button Stop button Play/pause button Next/fast forward button Optical drive button Volume mute button (10) Volume scroll zone (11) Treble/bass button (12) Treble or bass volume scroll zone (13) Wireless button Description ●...
-
Page 12: Keys
Component (14) Fingerprint reader *This table describes factory settings. For information about changing factory settings, refer to the user guides located in Help and Support. Keys Component Windows logo key Windows applications key Integrated numeric keypad keys Function keys Chapter 2 Components Description NOTE: A wireless network must be set up in order to establish a... -
Page 13: Display
Display Component Internal display switch Internal digital dual array microphones (2) Integrated webcam light Integrated webcam Description Turns off the display if the display is closed while the computer is turned on. Record sound. On: The integrated webcam is in use. Records video and captures still photographs. -
Page 14: Front Components
Secure Digital (SD) Memory Card ● xD-Picture Card (XD) On: A digital card is being accessed. Receives a signal from the HP Remote Control (select models only). Connects an optional computer headset microphone, stereo array microphone, or monaural microphone. Produce sound when connected to optional powered stereo... -
Page 15: Rear Component
Rear component Component Vent Description Enables airflow to cool internal components. NOTE: The computer fan starts up automatically to cool internal components and prevent overheating. It is normal for the internal fan to cycle on and off during routine operation. Rear component... -
Page 16: Right-Side Components
Right-side components NOTE: Your computer may look slightly different from the illustration in this section. Component USB ports (2) TV antenna/cable jack (select models only) Optical drive Optical drive light Security cable slot Power connector Chapter 2 Components Description Connect optional USB devices. Connects a TV antenna or a digital cable device that receives standard or high-definition TV broadcasts. -
Page 17: Left-Side Components
Left-side components Component External monitor port Expansion port 3 RJ-45 (network) jack HDMI port eSATA/USB port USB port 1394 port ExpressCard slot Description Connects an external VGA monitor or projector. Connects the computer to an optional docking device or optional expansion product. -
Page 18: Bottom Components
Bottom components Component Subwoofer Battery bay Battery release latch Vents (7) Hard drive, WLAN module, and memory module compartment Mini Card compartment Chapter 2 Components Description Contains the subwoofer speaker. Holds the battery. Releases the battery from the battery bay. Enable airflow to cool internal components. -
Page 19: Wireless Antennae
Wireless antennae NOTE: For optimal transmission, keep the areas immediately around the antennae free from obstructions. To see wireless regulatory notices, refer to the section of the Regulatory, Safety and Environmental Notices that applies to your country or region. These notices are located in Help and Support. Wireless antennae... -
Page 20: Additional Hardware Components
Additional hardware components Component Power cord* AC adapter RF coaxial cable adapter Battery* TV antenna (select models only)* *Batteries, power cords, and antennae vary in appearance by country or region. Chapter 2 Components Description Connects an AC adapter to an AC outlet. Converts AC power to DC power. -
Page 21: Labels
Labels The labels affixed to the computer provide information you may need when you troubleshoot system problems or travel internationally with the computer. ● Service tag—Provides important information including: ◦ Product Name (1). This is the product name affixed to the front of your notebook. ◦... -
Page 22: Index
Index Symbols/Numerics 1394 port, identifying 11 AC adapter, identifying 14 antennae 13 applications key, Windows 6 audio-in (microphone) jack, identifying 8 audio-out (headphone) jacks, identifying 8 bass light, identifying 3 bass volume down light, identifying 3 bass volume scroll zone, identifying 5 bass volume up light, identifying 3... - Page 23 service tag 15 wireless certification 15 WLAN 15 latch battery release 12 lights bass 3 bass volume down 3 bass volume up 3 battery 4 caps lock 3 Digital Media Slot 8 drive 4 integrated webcam 7 mute 3 num lock 4 optical drive 10 power 3 TouchPad 2...