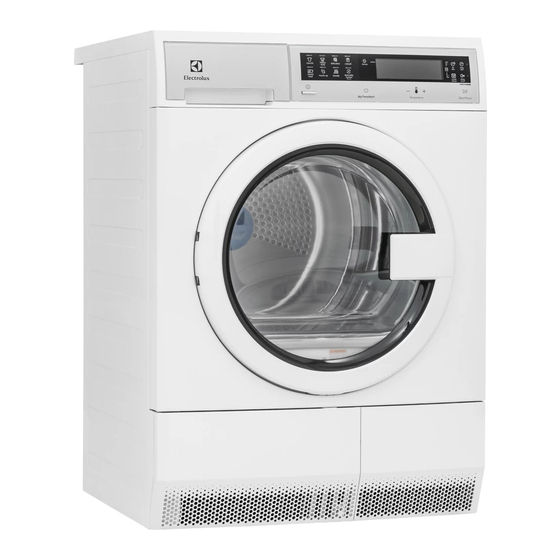
Summary of Contents for Electrolux EFDE210TIW
- Page 1 EN FRONT LOAD DRYER USE & CARE GUIDE FR SÉCHEUSE Á CHARGEMENT FRONTAL GUIDE D’UTILISATION ET D’ENTRETIEN ES SECADORA DE CARGA FRONTAL GUÍA DE USO Y CUIDADO 136936001 March 2017...
-
Page 2: Table Of Contents
Important Safety Instructions Product Record WARNING Please read all instructions before using this dryer. Record Your Model and Serial Numbers The model and serial numbers of your dryer are found on the serial plate located inside the door opening. Record and retain Recognize safety symbols, words and labels these numbers. - Page 3 Important Safety Instructions 208-240 v Electric Dryer 10-30R UL-approved service cord must be 14-30R installed on electric dryers (not provided 3-wire 4-wire with unit except those manufactured (fused 30 amp) (fused 30 amp) for sale in Canada). Avoid fire hazard or electrical shock. Do not use an adaptor plug or extension cord or remove grounding prong from electrical power cord.
- Page 4 Important Safety Instructions PROTECT CHILDREN • ALWAYS disconnect the dryer from the electrical supply before • Do not allow children to play on or in the dryer. Close supervi- attempting any service or cleaning. Failure to do so can result in sion of children is necessary when the dryer is used near electrical shock or injury.
-
Page 5: Features
Features LED Display Drum Light Control Lock Water Container Reversible Door Door Latch Lint Filter Moisture Sensor Door Strike Condenser Access Door Latch Condenser Access Door Adjustable Leveling Legs Drying Rack* *Not all models come with drying rack and stacking kit from the factory. They may be purchased as accessories. - Page 6 Operating Instructions Normal Operating Sounds You may or may not hear the following sounds from your new dryer: A. SUSPENSION ROLLERS The dryer drum is supported by a set of suspension rollers. At times there may be a thumping or rolling sound when the dryer starts. This may happen if the dryer has not been in use for a period of time, or after a heavy load has remained in the dryer drum for an extended period, creating a temporary flat spot on the edge...
- Page 7 Operating Instructions Operating Your Dryer Select the appropriate cycle and settings for each WARNING load. To reduce the risk of fire, electric shock or injury to persons, NOTE read the IMPORTANT SAFETY INSTRUCTIONS in this Use and Care Guide before operating your dryer. Over-drying can cause wrinkles, shrinkage, lint, harshness and a build up of static electricity.
- Page 8 Operating Instructions Power Button My Favorites Button Temperature Button Cycle Selection Cycle Options / Cycle Status Display Start/Pause Button This manual covers many models and not all cycles, options, or features listed are available on every model. Console shown above for reference only.
- Page 9 Operating Instructions Specialty Cycle Selection Cycle Settings Appropriate temperature, dryness level and options will be To scroll through the specialty cycles, continue to press the displayed for each cycle. The settings can be changed before specialty cycles icon. The selected cycle will be shown on the the cycle is started.
- Page 10 Operating Instructions Drying System Maintenance Procedures Lint Filter Plugged When the “Lint Filter Plugged” indicator comes on, follow these steps to clean the filter: Water Container Full (if direct drain kit not installed) 1. Remove the filter by pulling straight up. When the “Water Container Full”...
- Page 11 Operating Instructions Other Features chime cycle count down/ indicator delay start timer delay start control lock My Favorites status display maintenance indicator indicators end of cycle control lock indicator key combination My Favorites Drying Rack (on select models) After some time of initial usage, the dryer will automatically Use the drying rack for items which should not be tumble dried.
- Page 12 Operating Instructions Dryer Settings Chart These Temperatures, Dryness Level, and Options are available with the following cycles: specialty cycles temperature medium ...
-
Page 13: Care And Cleaning
Care and Cleaning WARNING To reduce risk of fire or serious injury to persons or property, comply with the basic warnings listed in the Important Safety Instructions and those listed below. • Before cleaning the dryer interior, unplug the electrical power cord to avoid electrical shock hazards. - Page 14 Care and Cleaning Cleaning Condenser 4. Grab the condenser handle and pull straight out. Clean Condenser When the “Clean Condenser” indicator comes on, follow these steps to remove and clean the condenser assembly: 1. Open the dryer door and locate the condenser access door latch release.
-
Page 15: Solutions To Common Problems
Solutions to Common Problems Common Drying Problems Many drying problems involve poor soil and stain removal, residues of lint and scum, and fabric damage. For satisfactory washing results, follow these suggestions provided by The Soap and Detergent Association. PROBLEM POSSIBLE CAUSES SOLUTIONS PREVENTIVE MEASURES Greasy, oily... - Page 16 Solutions to Common Problems Avoid Service Checklist Before calling for service, review this list. It may save both time and expense. The list includes common occurrences that are not the result of defective workmanship or materials in this dryer. OCCURRENCE POSSIBLE CAUSE SOLUTION Dryer does not...
-
Page 17: Major Appliance Warranty Information
• All parts — One year including labor. In addition, your appliance is covered by a one year, parts only, limited warranty. During the 2nd year from your original date of purchase, Electrolux will pay for parts needed for this appliance that have proven to be defective in materials or workmanship when your appliance is installed, used, and maintained in accordance with the provided instructions. - Page 18 electrolux.com/shop...


