Table of Contents
Quick Links
Site Supervisor Controller
Quick Setup Guide
The Site Supervisor is a system that combines energy management with the ability to monitor
various facility systems and provide alerts when there are issues that need attention. This system
provides HVAC control, Refrigeration System Monitoring and Control, as well as Lighting Control. In
addition, the Site Supervisor can monitor and report energy consumption and take action to reduce
the energy demand during peak periods. This can have a direct impact on utility bills by reducing
total energy costs. Site Supervisor ensures that the HVAC and lighting systems are on and off at the
appropriate times. This ability to monitor store conditions can potentially minimize energy
consumption.
For a copy of the full Site Supervisor Guide (P/N 026-1800), go to
qrcode006
to download or contact Emerson Retail Solutions Customer Service at 770-425-2724.
Crossover Cable Instructions
Your new Site Supervisor is preset with a default IP Network Subnet Mask and Network Gateway. To
connect to your Local Area Network, it will be necessary to change these default settings. Follow
these steps to connect your laptop to the Site Supervisor and configure your network connection:
Connect your laptop to the Site Supervisor's Ethernet port ETH0 with a CAT5 crossover cable.
1.
Under Control Panel - Network and Sharing Center select Change Adapter Settings.
2.
Select the Local Area Connection port being used.
3.
Select Properties.
http://www.emersonclimate.com/
Figure 2 - Change Adapter Settings
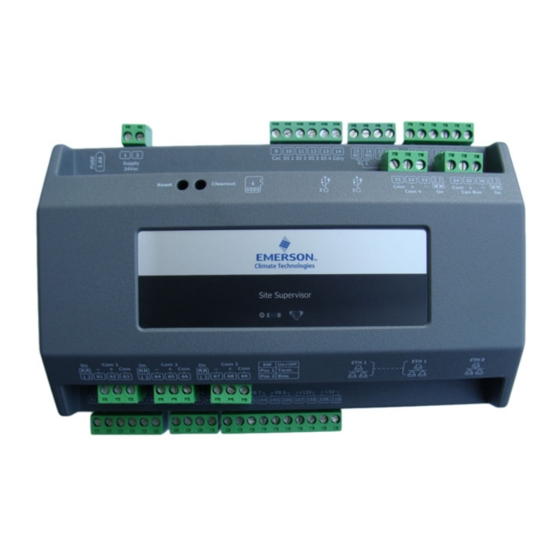
Figure 1 - Site Supervisor 2.0
Table of Contents

Related Manuals for Emerson Site Supervisor


Summary of Contents for Emerson Site Supervisor
- Page 1 This can have a direct impact on utility bills by reducing total energy costs. Site Supervisor ensures that the HVAC and lighting systems are on and off at the appropriate times. This ability to monitor store conditions can potentially minimize energy consumption.
- Page 2 Local Area Network or direct connection and click OK. Note: Depending on the PC used, the operating system might need to be restarted for the IP address to take place. For an “out of the box” Site Supervisor, its IP address is 192.168.0.250, and use 192.168.0.251/255.255.255.0 for direct connections with a PC.
-
Page 3: Setup Wizard
Connect the TCP/IP cable to the Site Supervisor and to the laptop. The connection status light should be illuminated solid and the communications light should be flashing. Open an Internet browser and in the address bar, enter http:// followed by the IP address assigned to the Site Supervisor. Then press Enter. - Page 4 Localization Screen Figure 7 - Localization Screen Set the Site Supervisor’s localization data such as language, date and time formats, and engineering units from the Localization screen. Language: The default for the language selection is American English (United States). The system stores a setting for the preferred system lan- guage (internal language code).
- Page 5 System Values Screen From the System Values screen, name the unit by entering it in the Site Name field. The Confirmation window will slide open. Click OK. Then click the right arrow > to proceed to the Network Settings Screen. Figure 8 - System Values Screen Network Settings Screen Configure the settings on the Internet TCP/IP screen such as host name, text, and email settings.
-
Page 6: Basic Navigation
Internet (TCP/IP) Shows all applications in the controller that are cate- networks connected to the Site Supervisor. Click the arrow > to save and gorized under Refrigeration. finish the Setup Wizard and go to the Home screen. -
Page 7: Housing Dimensions And Mounting
Figure 12 - Site Supervisor Dimensions The Site Supervisor is DIN Rail mounting compatible. Snap the orange tabs on the back of the unit to the down position to fasten. If not using the DIN Rail mounting option, fasten to the mounting surface using the openings in the mounting tabs. -
Page 8: Wiring Diagram
Wiring Diagram Figure 13 - Site Supervisor Wiring Diagram... - Page 9 The contents of this publication are presented for informational purposes only and they are not to be construed as warranties or guarantees, express or implied, regarding the products or services described herein or their use or applicability. Emerson Climate Technologies Retail Solutions, Inc. and/or its affiliates (collectively “Emerson”), reserves the right to modify the designs or specifications of such products at any time without notice. Emerson does not assume responsibility for the selection, use or maintenance of any product.