Table of Contents
Quick Links
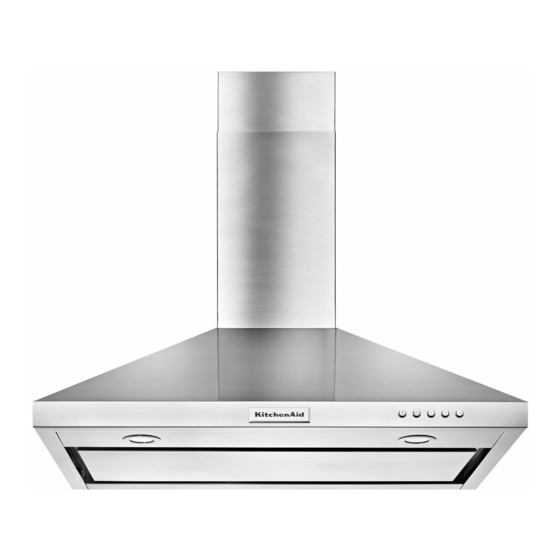
30" (76.2 CM) AND 36" (91.4 CM) WALL-MOUNT
CANOPY RANGE HOOD
Installation Instructions and Use & Care Guide
For questions about features, operation/performance, parts, accessories or service, call: 1-800-422-1230
or visit our website at www.kitchenaid.com.
In Canada, for assistance, installation and service, call: 1-800-807-6777
or visit our website at www.kitchenaid.ca.
HOTTE DE CUISINIÈRE CONFIGURÉE
EN ÎLOT À MONTAGE MURAL
30" (76,2 CM) ET 36" (91,4 CM)
Instructions d'installation et Guide d'utilisation et d'entretien
Au Canada, pour assistance, installation ou service composez le 1-800-807-6777
ou visitez notre site web à www.kitchenaid.ca.
Table of Contents/Table des matières.............................................................................2
IMPORTANT: READ AND SAVE THESE INSTRUCTIONS.
FOR RESIDENTIAL USE ONLY.
IMPORTANT : LIRE ET CONSERVER CES INSTRUCTIONS.
POUR UTILISATION RÉSIDENTIELLE UNIQUEMENT.
LI3ZBD/W10674121E
Table of Contents

Related Manuals for KitchenAid KVWB400DSS4


Summary of Contents for KitchenAid KVWB400DSS4
- Page 1 30" (76,2 CM) ET 36" (91,4 CM) Instructions d’installation et Guide d’utilisation et d’entretien Au Canada, pour assistance, installation ou service composez le 1-800-807-6777 ou visitez notre site web à www.kitchenaid.ca. Table of Contents/Table des matières................2 IMPORTANT: READ AND SAVE THESE INSTRUCTIONS.
-
Page 2: Table Of Contents
TABLE OF CONTENTS TABLE DES MATIÈRES RANGE HOOD SAFETY ..............2 SÉCURITÉ DE LA HOTTE DE CUISINIÈRE .......15 INSTALLATION REQUIREMENTS ..........4 EXIGENCES D'INSTALLATION ...........17 Tools and Parts ................4 Outils et pièces ................17 Location Requirements ..............4 Exigences d’emplacement ............18 Venting Requirements ..............5 Exigences concernant l’évacuation ...........19 Electrical Requirements ...............6 Spécifications électriques ............20... - Page 3 IMPORTANT SAFETY INSTRUCTIONS READ AND SAVE THESE INSTRUCTIONS...
-
Page 4: Installation Requirements
INSTALLATION REQUIREMENTS Parts supplied Tools and Parts Remove parts from packages. Check that all parts are included. Gather the required tools and parts before starting Hood canopy assembly with ventilator and light bulbs ■ installation. Read and follow the instructions provided installed with any tools listed here. -
Page 5: Venting Requirements
The chimneys can be adjusted for different ceiling heights. See Product Dimensions the following chart. 7¹⁄₄" 8¹⁄₈" Vented Installations (18.3 cm) (20.7 cm) Min. ceiling height Max. ceiling height Electric cooking 7' 5" (2.26 m) 9' 2" (2.79 m) surface Gas cooking 7' 8"... -
Page 6: Electrical Requirements
Example Vent System Venting Methods Wall cap 90 elbow 6 ft (1.8 m) This canopy hood is factory set for venting through the roof or wall. A 6" (15.2 cm) round vent system is needed for installation (not included). The hood exhaust opening is 6" (15.2 cm) round. 2 ft NOTE: Flexible vent is not recommended. -
Page 7: Installation Instructions
INSTALLATION INSTRUCTIONS Prepare Location It is recommended that the vent system be installed before 6. For wood, install (2) 5 x 45 mm mounting screws. Leave a ■ hood is installed. " (6.4 mm) gap between the wall and the back of the screw head to slide range hood into place. -
Page 8: Install Range Hood
For vented installations only: Install Range Hood 1. Fit vent system over transition piece. 1. Using 2 or more people, hang range hood on 2 mounting 2. Seal connection with clamps. screws through the mounting slots on back of hood. 3. -
Page 9: Make Electrical Connection
8. Tighten strain relief screw. Make Electrical Connection 9. Install terminal box cover. 10. Reconnect power. WARNING Optional Power Cord Kit Installations For optional power cord kit installations, follow the instructions supplied with the power cord kit. See the “Assistance or Service”... -
Page 10: Range Hood Use
RANGE HOOD USE The range hood is designed to remove smoke, cooking vapors, and odors from the cooktop area. For best results, start the hood Range Hood Controls before cooking and allow it to operate several minutes after the cooking is complete to clear all smoke and odors from the kitchen. -
Page 11: Range Hood Care
RANGE HOOD CARE Cleaning IMPORTANT: Clean the hood and grease filters frequently Non-Vented (Recirculating) Installation Filters according to the following instructions. Replace grease filters before operating hood. The charcoal filter is not washable. It should last up to 6 months with normal use. -
Page 12: Wiring Diagram
WIRING DIAGRAM BR (LINE) BU (NEUTRAL) YL (LAMP) MECHANICAL PUSH BUTTONS WH (SPEED 1) WITH BACKLIGHT RD (SPEED 2) BK (SPEED 3) PUSH BUTTON SWITCH OPERATION FUNCTION POSITION NO CONNECTION LAMPS BROWN / YELLOW (1-3) LOW SPEED BROWN / WHITE (1-4) MED SPEED BROWN / RED (1-5) HIGH SPEED... -
Page 13: Assistance Or Service
Order Part Number W10272068 impaired, limited vision, etc.). Recirculation Kit For Further Assistance: If you need further assistance, you can write to KitchenAid with (for non-vented installations only) any questions or concerns at: Order Part Number W10272063 KitchenAid Brand Home Appliances... -
Page 14: Warranty
DISCLAIMER OF REPRESENTATIONS OUTSIDE OF WARRANTY KitchenAid makes no representations about the quality, durability, or need for service or repair of this major appliance other than the representations contained in this warranty. If you want a longer or more comprehensive warranty than the limited warranty that comes with this major appliance, you should ask KitchenAid or your retailer about buying an extended warranty. -
Page 15: Sécurité De La Hotte De Cuisinière
SÉCURITÉ DE LA HOTTE DE CUISINIÈRE Votre sécurité et celle des autres est très importante. Nous donnons de nombreux messages de sécurité importants dans ce manuel et sur votre appareil ménager. Assurez-vous de toujours lire tous les messages de sécurité et de vous y conformer. Voici le symbole d’alerte de sécurité. - Page 16 /™ ©2016 KitchenAid. Used under license in Canada. All rights reserved. ® W10674121E 11/16 Utilisé sous licence au Canada. Tous droits réservés.