Epson Stylus Photo 1400 Reference Manual
Epson stylus photo 1400: reference guide
Hide thumbs
Also See for Stylus Photo 1400:
- User manual (88 pages) ,
- Color manual (21 pages) ,
- Start here manual (9 pages)
Table of Contents
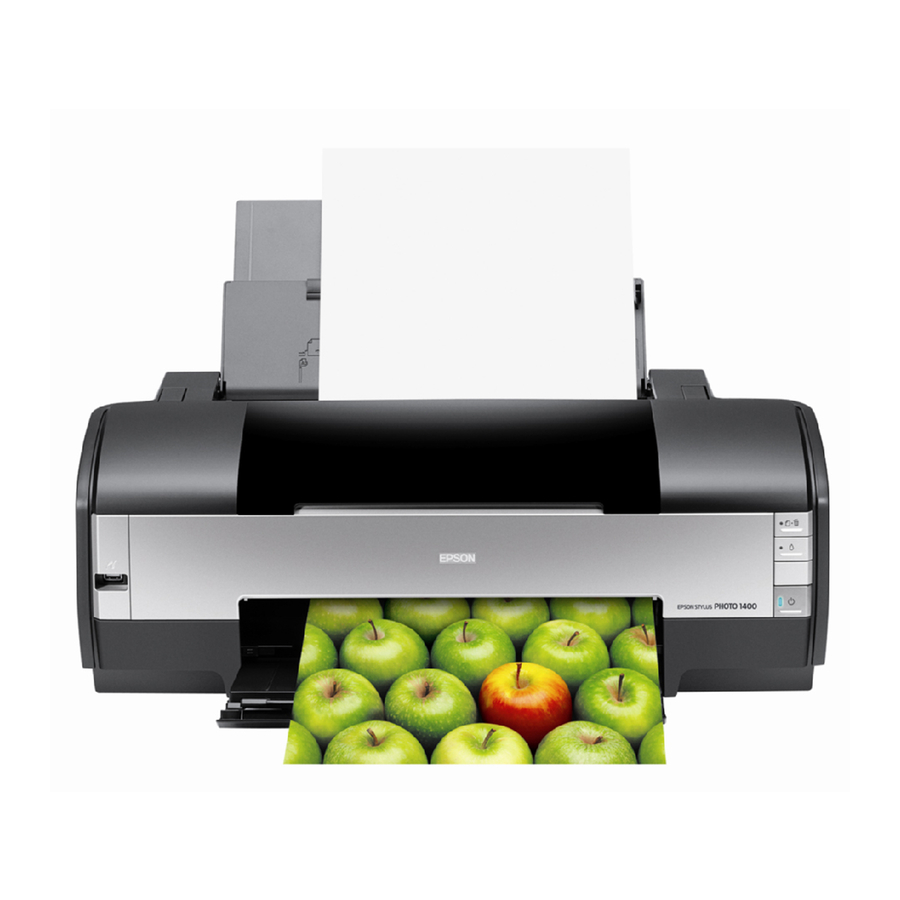
Printer Parts
Paper separation
pads
Paper support
and extensions
Left
edge guide
PictBridge
port for a
compatible
digital camera or
camera phone
Front cover
Sheet feeder
Right edge guide
Printer cover
Output
tray and
extension
Front flap
Hi-speed
USB 2.0 port for
connecting a
computer
1/07
CD/DVD tray guide
Front flap
)
Accessories
You can purchase genuine Epson ink and paper from an
Epson authorized reseller. To find the nearest reseller, call
800-GO-EPSON (800-463-7766). Or you can purchase
online at www.epsonstore.com (U.S. sales) or www.epson.ca
(Canadian sales).
Ink Cartridges
Use these Epson ink cartridges within six months of installing
them and before the expiration date on the package.
Ink cartridge
Black
Cyan
Magenta
Yellow
Light Cyan
Light Magenta
Caution: To ensure the best results, use genuine Epson ink
cartridges and do not refill them. Other products may cause
damage to your printer not covered by Epson's warranty.
Epson Stylus Photo 1400
Ink cartridge holder
paper button
ink button
P
power button
Part number
79 (T079120)
79 (T079220)
79 (T079320)
79 (T079420)
79 (T079520)
79 (T079620)
Epson Stylus Photo 1400
- 1
Table of Contents

Related Manuals for Epson Stylus Photo 1400


Summary of Contents for Epson Stylus Photo 1400
-
Page 1: Epson Stylus Photo
Front flap tray and extension Accessories Front flap You can purchase genuine Epson ink and paper from an Epson authorized reseller. To find the nearest reseller, call 800-GO-EPSON (800-463-7766). Or you can purchase online at www.epsonstore.com (U.S. sales) or www.epson.ca Hi-speed USB 2.0 port for... -
Page 2: Epson Media
Epson Stylus Photo 1400 Epson Media Paper name Size Epson Ultra Premium Photo Borderless 4 × 6 inches Paper Glossy Letter (8.5 × 11 inches) Epson Ultra Premium Glossy Photo Paper Epson Premium Photo Paper Borderless 4 × 6 inches... -
Page 3: Printer Specifications
Paper Since the quality of any particular brand or type of paper may be changed by the manufacturer at any time, Epson cannot guarantee the quality of any non-Epson brand or type of paper. Always test a sample of paper stock before purchasing large quantities or printing large jobs. -
Page 4: Standards And Approvals
* Ink thaws and is usable after approximately 3 hours at 77 °F (25 °C). Caution: To ensure good results, use genuine Epson ink cartridges and do not refill them. Other products may cause damage to your printer not covered by Epson’s warranty. -
Page 5: Usb Interfaces
Envelope additional instructions on loading and using the paper. Caution: If your Epson special paper includes a cleaning sheet, don’t use it with this printer; the sheet may jam inside your printer. See the User’s Guide or on-screen Reference Guide for more information. -
Page 6: Printing On Cds And Dvds
Your printer includes a special tray that lets you print customized text, graphics, and photos directly on any ink jet- printable CD or DVD. The Epson Print CD software makes it easy to import your own photos, add text, and modify your designs with a variety of special effects. -
Page 7: Direct Printing From A Digital Camera Or Camera Phone
Designing CDs and DVDs You can use the Epson Print CD program to create and print a design with images, graphics, and text. See your User’s Guide or on-screen Reference Guide for instructions. -
Page 8: Checking The Printer Lights
Epson Stylus Photo 1400 Checking the Printer Lights The lights on the front of the printer provide status information and identify printer errors, as described below. Lights Explanation Green power light The printer is receiving a print job, replacing flashes... -
Page 9: Cleaning The Print Head
The printer cleans the print head and the green P power light flashes. Cleaning takes about two minutes. Caution: Never turn off the printer while head cleaning is in progress. You may damage it. 1/07 Epson Stylus Photo 1400 printer icon on your taskbar Head Cleaning folder and select Applications . -
Page 10: Aligning The Print Head
Before you align the print head, make sure the CD/DVD tray is not inserted in the printer. 1. Turn on the printer. 2. Load several sheets of paper, preferably Epson Presentation Paper Matte. 3. Make sure the ) paper and H ink lights are not flashing or 4. -
Page 11: Replacing An Ink Cartridge
, and select EPSON StatusMonitor You see a window like this: Purchasing Ink Cartridges Use these Epson ink cartridges within six months of installing them and before the expiration date on the package. Ink cartridge Black Cyan... -
Page 12: Removing And Installing Ink Cartridges
Epson Stylus Photo 1400 Removing and Installing Ink Cartridges Be sure you have a new ink cartridge before you begin. Once you start replacing a cartridge, you must complete all the steps in one session. Caution: Leave the expended cartridge installed until you have obtained a replacement, or the ink remaining in the print head nozzles may dry out. -
Page 13: Cleaning The Printer
13. Close the printer cover. 14. Press the H ink button. The printer begins charging ink. Epson Stylus Photo 1400 The green P power light flashes and the printer makes noise. Charging takes about two minutes. When it’s finished, the green P power light stops flashing and stays on, and the red H ink light goes out. -
Page 14: Transporting The Printer
Related Documentation CPD-22648 Epson Stylus Photo 1400 Start Here CPD-22650 Epson Stylus Photo 1400 User’s Guide CPD-22649 Epson Stylus Photo 1400 CD-ROM...