Epson Stylus CX6400 Start Here Manual
Epson stylus cx6400: quick reference
Hide thumbs
Also See for Stylus CX6400:
- Bedienungsanleitung (86 pages) ,
- Basic operation manual (81 pages) ,
- Quick reference (52 pages)
Table of Contents
Quick Links
See also:
Basic Operation Manual, Reference Manual
Start Here
EPSON Stylus
1
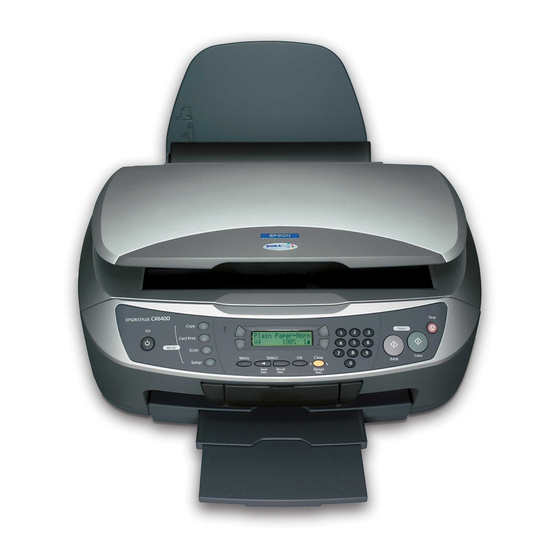
Unpack
1
Make sure you have all the parts shown here. If any parts are missing,
contact EPSON
2
Remove all blue packing tape from the printer.
3
Lift up the scanner section. If it doesn't open, make sure you have
removed all the tape.
4
Peel off the tape from the ink cartridge holder.
5
Close the scanner section.
®
as described on the back of this sheet.
EPSON Stylus CX6400
Paper support
CX6400
®
Software
CD-ROM
Ink cartridges
Quick Reference
Feeder guard
Table of Contents

Related Manuals for Epson Stylus CX6400

Summary of Contents for Epson Stylus CX6400
- Page 1 Lift up the scanner section. If it doesn’t open, make sure you have removed all the tape. Peel off the tape from the ink cartridge holder. Close the scanner section. ® ® as described on the back of this sheet. EPSON Stylus CX6400 Ink cartridges CX6400 Software Quick Reference CD-ROM Feeder guard...
-
Page 2: Plug In And Turn On
Attach the Parts Insert the paper support into the slots behind the printer, as shown. Lower the feeder guard into the slots behind the scanner lid. (Insert the hinges on the feeder guard into the corresponding slots on the printer.) Plug In and Turn On Plug the Stylus CX into a grounded electrical outlet. -
Page 3: Install Ink Cartridges
Install Ink Cartridges Wait until you see “Initial Charge” displayed on the control panel. Lift up the scanner section. Shake the package of ink cartridges four or five times. Then remove the cartridges from the package. Caution: You must install all cartridges and leave them installed for all types of printing. -
Page 4: Load Paper
Close the ink cartridge cover, then close the scanner section. The Stylus CX begins charging the ink delivery system. Charging takes about 2 minutes. The green light flashes and the Stylus CX makes various sounds. Don’t turn it off while the green light is flashing or you’ll waste ink. -
Page 5: Connect To Your Computer
After you connect your Stylus CX, Windows displays several messages. If you don’t see the messages, make sure your Stylus CX is turned on. Click Next and continue following the instructions on the screen to install the rest of your software, including EPSON Smart Panel, FineReader ®... - Page 6 When you see the Product Registration screen, register your Stylus CX as instructed. At the last screen, click Quit or close your browser. Make sure your Stylus CX6400 is turned on, then plug the USB cable into any available USB port on your Macintosh.
-
Page 7: Any Problems
Stylus CX off and then back on to clear the error. If your problem is listed here, try these suggestions. For more information, see your Quick Reference booklet, software Help, or on-screen EPSON Reference Guide. The Found New Hardware Wizard appears on your screen. -
Page 8: Any Questions
FineReader Sprint Need Paper and Ink? For the best prints and copies, use genuine EPSON ink and paper. You can buy them from your local store or from the EPSON Store or www.epsonstore.com (U.S. sales only). In Canada, please call (800) 463-7766 for dealer referral.