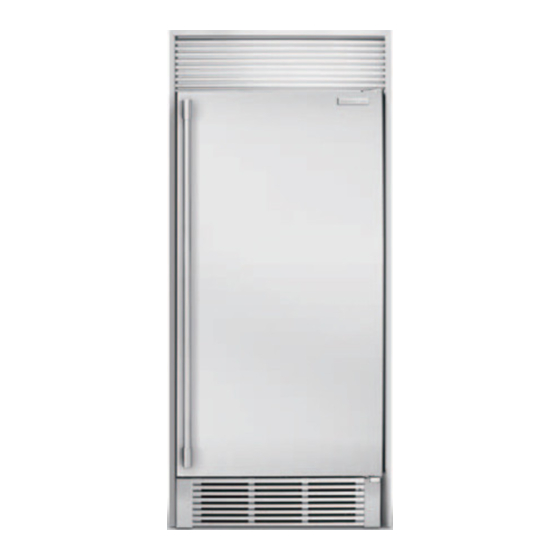
Summary of Contents for Electrolux ICON Professional E32AR75JP
-
Page 1: Guia De Uso Y Cuidado
Use & Care Guide Refrigerator Guia de Uso y Cuidado Refrigerador Guide d’utilisation et d’entretien Réfrigérateur 297299400 August 2010... -
Page 2: Table Of Contents
Finding Information Please Read And Save This Guide Thank you for choosing Electrolux, our new premium brand in home appliances. This Use & Care Guide is part of our commitment to customer satisfaction and product quality throughout the service life of your new appliance. -
Page 3: Safety
Read product labels for warnings regarding fl ammability and other hazards. • Do not operate the refrigerator in the presence of explosive fumes. • Avoid contact with any moving parts of the automatic ice maker. -
Page 4: Electrical Information
Such damage is not covered under your warranty. • Do not plug the unit into an outlet controlled by a wall switch or pull cord to prevent the refrigerator from being turned off accidentally. To disconnect power to the unit, unplug the unit or switch the breaker that supplies power to the unit to the off position. -
Page 5: Feature Overview
Understanding Features and Terms Your Electrolux refrigerator is designed for optimal convenience and storage fl exibility. The illustration below is provided to assist you with familiarizing yourself with product features and terminology. Features may vary according to model. Custom Set™... -
Page 6: Installation
• The refrigerator must be installed on a fl oor that is level and strong enough to support a fully loaded refrigerator. DO NOT install the refrigerator where the temperature will drop below 40°F (13°C) or rise... -
Page 7: Installing Door Handles
All set screws should be tightened so the screw is below the surface of the handle. The handles should be drawn tight to freezer and refrigerator doors with no gaps. Opening the opposite door while tightening the Allen screw makes installation easier. - Page 8 (4) leg levelers installed at each corner. These leg levelers will be used to level the refrigerator and to adjust the height. Use a carpenter’s level to level the refrigerator from front to back and side to side.
-
Page 9: Door Removal And Temperature Control
To turn the refrigerator OFF, press the UP (+) key until the warmest temperature setting of 46ºF (8ºC) shows in the display. Then press the UP (+) key three (3) times within three (3) seconds to turn the refrigerator OFF. -
Page 10: Electronic Control
fi lter needs to be replaced. The control will signal for air fi lter replacement after 3600 hours of refrigerator operation. After replacing the air fi lter, reset the air fi lter timer by pressing the AIR FILTER key for 3 seconds. -
Page 11: Alarms
The display will alternate between “E7” and 33°F (1°C) at ½ second intervals. The control will then enter a mode that runs the refrigerator in a manner that maintains the factory set cabinet temperature until the condition is resolved. -
Page 12: Electronic Control Features
Electronic Control Features Sabbath Mode The Sabbath Mode is a feature that disables portions of the refrigerator and its controls in accordance with the observance of the weekly Sabbath and religious holidays within the Orthodox Jewish community. To initiate or cancel Sabbath Mode, press the CONTROL LOCK and TEMP MODE keys at the same time and hold for three (3) seconds. -
Page 13: Air Filter And Theater Lighting
fi ltering of refrigerator odors. The replacement air fi lter can be purchased on the Electrolux ICON website (http://www.electroluxicon.com) or call toll free in the U.S. and Canada: 1-877-4ELECTROLUX (1-877-435-3287). Your electronic control is equipped with a Change Filter Indicator to remind you to change your fi... -
Page 14: Storage Components
2. With both hands, lift up on the front of the drawer until it releases from the side supports. 3. Carefully remove the drawer from the refrigerator. Leafy vegetables keep best when stored with the humidity control set on HIGH HUMIDITY, or in a drawer without a humidity control. - Page 15 Adjustable Two Liter Door Bins This model is equipped with adjustable door bins that can be moved to suit individual needs. To Move Door Bins: • Lift the bin straight up. • Remove the bin. • Place the bin in desired position. •...
-
Page 16: Storing Food & Saving Energy
• Leave the refrigerator operating during vacations of less than three weeks. Long Vacations: If the refrigerator will not be used for several months: • Remove all food and unplug the power cord. • Clean and dry the interior thoroughly. -
Page 17: Care And Cleaning Chart
• Turning the freezer temperature control to “OFF” (See Page 9) turns off the compressor, but does not disconnect electrical power to the LED lights or other electrical components. Unplug the unit or switch the breaker that supplies power to the unit to the off position. •... -
Page 18: Warranty Information
Warranty Information 1-800-265-8352 Electrolux Canada Corp. 5855 Terry Fox Way Mississauga, Ontario, Canada L5V 3E4... -
Page 19: Solutions To Common Problems
Solutions To Common Problems Troubleshooting Guide Before calling for service, review this list. It may save you time and expense. This list includes common occurrences that are not the result of defective workmanship or materials in this refrigerator. Problem Refrigerator Operation... -
Page 20: Installation Checklist
Cause * This is normal. is circulating throughout the system. * Level the refrigerator. Refer to “LEVELING” in the “FIRST the fl oor when it is moved slightly. * Ensure fl oor can adequately support refrigerator. Level the * Re-level refrigerator or move refrigerator slightly. Refer to * This is normal.


