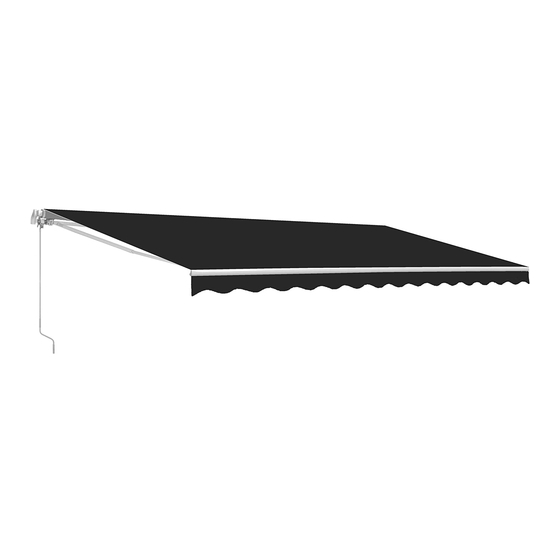
Aleko Victoria Series Installation Manual
Sizes 6.5x5 8x6.5 10x8
Hide thumbs
Also See for Victoria Series:
- Installation manual (20 pages) ,
- Instructions for installation and operation manual (12 pages) ,
- Assembly manual (14 pages)

Related Manuals for Aleko Victoria Series


Summary of Contents for Aleko Victoria Series
-
Page 2: Table Of Contents
Step 3: Preparing For Mounting ..............11 Step 4: Mounting the Wall Brackets ............11 Step 5: Mounting the Awning ............... 12 Optional Installation ....................12 Common Mistakes ..................... 13 Repair Manual ......................13 Replacement Parts and Accessories................. 14 ALEKO®... -
Page 3: Introduction
INTRODUCTION Thank you for purchasing ALEKO's Retractable Awning! We hope you will find joy in our product for many years to come. To ensure your personal safety during installation and to get the most out of your investment, please read this entire manual before beginning the installation process. -
Page 7: Assembly
� ASSEMBLY STEP 1: Preparing Your Work Space 1. Bef o re you begin, it is best to lay out all necessary tools to make setup smoother. Consult the required tools section for the list of necessary tools. WARNING DO NOT remove the safety wrap that holds the awning arms down. Serious injury can result from removing the wrap too soon. -
Page 8: Step 3: Connecting Front Bars
STEP 3: Connecting Front Bars 1. Gather the two long, wedge-shaped front bars (C-1 C-2) and lay them in a line. 2. Also gather the one short, wedge-shaped connection piece (C-3) and lay it between the two front bars, as seen in the diagram below. -
Page 9: Step 5 : Fabric Assembly
(B-3) (B-2). 3. Insert the connector piece into the interior end of the front bar If insertion is difficult, use a mallet to tap (B-B-1 it into place. Once inserted, screw it into place (B-3) (B-2) 4. At this time, the rectangle connector piece will be connected to one of the two torsion bars and secured with screws. -
Page 10: Step 6: Front Bar & Arm Assembly
STEP 6: Front Bar & Arm Assembly WARNING Be sure that the saf et y sle eves holding th e two front bar arms are s ecure d to the torsion bar. Failure to check this could result in injury. •... -
Page 11: Installation
If you find that the fabric wraps unevenly or that the two arms won't open together at the same time, look at the stability of the two arms. Solution: adjust the arm bar link' s position on the front bar outwards, as necessary. 3. -
Page 13: Step 3: Preparing For Mounting
IMPORTANT: All bolt holes must be aligned vertically and horizontally to ensure • • that the awning hangs straight. Double check alignment before drilling if you are not certain. IMPORTANT: The diameter and depth of your mounting holes must be the same •... -
Page 14: Step 5: Mounting The Awning
STEP 5: Mounting the Awning 1. Now that the wall brackets are secure and in place, it is time to install the awning onto the brackets. 2. At least two ladders or sturdy chairs are required to install the awning. 3. -
Page 15: Common Mistakes
Common mistakes WARNING: When the front bar Correct operation Wrong operation touches the roller as shown in the figure, don't try to make them closer, otherwise the product may be damaged. � REPAIR MANUAL CASE OF MALFUNCTION REASON REPAIR METHOD Check the plug to see whether There is no power supply.