Quick Links
PROINDMV Indoor Motion Viewer
Installation and Setup Guide
General Information
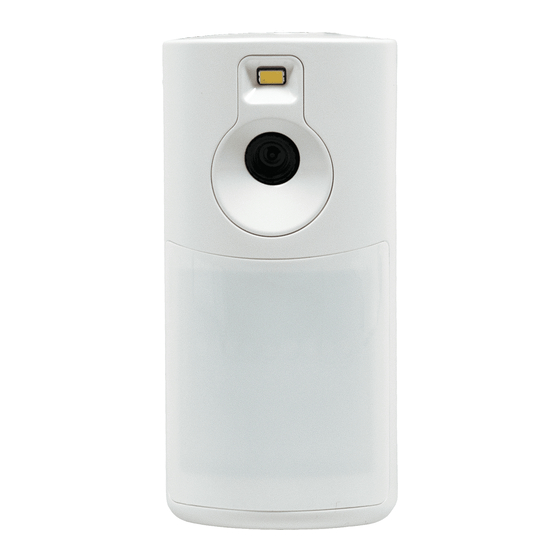
The PROINDMV is a battery powered, wireless indoor motion detector with a built-in video camera designed for
use with Honeywell Home Security Systems. The detector is powered by 3 CR123A Lithium batteries that
provide up to 4 years of battery life.
NOTE: Installation shall be done in accordance with the National Electrical Code, NFPA 70.
Features
• No wiring or remote power required. Fully portable battery powered camera allows for flexibility in selecting
locations
• Provides video stream and live video viewing functionality
• Spread Spectrum, Interactive, AES Encrypted Wireless technology provides optimum signal integrity and security
• CMOS camera sensor with a wide angle 90° lens
• Night vision with one white LED
• Fresnel lens motion detection: 39.37ft (12m) 90° detection pattern
• Camera sends color video
Installation Guidelines
Programming and RF testing should be done while the device is in its intended mounting location to ensure good communication
between the control panel and the device.
Mounting Considerations
• Use proper tools and hardware.
• Mount indoors in a temperature-controlled
environment.
• Mount camera 7.5ft (2.3m) above the floor.
• Do not aim detector at windows, especially
those that let in direct sunlight, or at heat
sources such as fireplaces, radiators and
heating vents.
• The detector should be installed opposed
to an access mount or asset you need to
protect.
• Do not aim detector at moving objects
such as fans.
• Do not paint or cover the detection or
camera lens.
Mounting (Open/Close) the PROINDMV
1. Separate the rear case/wall mount from the PROINDMV by pressing the latch on the bottom of the case and rotating out.
2. Secure the rear case/wall mount in the desired location with the two provided screws (See Mounting Options section below).
NOTE: MUST be mounted on a stud, solid wall, or with a robust wall anchor.
3. Slide the PROINDMV onto the rear case/wall mount bracket.

Related Manuals for Honeywell PROINDMV


Summary of Contents for Honeywell PROINDMV
- Page 1 Mounting (Open/Close) the PROINDMV 1. Separate the rear case/wall mount from the PROINDMV by pressing the latch on the bottom of the case and rotating out. 2. Secure the rear case/wall mount in the desired location with the two provided screws (See Mounting Options section below).
- Page 2 Sensor Walk Test (see the controller’s instructions) to verify adequate signal strength and adjust the device location and orientation as necessary. The PROINDMV can be mounted on the wall or in corners: [A] = Wall Mounting Holes • [B] = Corner Mounting Holes •...
- Page 3 After power up and enrollment, activate the Walk Test Mode with the controller. Walk Test mode is entered/exited through “Tools” menu of the control panel. Select the Test mode to make the PROINDMV enter Walk Test. NOTE: The system must be disarmed. The system can only be armed after exiting the Walk Test mode.
- Page 4 Any attempt to reverse-engineer this device by decoding proprietary protocols, de-compiling firmware, or any similar actions is strictly prohibited. This product manufactured by Resideo and its affiliates. The Honeywell Home Trademark is used under license from Honeywell International Inc. Ê800-25313A*Š...