Quick Links
CAUTIONS:
1.
Power source must meet voltage, phase, hertz and amperage requirements of
electric motor, as stated on label.
least 12 gauge 3 wire with maximum of 25 foot length.
2.
Check ALL fluid levels prior to operating the unit.
3.
Protect the pump from freezing, FLUSH with anti-freeze.
4.
DO NOT run dry or pump chlorine thru the unit.
5.
Supplying the unit with water, inlet pressure should not exceed 90 PSI.
CONNECTING THE PUMP:
1.
Check oil level of pump and engine (if gas unit), use 10W30 ND oil.
2.
Connect inlet to fire hydrant.
3.
Connect fire hose to be tested to suitable adapters on manifold outlets.
should have nozzles on the end to bleed the air from the lines at full flow.
4.
Connect garden hose to back bleed & direct to a drain away for dry test area.
5.
ASSURE MOTOR IS "OFF".
Extension cord: when needed, a 12 gauge 3 wire, maximum 25 ft. length, plugged
into a 20 amp breaker is required.
OPERATING THE PUMP:
1.
Close all ballvalves, slightly crack open the 1/2" bleeder ballvalve.
2.
Open inlet ballvalve.
to be filled through manifold.
3.
To ensure air is safely bled from hoses, bleed each hose, one line at a time
with hydrant volume and pressure, utilizing a nozzle at the end of each hose.
4.
When each line is filled, free of air, with nozzle closed, close the ballvalve
at the manifold outlet to seal the line. Bleed ALL outlets whether or not in use
for testing.
5.
With back bleed open, turn on the pump.
side of the pump - out to the drain area.
6.
Close the 1&1/2" ballvalve at the inlet of manifold/unit, directing water flow
from the hydrant to pressure side of pump. No pressure will build until this
ballvalve is closed.
7.
Slowly close the 1/2" back bleed ballvalve, check the gauge to verify pressure
setting of relief valve.
8.
The pressure regulator has been preset at the factory. To change this setting
you must make this adjustment while the water is flowing freely, and under NO
pressure. To adjust the pressure, first loosen the locknut. Turn the T-
handle/Knob clockwise to increase and counterclockwise to decrease the pressure.
Place a ballvalve or similar open and close valve at the end of the outlet hose,
open and close this valve multiple times as needed, to check pressure setting
and re-adjust as necessary. Upon reaching desired pressure setting, tighten
locknut and prepare to begin test.
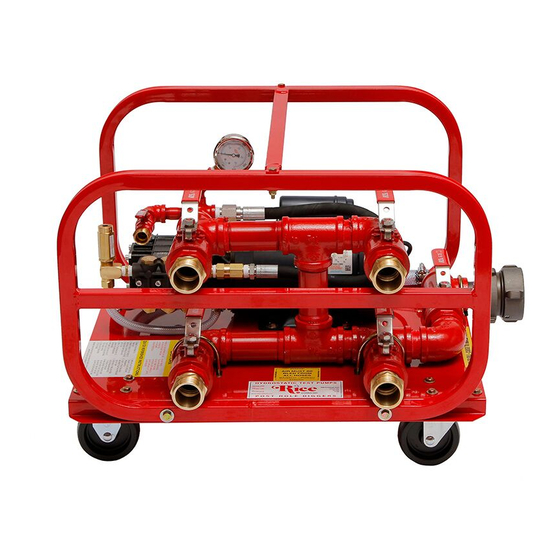
MANUFACTURER'S OPERATING INSTRUCTIONS
FIRE HOSE TESTER SERIES
FOR WARRANTY REGISTRATION CALL: 1-800-245-4777
Connect the power cord to a standard wall outlet.
Open outlet ballvalves one at a time and allow each hose
All air must be removed.
RICE HYDRO, INC.
If an extension cord is used, requires at
Do not turn pump on at this time.
This will bleed air out of the pressure
Hose

Summary of Contents for RICE HYDRO FIRE HOSE TESTER Series
- Page 1 RICE HYDRO, INC. MANUFACTURER'S OPERATING INSTRUCTIONS FIRE HOSE TESTER SERIES FOR WARRANTY REGISTRATION CALL: 1-800-245-4777 CAUTIONS: Power source must meet voltage, phase, hertz and amperage requirements of electric motor, as stated on label. If an extension cord is used, requires at least 12 gauge 3 wire with maximum of 25 foot length.
- Page 2 Open the 1&1/2" ballvalves at the outlets and begin building pressure in all the lines. In the event there is an acceptable leak in the system that must be overcome by leaving the pump running.. Crack the 1/2" back bleed valve allowing a small amount of clean fresh water to flow while in bypass.