Sony PWS-110RX1A Quick Installation Manual
Hide thumbs
Also See for PWS-110RX1A:
- Help manual (38 pages) ,
- Operation manual (78 pages) ,
- Service manual (98 pages)

Related Manuals for Sony PWS-110RX1A


Summary of Contents for Sony PWS-110RX1A
- Page 1 PWS-110RX1A Quick Installation Guide This guide provides simplified step-by-step instructions for the key installation requirements of the Sony PWS-110RX1A. Refer to the PWS-110RX1A full installation guide for detailed technical setup and troubleshooting.
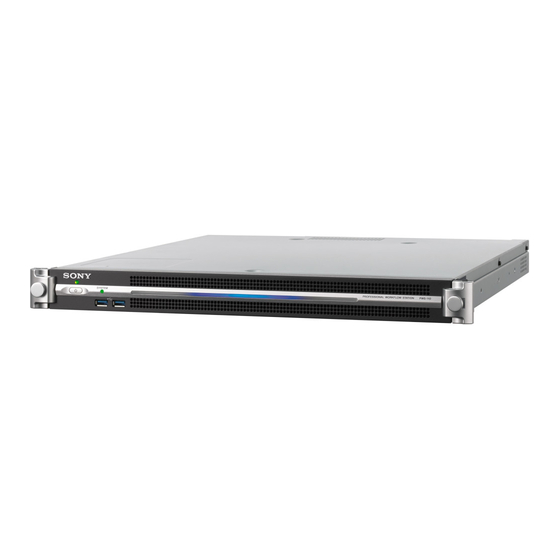
- Page 2 Connections Step 1 Install the PWS-110RX1A with a minimum 1RU (rack unit) of space above to allow adequate ventilation A) Connect to SDI outputs (1 & 2 = Stream A, 3 & 4 = Stream B) B) Optional - Connect REF IN to black burst or tri-level sync C) Connect USB keyboard and mouse D) Connect network cable to LAN 1.
- Page 3 Step 2 Required for WAN/Internet access The PWS-110RX1A is connected to an internal network using the LAN 1 connector on the back of the unit. Bi-directional port forwarding must be enabled for the ports listed below. Contact your network administrator for help configuring the LAN 1 connection and setting up the port forwarding rules on your network.
- Page 4 Power Up and Login Step 3 Power unit and login to Windows A) Power on the unit (front panel button) B) Login to Windows (user/password: rx1/rx1) and await approx. 3 minutes for initialization C) Verify system date & time are correct . Double click on time to adjust.
-
Page 5: Create Users
Create Users Step 4 Up to 3 unique users can access the system simultaneously. Each has its own rights. A) Select ‘Settings’ tab B) Select ‘CCM’ sub-tab C) Select ‘System’ D) Create a unique user-name and password for each user Note: Passwords must be at least 8 characters long and use a combination of letters and numbers. - Page 6 Camera Connection Credentials Step 5 Create the Username & Password that cameras will use to connect. You can create 2 usernames and passwords. Multiple cameras may have the same credentials and connect simultaneously. A) Select ‘Connection’ B) Enter a valid username and password for one or both users Passwords must be at least 8 characters long and use a combination...
- Page 7 FTP/FTPS Credentials Step 6 This allows the operator to view and select files in a camera to FTP to a remote server. You must setup the FTP server credentials before using this feature. A) Select ‘FTP’ B) Select FTP Server Settings 1 C) Enable FTP Server Setting D) Enter FTP credentials Check with your network...
-
Page 8: Streaming Settings
Streaming Settings Step 7 A) Select ‘Streaming’ B) Ensure ‘target bitrate’ is unchecked C) Click ‘Save CCM Settings’ * HEVC is an available feature with an XDCAM air subscription. - Page 9 Initialization Tool – Reset Step 8 A) Select the Windows Start icon B) Select ‘RX1 Streaming Receiver’ C) Select ‘Initialization Tool’ and select ‘Yes’ to allow the app to make changes D) Select ‘Diagnosis’ E) Select ‘Reset’ F) Confirm all actions show ‘Success’ G) Select ‘Home’...
- Page 10 Initialization Tool – Port Check Step 9 The Initialization Tool Port Check selection lets you verify that port forwarding has been properly implemented. The system will only work if this test passes. A) Select ‘Port Check’ B) Enter the external IP address in the CCM ‘Hostname’...
- Page 11 Initialization Tool – Settings Step 10 A) Select ‘Settings’ B) CCM Address: localhost C) CCM Port: 9083 D) Username: See Step 5 D E) Password: See Step 5 D F) Select ‘Next’ G) Select ‘Next’ H) Select ‘Start’ (Intercom option requires XDCAM air subscription) I) Ensure all actions show success status, then click ‘Quit’...
- Page 12 Network and SDI Settings Step 11 A) Select ‘Settings’ tab B) Select ‘RX’ sub-tab Network C) Enter the RX1A external host name D) Enter the external port range: 10000 Set desired SDI setting E) Resolution F) Frame Rate G) Ref Lock H) Click ‘Save RX Settings’...
- Page 13 Questions? Please contact your Authorized Sony Reseller for assistance.