KERN MPE 250K100HNM Service Manual
Personal floor scale with bmi function
Hide thumbs
Also See for MPE 250K100HNM:
- Operating instructions manual (53 pages) ,
- Operating instructions manual (40 pages)
Table of Contents
Quick Links
Service Manual
Personal floor scale with BMI function
KERN MPE_HNM / MPE_PNM
Type MPE 250K100HNM
Type MPE 250K100PNM
Version 1.0
07/2018
GB
KERN & Sohn GmbH
Ziegelei 1
D-72336 Balingen
E-Mail: [email protected]
MPE_HNM / MPE_PNM -SH-e-1810
Tel: +49-[0]7433- 9933-0
Fax: +49-[0]7433-9933-149
Internet: www.kern-sohn.com
Table of Contents

Related Manuals for KERN MPE 250K100HNM


Summary of Contents for KERN MPE 250K100HNM
- Page 1 KERN & Sohn GmbH Ziegelei 1 Tel: +49-[0]7433- 9933-0 D-72336 Balingen Fax: +49-[0]7433-9933-149 E-Mail: [email protected] Internet: www.kern-sohn.com Service Manual Personal floor scale with BMI function KERN MPE_HNM / MPE_PNM Type MPE 250K100HNM Type MPE 250K100PNM Version 1.0 07/2018 MPE_HNM / MPE_PNM -SH-e-1810...
-
Page 2: Table Of Contents
KERN MPE_HNM / MPE_PNM Version 1.0 07/2018 Servicemanual Contents Basic Information................... 3 Appliance overview ..................4 Keyboard overview ..................6 Overview of display ..................7 Balance assembly and installation ..................... 7 Mains connection ........................7 Battery operation is possible by obtaining an optional battery power pack....... 8 Battery operation ........................ -
Page 3: Basic Information
1 Basic Information The device must be repaired only by trained specialist staff or personnel with professional formation (such as a repair-specialist accredited by law concerning verification). The service manual is obligatory for repair work. After repair, original conditions of the device have to be restored. Only original spare parts should be used. -
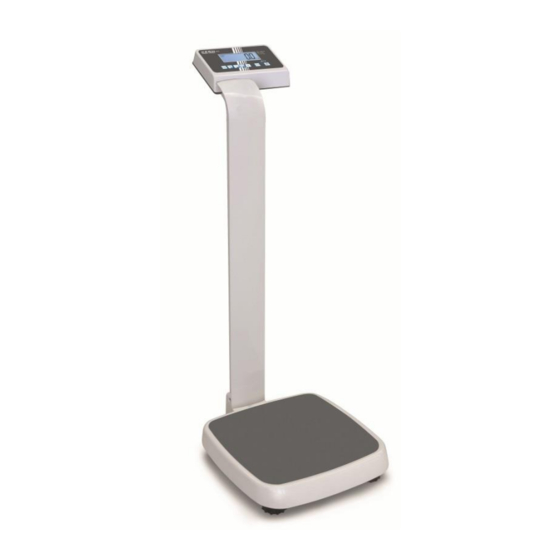
Page 4: Appliance Overview
2 Appliance overview 1. Height measuring stick (MPE-HM models only) 2. Display Unit 3. Weighing platform (anti-slip surface) 4. Rubber feet (height adjustable) Underside 5.Rolls MPE_HNM / MPE_PNM -SH-e-1810... - Page 5 Secondary display at rear Display unit at rear 5 Rechargeable battery compartment 6 Mains connection 7 RS 232 C MPE_HNM / MPE_PNM -SH-e-1810...
-
Page 6: Keyboard Overview
3 Keyboard overview Type MPE 250K100HNM Type MPE 250K100PNM Description Function ON/OFF-switch Turn on/off Hold function/Calculation of a stable weight value HOLD button Calculation of the Body Mass Index BMI key Data transfer via interface PRINT button In menu: ... -
Page 7: Overview Of Display
The stated voltage value must be the same as the local voltage. Always use genuine approved KERN power pack units as per EN 60601-1 directive. The small sticker attached to the side of the display unit indicates the power port: The LED remains illuminated as long as the weighing scale remains connected to the mains. -
Page 8: Battery Operation Is Possible By Obtaining An Optional Battery Power Pack
4.3 Battery operation is possible by obtaining an optional battery power pack. Open the battery compartment cover (1) at the base of the display unit and insert the rechargeable battery. Charge the battery for at least 12 hours before initial use. The appearance of the symbol in the weight display indicates that the battery is almost exhausted. -
Page 9: Battery Operation
4.4 Battery operation As an alternative to rechargeable battery operation, the balance may also be operated with 6x AA batteries. Open battery compartment cover (1) at the lower side of the display unit and insert batteries according to the example below. Lock the battery cover again. If the batteries are empty, in the balance display appears the symbol Change batteries. -
Page 10: The Menu
5 The menu Access to service menu „tCH“ is locked in verified weighing scales. To disable the access lock, destroy the seal and actuate the adjustment switch. For position of adjustment switch, see operating instructions corresponding to the device chap. 16. Attention: After destruction of the seal the weighing system must be re-verified by an authorised agency and a new verification wire/seal mark fitted... -
Page 11: Menu Overview
5.2 Menu overview Menu block Menu item Available settings / explanation Main Menu Submenu oFF 0* Automatic shutdown off Automatic shutdown after 3 min oFF 3 Automatic cutout oFF 5 Automatic shutdown after 5 min Auto Off oFF 15 Automatic shutdown after 15 min Automatic shutdown after 30 min oFF 30 Not documented... - Page 12 3. Data output format (P Prt, P Auto, P Cont settings only) the currently set data output format will be shown after the baud rate was confirmed. Select desired format by confirm with Prt 0-3 Data output format, see chap. 13. Sd0 –...
- Page 13 Password entry: press Service menu subsequently. Operate adjustment switch; for position see operating instructions corresponding to the device chap.17 Display speed Not documented Adjustment, see operating instructions corresponding to the device chap. 18 tri* Not documented Not documented CoUnt rESEt Reset weighing scale to factory setting SEtGrA Not documented...
-
Page 14: Data Output Rs 232
Use a suitable cable to connect the weighing balance to the interface of the printer. Faultless operation requires an adequate KERN interface cable. Communication parameters (baud rate, bits and parity) of balance and printer must match. -
Page 15: Position Adjustment Switch And Seals
6.3 Position adjustment switch and seals: Self-destroying seal mark Cover Adjustment switch 6.4 Verification validity period (current status in G) Personal scales (including chair and wheelchair scales) in 4 year hospitals Personal scales, when not located in hospitals (for example, unlimited doctor's offices and nursing homes) Baby weighing scales and mechanical birth weight scales... -
Page 16: Adjustment
1. Carry out adjustment as closely as possible to admissible maximum load of weighing scale. Information about test weights you will find in the internet under http://www.kern-sohn.com Observe stable environmental conditions. For warm-up time required for stabilisation see operating instructions corresponding to the device chap. -
Page 17: Procedure
7.1 Procedure: In weighing mode, press repeatedly until [tCH] appears. Press and [Pin] will appear. Press one after the other and [P1 SPd] will appear , „P2 CAL“ will be displayed Press Operate adjustment switch; for position see chap.16 ... - Page 18 Place adjustment weight in the centre of the weighing pan Wait until stability display „STABLE“ appears Confirm by pressing , [PASS] will be displayed. The balance carries out a selftest, after that [Err19] will be displayed and a signal will sound. ...
-
Page 19: Maintenance
8 MAINTENANCE 8.1 General If the scale does not operate properly, find out the problem as possible. Determine whether the problem is constant or alternate. Be aware that problems can be caused by mechanical or electrical influences. Check the following. ... -
Page 20: Determine The Problem
Err 12 Accumulation error Max accumulation times 99 / 999 / weight 999999 Err 13 Lack of unit weight Check unit weight entry data, must be >0.5d Err 14 Lack of sample Check counting samples entry, must be >20d Err 15 Gravity error Check the gravity settings. -
Page 21: Check The Load Cell
8.4 Check the Load cell Remove power from the system, and disconnect the PCB from the Load cell Check the moisture, or foreign material inside. Make sure all leads are connected and correctly. Check load cell for proper input and output resistances Load Cell Connections Signal Green... -
Page 22: Trouble Shooting
8.6 Trouble Shooting Problems Possible cause Common Solutions Display is blank. Mains power is turned off. Check power is getting inside the scale and No self test Power supply faulty or not on/off switch is working. plugged. Internal battery is Verify the voltages, which is on the power not charged. -
Page 23: Replace Main Board
9 Replace Main Board Release 4 pcs screw from bottom of the scale by using cross screw driver. Open the top cover, the main board lie on cover, use cross screw driver loose 4 screw for main board, pull out all connector on the main board, then you bring out main board carefully. -
Page 24: Drawing
10 DRAWING 10.1 MPE_HM MPE_HNM / MPE_PNM -SH-e-1810...