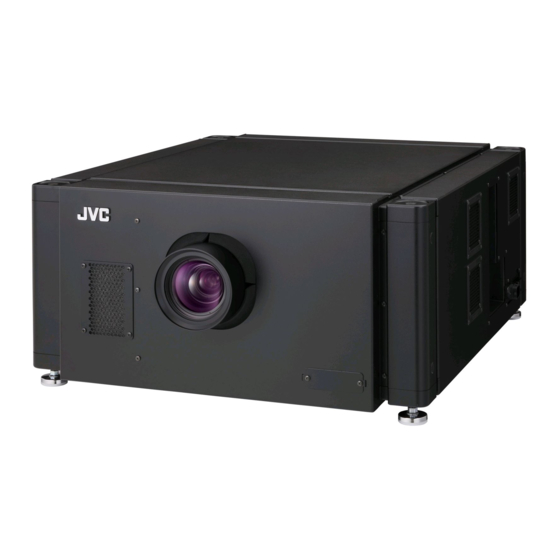
Summary of Contents for JVC DLA-SH7
- Page 1 DLA-SH7 Projector PK-L3310U Lamp Module Replacement JPC20118 © 2011 JVC U.S.A...
-
Page 2: Safety Precautions
Do not modify the lens. Modifying the lens may cause fire or electric shock. Connect the power cord only after all necessary equipment has been connected. Connecting the equipment with the power cord plugged into the outlet may cause electric shock. JPC20118 © 2011 JVC U.S.A... - Page 3 The DLA-SH7 Projector has two lamps. These following instructions are for the replacement of Lamp 1. The procedure to replace Lamp 2 is identical to Lamp 1. JPC20118 © 2011 JVC U.S.A...
- Page 4 After the projector has been properly powered down and the power cord removed, allow the projector to cool at least 30 minutes before proceeding. On the back of the projector, remove four screws and remove the cover for Lamp 1. JPC20118 © 2011 JVC U.S.A...
- Page 5 Loosen the two screws on the lamp module until they are completely loose. The screws are captive and stay attached to the lamp module. JPC20118 © 2011 JVC U.S.A...
- Page 6 Make sure the lamp module is cool enough to handle. Grasp the lamp module as shown and pull it straight out. JPC20118 © 2011 JVC U.S.A...
- Page 7 Make note of the two registration pins/holes and the power connection on the lamp module and in the projector chassis. Power Power Pins Holes Lamp module is shown rotated JPC20118 © 2011 JVC U.S.A...
- Page 8 Install the new lamp, making sure to align the registration pins JPC20118 © 2011 JVC U.S.A...
- Page 9 Tighten the two screw on the lamp module JPC20118 © 2011 JVC U.S.A...
- Page 10 Attach the lamp cover so that the vent fins are pointed to the side. Note how the tabs on corners of the cover fit in the slots. JPC20118 © 2011 JVC U.S.A...
- Page 11 Replace the four screws on the lamp cover. Repeat the procedure for Lamp 2, if needed. JPC20118 © 2011 JVC U.S.A...
- Page 12 Reattach the power cord, turn on the Main Power and wait for the projector to enter Standby mode which is indicated when the STANDBY/ON indicator lights up red. Note: The Lamp Hour Timer can only be reset when the projector is in Standby mode. STANDBY/ON Main Power JPC20118 © 2011 JVC U.S.A...
- Page 13 - Press the OK button when the confirmation message is displayed – the lamp timer will then be reset to read “0” hours. - Power up the projector from the Main menu and test the operation. - END JPC20118 © 2011 JVC U.S.A...
- Page 14 - Enter value “000000” (six digit hexadecimal) into the box to the right of either Lamp 1 Time or Lamp 2 Time and press the Enter key to write the value into the projector. - Power up the projector from the Main menu and test the operation. - END JPC20118 © 2011 JVC U.S.A...


