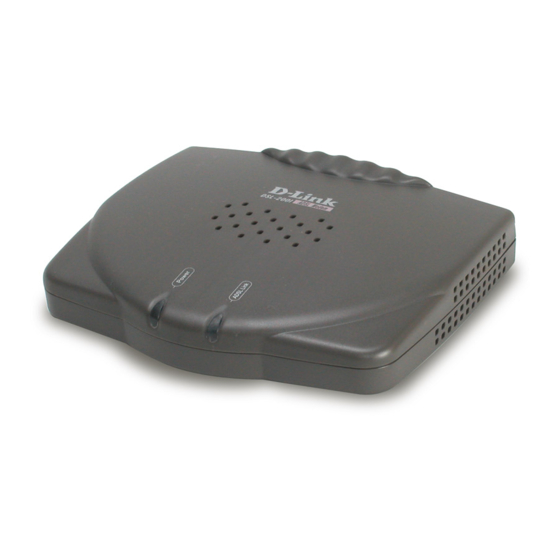
D-Link DSL 200 Manual
Configuring in layer2 pppoe for windows xp and 2000
Hide thumbs
Also See for DSL 200:
- User manual (50 pages) ,
- Quick installation manual (32 pages) ,
- User manual (46 pages)
Quick Links
Contents
1. Uninstall previous driver
2. Install new driver
3. Authentication/log in procedure
Please ensure you have the installation CD that came with your modem. You
If you have misplaced this CD please download the driver from
http://www.dlink.com.au/tech/
1. Uninstall Previous Driver
Note: Do not unplug the DSL 200 until prompted
a. Click on the Start button located in the bottom left corner. Select All
Programs then Dlink DSL200 ADSL Modem. Now click on Uninstall
Configuring in Layer2 PPPoE
will need this when reinstalling the drivers.
Dlink DSL 200 RevA
for Windows XP and 2000
before you begin
1

Summary of Contents for D-Link DSL 200
- Page 1 1. Uninstall Previous Driver Note: Do not unplug the DSL 200 until prompted a. Click on the Start button located in the bottom left corner. Select All Programs then Dlink DSL200 ADSL Modem. Now click on Uninstall...
- Page 2 b. Click Yes to “Are you sure you want to remove the software?” c. Click OK to “Please don’t unplug the USB cable until after the setup wizard has finished” d. Now unplug the DSL200 from your computer. Click OK to “Please unplug the modem from the computer now”.
- Page 3 – where d: is the letter of your CD-ROM drive. Then click on Install Driver. c. Click Next on the Welcome to D-LINK DSL-200 Modem Setup window. d. Select Other Service Provider form the list the click on Next...
- Page 4 e. Select WAN driver then click on Next...
- Page 5 f. Leave VPI: 8 and VCI: 35 Select Encapsulation: RFC 2516 PPPoE LLC Encapsulation Modulation: Multimode (for ADSL2+ customers) or G.dmt (for ADSL customers) Click on Next g. You will see a confirmation screen with your settings. Click Next...
- Page 6 Depending on you computers settings you may encounter the Software Installation window. If you do click Continue Anyway, otherwise go to the next step Click the Finish button on the Setup Complete window. You will see the following DSL Installer window. Plug your modem into a free USB Port now.
- Page 7 Please ensure that you have restarted your PC before proceeding with the login procedures. On your desktop, a new icon will appear called D-link PPPoE Au Connection. Double click this icon to open the Connect DLink PPPoE AU Connection window.
- Page 8 d. Your network configuration has now been completed and you can start to use TPG’s service. After the login procedure, you will be assigned an IP address and DNS settings from TPG e. To browse web sites, please now launch your browser Please note: Before you can use the Internet, you must ensure you authenticate every time your computer is switched on Support Information...


