D-Link DWL-G520 Quick Installation Manual
Airplus xtreme g 2.4ghz wireless pci adapter
Hide thumbs
Also See for DWL-G520:
- Manual (47 pages) ,
- Quick installation manual (25 pages) ,
- Quick installation manual (13 pages)
Quick Links
See also:
Manual, Quick Installation Manual
This product works with the following operating
Windows XP, Windows
system software:
2000, Windows Me, Windows 98SE
Before You Begin
You must have at least the following:
•
A desktop computer with an available 32-bit PCI slot
•
At least a 300 MHz processor and 32MB of memory
•
An 802.11g or 802.11b Access Point (for Infrastructure Mode) or another
802.11g or 802.11b wireless adapter (for Ad-Hoc; Peer-to-Peer networking
mode.)
Check Your Package Contents
These are the items included with your DWL-G520 purchase:
If any of the above items are missing, please contact your reseller.
Insert the D-Link CD-ROM Into Your
Computer
Turn on the computer
Insert
the D- Link AirPlus Xtreme G
DWL-G520 Driver CD in the CD-ROM
drive.
The step-by-step instructions that follow are shown
in Windows XP. The steps and screens are similar
for the other Windows operating systems
©2004 D-Link Systems, Inc. All rights reserved. Trademarks or registered trademarks are the property of their respective holders.
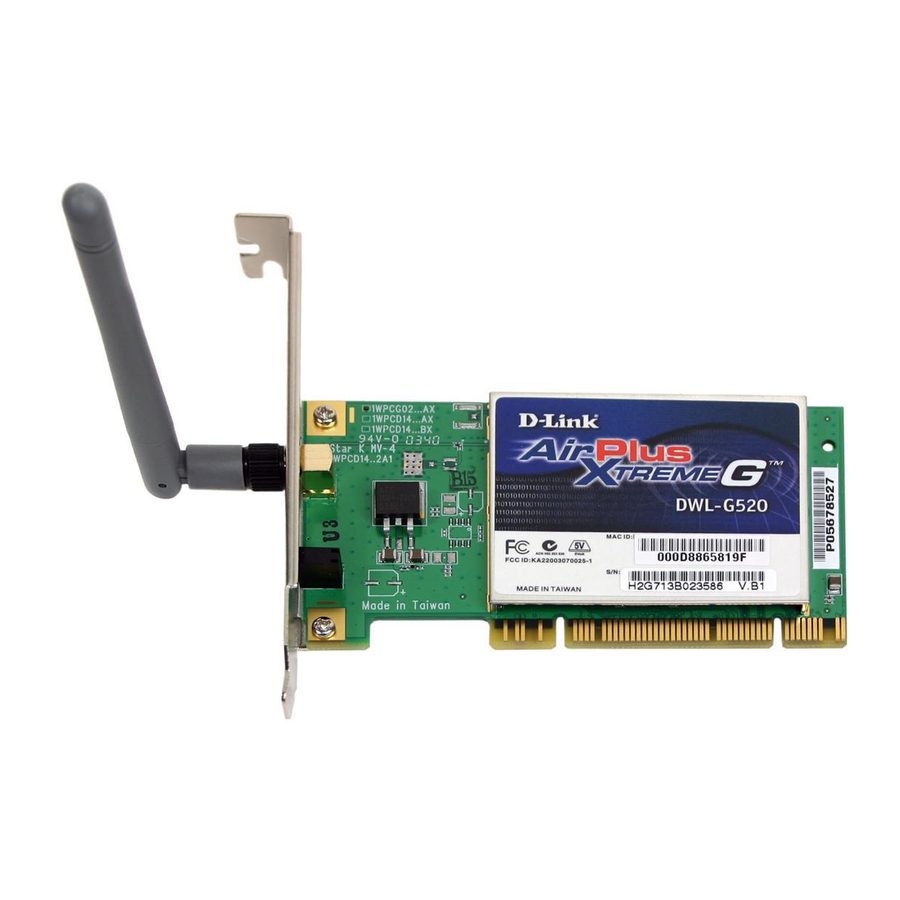
DWL-G520 AirPlus Xtreme G 2.4GHz Wireless
PCI Adapter
CD-ROM (containing Drivers, Manual and Warranty)
and
Software and specifications subject to change without notice.
Wireless PCI Adapter
into your computer
before installing the
driver software from
the D-Link CD!
1
DWL-G520
AirPlus Xtreme G 2.4GHz
Wireless PCI Adapter
Do
NOT
install
the DWL-G520

Related Manuals for D-Link DWL-G520


Summary of Contents for D-Link DWL-G520
- Page 1 Windows XP. The steps and screens are similar the D-Link CD! for the other Windows operating systems ©2004 D-Link Systems, Inc. All rights reserved. Trademarks or registered trademarks are the property of their respective holders. Software and specifications subject to change without notice.
- Page 2 Continued... If the CD Autorun function does not automatically start on your computer, type “D:\Drivers\setup.exe.” If it does start, proceed to the next screen. Click Install Driver Click Next Click Next Click Next...
-
Page 3: Your Computer
Make sure to turn off your computer and unplug the power cord. Remove the back cover of the computer. Install the DWL-G520 carefully and firmly seat it into an available PCI slot (which is usually “white” or “cream” colored). To avoid damage caused... -
Page 4: Restart Your Computer
Back Panel Shield Once properly installed, Link/Activity LED this panel should be at the Indicates that the DWL-G520 back of your computer. is properly installed when the computer is on and blinks when data is being transmitted Restart Your Computer... - Page 5 Your Installation is Complete! After you’ve continued in Windows 2000, ME, or 98SE, the D-Link AirPlus Xtreme G DWL-G520 Configuration Utility will automatically start and the utility icon will appear in the bottom right hand corner of the desktop screen (systray). If this...
- Page 6 Appendix For Windows XP, if you wish to use the AirPlus Xtreme G utility, please do the following steps. Click the XP Networking icon to use the Zero Configuration Wireless Settings. Click Advanced Uncheck “Use Windows to configure my wireless network settings.
- Page 7 Displays the Link Quality for the DWL-G520 depending on the wireless connection to the access point. The Signal Strength distance from the represents the wireless signal between the access point and the access point. DWL-G520. The percentage coincides with the graphical bar.
- Page 8 Appendix (Cont.) SSID: The Service Set Identifier is the name assigned to the wireless network. The factory SSID setting is set to default. Make changes here to match the SSID on existing Wireless Router or Access Point. Data Encryption: The default setting is Wireless Mode: The factory setting set to Disable.
-
Page 9: Ip Address Configuration
Start > right click on My Network Places > select Properties > Double- click on the Network Connection associated with the DWL-G520. Click Internet Protocol (TCP/IP) Click Properties Dynamic IP Address setup Used when a DHCP server is available on the local network. - Page 10 Go to Start > Settings > Network and Dial-up Connections > Double-click on Local Area Connection associated with the DWL-G520 > select Properties Click Internet Protocol (TCP/IP) Click Properties Dynamic IP Address setup Used when a DHCP server is available on the local network.
-
Page 12: Technical Support
Technical Support You can find software updates and user documentation on the D-Link website. D-Link provides free technical support for customers within the United States and within Canada for the duration of the warranty period on this product. U.S. and Canadian customers can contact D-Link technical support through our website, or by phone.