
Related Manuals for Sony CDP-D11


Summary of Contents for Sony CDP-D11
-
Page 1: Operating Instructions
Compact Disc Player Operating Instructions Thank you for purchasing the Sony Compact Disc Player. Before operating the player, please read this manual thoroughly and retain it for future reference. CDP-D11 1999 by Sony Sound Tec Corporation 2-347-023-12(1) -
Page 2: About This Manual
If you have any questions or problems concerning your player, please consult your nearest Sony dealer. About This Manual Conventions Controls in the instructions are those on... -
Page 3: Table Of Contents
TABLE OF CONTENTS PREPARATIONS In the beginning ... 4 Connection ... 4 PLAYBACK ... VARIOUS OPERATIONS On display window ... 7 Searching for a track (AMS/Direct play/Music scan) ... 7 Searching for a particular point (Search) ... 8 Repeat play ... 9 Playback in random order (Shuffle play) ... -
Page 4: Preparations
If it is exposed to them, the remote control may not work. CONNECTION The CD player can be connected with a mixer, an MD recorder or a DAT recorder, etc. Before connection, make sure to turn off each equipment. - Page 5 MD or DAT recorder. Use coaxial digital connecting cable VMC-10 (optional) or optical digital connecting cable POC-15A (optional), etc. When using coaxial digital cable CD player DIGITAL OUT (Mini jack) : Flow of the signals When using optical digital connecting cable...
-
Page 6: Playback
Basic playback operation Playback z To use the headphones Connect headphones to PHONE jack in the front panel. Adjust the volume by PHONE LEVEL control. z Playback can be started in step 4 by selecting a track number. 1 Turn the AMS control until the desired track number is displayed. -
Page 7: Various Operations
VARIOUS OPERATION On display window Total playing time of the disc, remaining playing time, etc. can be checked in the display window. DISPLAY · To check the remaining time of current playing track or of whole disc Press DISPLAY during playback or in pause mode. Each time it is pressed, display changes as below. -
Page 8: Searching For A Particular Point (Search)
VARIOUS OPERATION Searching for a particular point There are 3 speed to search as follows. • Searching a point listening to a sound in twice the speed as normal playback. (Low speed search) • Searching a point listening to a sound in 20 times the speed as normal playback. -
Page 9: Repeat Play
Repeat play All tracks are played repeatedly. Shuffle play and programmed play can also be repeated. REPEAT A˜B · Press REPEAT button. “R” is displayed at the REPEAT position in the display window, and playback is repeated as follows. REPEAT A-PAUSE A-CUE PLAY MODE... -
Page 10: Playback In Random Order (Shuffle Play)
VARIOUS OPERATION Playback in random order (Shuffle play) All tracks are played in random order. CONTINUE SHUFFLE · · In stop mode, press the SHUFFLE button on the remote control. “S” is displayed in the PLAY MODE position in the display window. Press fl... - Page 11 To return to the normal play from the programmed play In stop mode, press CONTINUE in the remote control. The indicator of the PLAYMODE position in the display win- dow turns to “C” from “P”. The same track can be programmed repeatedly. Press the track number as much as times you want to repeat.
-
Page 12: To Return To The Specified Point (Locate)
VARIOUS OPERATION To return to the specified point (Locate) By marking the desired point, you can locate to the point repeatedly. ≠AMS± MENU/EXIT To mark the point (Mark) There are 2 ways of marking. 1 Press the AMS (MARK) button. (Press the MARK button on the remote control.) This point is located. -
Page 13: To Pause After Playback Of Each Track (Auto Pause)
To locate the marked point Press the LOCATE button. Play is paused at the marked point, and play can be starts from there. LOCATE · Notes When a marked point is located, play may be paused at the point several frames after the marked one due to recording condition of the disc. -
Page 14: To Start The Sound Immediately (Auto Cue)
VARIOUS OPERATION To start the sound immediately Play can starts from the point of sounds by skipping the portion with no sounds. This function is effective when you add the sounds to video editing. fl MENU/EXIT ≠AMS± A•CUE · Press the A•CUE button repeatedly until “Auto CUE ON”... -
Page 15: To Change Playback Speed (Variable Speed Play)
To change playback speed (Variable speed play) Playing time is adjusted by changing playback speed. Playback speed can be adjusted up to ±12.5% of normal speed. Playback speed can be decreased up to 12.5% of normal play (the pitch will be felled down), and can be increased up to 12.5% (the pitch will be raised). -
Page 16: Timer Playback
VARIOUS OPERATION Timer playback By connecting with the external timer, playback can be started or stopped at the desired time. Refer also to the operation manual of the timer. Turn on the power of the timer. Carry out steps 1 to 3 of Playback in page 6. -
Page 17: Others
OTHERS Sizes To rackmount The unit can be mounted on EIA 19-inch rack. Move the four feet away and mount it on the rack. To move them away, pull out the plastic pins piercing them, then feet will be removed. LOCATE MENU/EXIT DISPLAY... -
Page 18: Functions Of Control Terminals
Functions of REMOTE terminal RELAY PLAY – stereo mini jack terminal When you connect the unit to the other CDP-D11, they play back automatically in succession after playing back at the unit finishes by receiving control signal via RELAY terminal. - Page 19 POUT3 By connecting the fader of the mixer to the terminal on the CDP-D11 which is set as the Fader PLAY of the parallel input, starting play and pause at the beginning of the next track are synchronized to the fader.
-
Page 20: Precautions
OTHERS Notes on the Fader PLAY • Operation in the largest numbered track To continue the Fader PLAY in the next track, select the track to be played manually. In the largest numbered track, it is designed mechanically that the next track is not selected automatically by “AMS+”. -
Page 21: Treatment Of Compact Discs
If you experience any of the following difficulties while using the player, use this troubleshooting guide to help you remedy the problem. Should any problem persist, consult your nearest Sony dealer. If “Disc Error” is displayed / It shows an unusual status in installing the disc or the disc itself. -
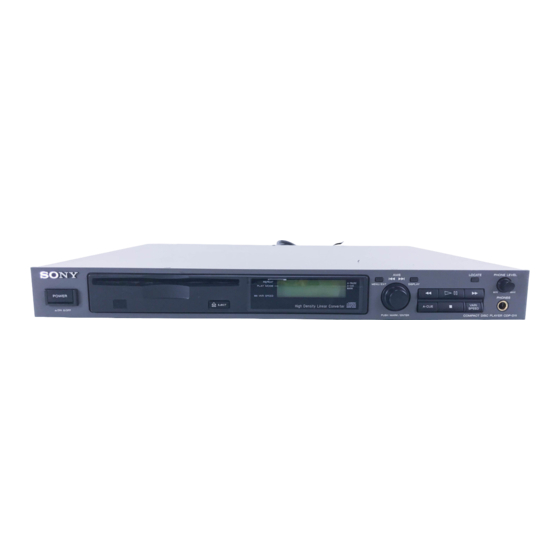
Page 22: Parts Names
OTHERS Parts names 1 POWER switch 2 Disc installing slot 3 Display window 4 MENU/EXIT button 5 DISPLAY button 6 0/) (searching back and forth) buttons 7 LOCATE button 8 PHONE LEVEL control 9 Remote control sensor LOCATE MENU/EXIT DISPLAY VARI A CUE SPEED... -
Page 23: Specifications
Specifications System Compact disc player Frequency response 20Hz - 20kHz (±0.5dB) Signal-to-noise ratio More than 93dB (IHF-A weight) Dynamic range More than 98dB Harmonic distortion Less than 0.008% (1kHz, 20kHz LPF) Channel separation More than 90dB (1kHz, 20kHz LPF) Analog output Terminal Terminal type Maximum output level... - Page 24 OTHERS Printed in Japan...