Philips DVP620VR Owner's Manual
Digital video disc player & video cassette recorder
Hide thumbs
Also See for DVP620VR:
- Service manual (104 pages) ,
- Specifications (2 pages) ,
- Owner's manual (80 pages)
Table of Contents
Quick Links
Table of Contents

Related Manuals for Philips DVP620VR


Summary of Contents for Philips DVP620VR
- Page 1 620VR 620VR Digital Video Disc Player & Video Cassette Recorder...
-
Page 2: Introduction Environmental Information
Introduction Thank you for purchasing this Philips DVD/ VCR.This Owner’s Manual explains the basic operation of this DVD/ VCR. Environmental Information All unnecessary packaging has been omitted. Packaging has been made easy to separate into three materials: cardboard (box), polystyrene foam (buffer) and polyethylene (bags, protective foam sheet). -
Page 3: Table Of Contents
Introduction Environmental Information..... 2 Supplied Accessories ......2 Safety Information. -
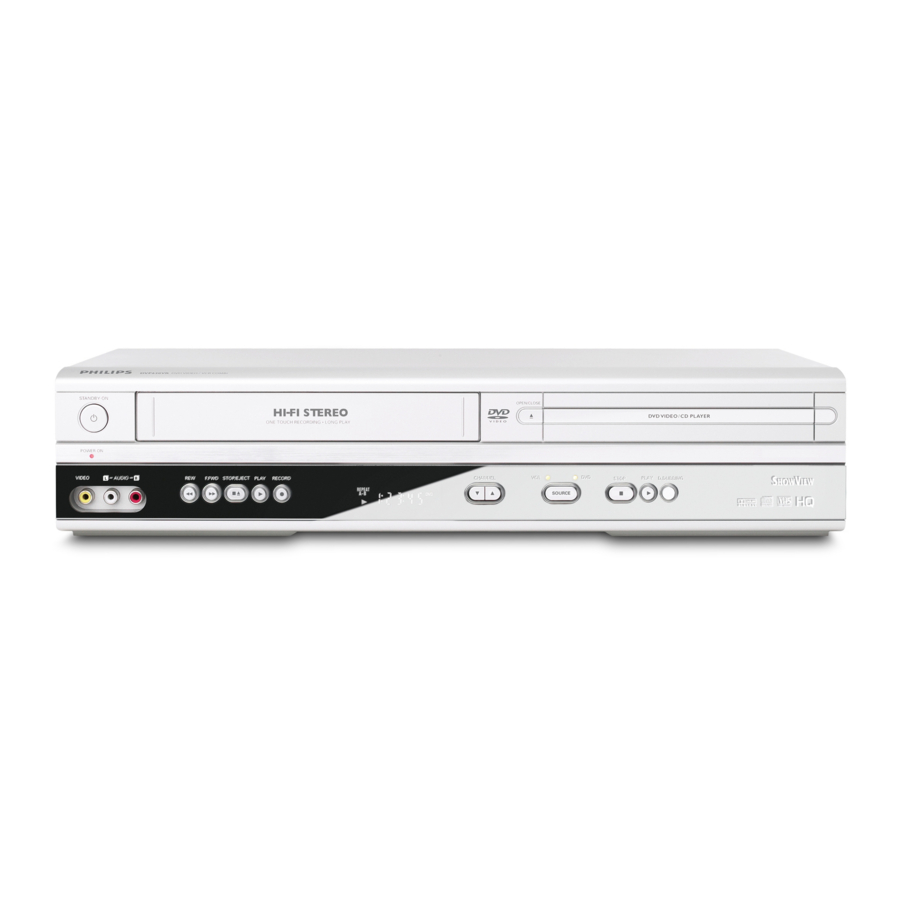
Page 4: Functional Overview
Functional Overview Front Panel STANDBY-ON POWER ON VIDEO L -- AUDIO -- R F.FWD STOP/EJECT PLAY RECORD CHANNEL 1. y y STANDBY-ON button (DVD,VCR) to switch the DVD/VCR to ON or OFF 2. POWER-ON light (DVD,VCR) light appears when DVD/VCR turns on. 3. -
Page 5: Rear Panel
Rear Panel DIGITAL ANALOG S-VIDEO AUDIO OUT AUDIOOUT AV2(DECODER) DVD/VCR AV1(TV) OPTICAL COAXIAL 3 4 5 6 1. MAINS (AC Power Cord) connect to a standard AC outlet 2. OPTICAL (Digital audio out) jack (DVD only) connect to digital (optical) audio equipment Remote Control STANDBY-ON DISPLAY... -
Page 6: Setting Up Your Dvd/ Vcr
Setting Up your DVD/ VCR Basic Connections • Please refer to the instruction books of your TV,VCR, Stereo System or other devices as necessary to make the best connections. • Make one of the following connections, depending on the capabilities of your existing equipment. The following guidelines are options for the best picture and sound quality available on your DVD/VCR. -
Page 7: External Input Mode (For Vcr Features)
• Do not spill water or put anything wet on the remote control. Playable Video Cassette Tapes Philips Consumer Electronics recommends that only video cassette tapes that have the VHS mark and High Quality (HQ) system is compatible with this DVD/VCR.This DVD/VCR has an Automatic Head Cleaner. -
Page 8: Automatic Channel Setup
Setting Up your DVD/ VCR Automatic Channel Setup You can programme the tuner to scan only the channels that you can receive in your area. 1 Turn on the TV and select the video out channel on your TV. 2 Press VCR, then DISC/VCR MENU. 3 Press K/L to select “TUNER SET UP”, then press B. -
Page 9: Setting The Rf Out Channel
DVD/VCR when the DVD/VCR stops the playback. DIGITAL STUDIO PICTURE CONTROL Philips has developed a system which produces the best possible playback quality. For old and often-used video cassettes, this system reduces interference. For new or high quality cassettes, it emphasises the details. -
Page 10: Searching For A Tape Position With Picture (Scanning)
VCR Playback Searching for a tape position with picture (scanning) During playback, press h or g one or more times. 2 If you want to search in super high speed, press h or g once more. (This function will not operate for a cassette recorded in SP mode in the NTSC standard.) 3 Press PLAY B to resume playback. -
Page 11: Automatic Controlled Recording From A Satellite Receiver (Record Link)
Automatic controlled recording from a satellite receiver (RECORD LINK) This function automatically starts recording on the switched-off DVD/ VCR when a video signal is recognised through the connected scart cable. If your satellite receiver has a programming function, the recording will start automatically (as long as the satellite receiver is switched on). -
Page 12: Programming A Recording (Timer)
Programming a Recording (TIMER) General information Use a TIMER programming to automatically start and stop a recording at a later time or date.The DVD/ VCR will switch to the right programme number and begin recording at the correct time.With this DVD/ VCR, you can pre-programme up to eight recordings within a period of one year.To make a programmed recording, your DVD/ VCR needs to know: * the date you want to make the recording... -
Page 13: How To Check, Or Delete A Programmed Recording (Timer)
Programming a Recording (TIMER) How to check, or delete a programmed recording (TIMER) SELECT K L CHOOSE B Press VCR, then DISC/VCR MENU. 2 Press K/L to select “TIMER”, then press B. 3 Press K/L to select “TIMER LIST”, then press B. 4 Select timer block with B. -
Page 14: Basic Playback
Playing a Disc Basic Playback DVD-V Getting Started Turn on the power of the TV, amplifier and any other components which are connected to the DVD/VCR. Make sure the TV and audio receiver (commercially available) are set to the correct channel. 1 Press STANDBY-ONy y . -
Page 15: Slow Forward / Slow Reverse
Slow Forward / Slow Reverse 1 During playback, press PAUSE k. 2 Press g or h . • Slow motion playback will begin and sound will be muted. 3 Press g or h repeatedly to select the required speed. Slow forward or reverse speed varies with the disc. Approximate speed is 1 (1/16), 2 (1/8), and 3 (1/2). -
Page 16: Program
Playing a Disc Program JPEG You may determine the order in which tracks will be played. 1 In stop mode, press MODE. • The PROGRAM screen will appear. 2 Press to select a track, then press OK. • Up to 99 programmes can be stored. -
Page 17: Audio Language
Audio Language DVD-V The DVD/VCR allows you to select a language during DVD disc (if multi language available) playback. 1 Press AUDIO during playback. 2 Press AUDIO repeatedly to select your desired language. Note: - If your language is not shown after pressing AUDIO several times, the disc may not have that language. -
Page 18: Dvd Setup
DVD Setup Audio Setting DVD-V Choose the appropriate Audio settings for your equipment as it only affect during the playback of DVD discs of the DVD/VCR. 1 Press SYSTEM MENU in stop mode. 2 Press B to select “CUSTOM”, then press OK. CUSTOM mode will appear. -
Page 19: Maintenance
Cleaning the disc lens • After prolonged use, dirt or dust may accumulate at the disc lens.To ensure good playback quality, clean the disc lens with Philips CD Lens Cleaner or any commercially available cleaner. Follow the instructions supplied with the cleaner. - Page 20 PHILIPS PORTUGUESA, S.A. Consumer Information Centre Rua Dr. António Loureiro Borge, nr. 5 Arquiparque, Miraflores P-2795 L-A-VEHLA PORTUGAL Phone: 021-4163063 PHILIPS CE, The Philips Centre, 420 - 430 London Road, Croydon, Surrey CR9 3 QR UNITED KINGDOM Phone: 0208-665-6350 PHILIPS KUNDECENTER Frederikskaj 6, 1780 København V...