Panasonic NV-HV60 Series Operating Instructions Manual
Panasonic operating instructions video cassette recorder nv-hv60
Hide thumbs
Also See for NV-HV60 Series:
- Operating instructions manual (32 pages) ,
- Operating instructions manual (32 pages)

Related Manuals for Panasonic NV-HV60 Series


Summary of Contents for Panasonic NV-HV60 Series
-
Page 1: Table Of Contents
VQT0B18 Video Cassette Recorder NV-HV60 Series Operating Instructions Contents Warning and Important Information Controls and Components Connections Tuning the TV to Your VCR Storing TV Broadcasts in Your VCR Setting the Clock of Your VCR Settings Using the On Screen Display... -
Page 2: Warning And Important Information
Note: • In any of the above-mentioned conditions, do not operate the VCR for at least 1 hour. This VCR is not equipped with a dew sensor. Press [VCR-ON/OFF] (1) to switch the VCR from on the standby mode or vice versa. In the standby mode, the VCR is still connected to the mains. -
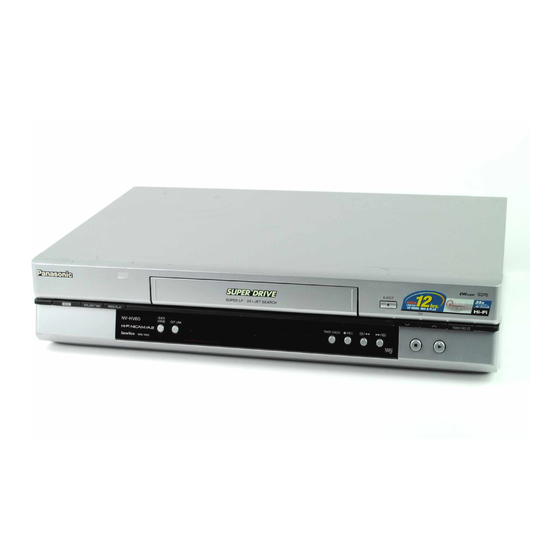
Page 3: Controls And Components
Controls and Components (38) (29) TAPE REFRESH PICTURE MODE Í/I PROG PROG TIMER GUIDE PLAY CHECK (47) (46) (45) (44) (43) (48) (49) (50) VIDEO AC IN AUDIO IN (AV1) (54) (53) REPEAT INPUT SELECT Í TRACKING/V-LOCK – VOLUME – NAVI INDEX PICTURE MODE... - Page 4 VCR Operation • Set [VCR/TV] switch (22) to [VCR]. (1) [VCR-ON/OFF] (2) [Numeric] To select the programme positions (1-99). • Example: To enter numbers for various settings. (3) [AV] (4) [NAVI] (5) [PROG PLAY] (6) No function (7) [MENU] (8) [Rewind]...
-
Page 5: Connections
Notes: • If you are using a Panasonic TV, this setting has already been made, and so you do not need to perform the above setting procedure. However, this remote control may not work with some Panasonic TVs. -
Page 6: Tuning The Tv To Your Vcr
Tuning the TV to Your VCR The VCR supplies a signal to the TV via the RF coaxial cable on channel AU28-69 or NZ21-69. It is possible to view the video picture on your TV in the same way that you watch TV broadcasts. -
Page 7: Storing Tv Broadcasts In Your Vcr
Storing TV Broadcasts in Your VCR The VCR is fitted with its own tuner (just like a normal TV) and can be preset to receive up to 99 TV broadcast stations. Pre-programmed TV Channels (NV-HV60GL/Australia) The local TV broadcast channels 2, 7, 9, 10 and 28 are factory-preset in this VCR. - Page 8 Manual Tuning Procedure 1 Press [MENU] (7) to display the Main menu on the TV screen. 2 Press [Cursor] (37) (34) to select [TUNER PRESET] then press [OK] (23). 3 Press [Cursor] (37) (34) to select [CH] then select the channel number you want to tune by pressing [Cursor] (37) (21).
-
Page 9: Setting The Clock Of Your Vcr
1 hour. Preparations • Confirm that the TV is on and the VCR viewing channel is selected. • Turn on the VCR. • Example: Date;... -
Page 10: Settings Using The On Screen Display
Settings Using the On Screen Display Preparations • Confirm that the TV is on and the VCR viewing channel is selected. • Turn on the VCR. • Set [VCR/TV] switch (22) to [VCR]. To Set the Colour TV System 1 Press [MENU] (7) to display the Main menu on the TV screen. -
Page 11: Option Setting
• Press [Cursor] (37) (21) to select the corresponding video cassette tape length. AUTO: The VCR automatically distinguishes E30, -60, -90, -120, -180 and -240 tapes. E195: For E195 tape E260: For E260 tape E300: For E300 tape •... -
Page 12: Playback
Playback Preparations • Confirm that the VCR is on. • Confirm that the TV is on and the VCR viewing channel is selected. • Insert a recorded video cassette. • Set [VCR/TV] switch (22) to [VCR]. For Normal Playback: Press [Play] (25). -
Page 13: Recording
Control Keep pressing [Stop] (9) for at least 3 seconds. Preparations • Confirm that the VCR is on. • Confirm that the TV is on and the VCR viewing channel is selected. • Set [VCR/TV] switch (22) to [VCR]. Operations... - Page 14 • The recording pause mode will be automatically cancelled after 5 minutes and return to the stop mode. • The tape recorded in the EP mode on this VCR cannot be played back on the other VCR without EP mode function.
-
Page 15: Recording From An External Source
[Stop] (9) to finish recording. Notes: • If you leave the VCR in the recording pause mode for more than 5 minutes in step 3 or 6, the VCR automatically switches over to stop mode to protect the video heads. -
Page 16: Timer Recording
OSD on page 17. Preparations • Confirm that the VCR is on. • Confirm that the TV is on and the VCR viewing channel is selected. • Insert a video cassette with an intact erasure prevention tab. • Check that the clock is set to the correct time. If it has not been set, refer to page 9. - Page 17 (19) so that the [ ] indication on the VCR display disappears. However, after you have finished using the VCR, be sure to reactivate the timer recording standby mode by pressing the [TIMER (REC)] (19) again otherwise the programmed timer recording will not be performed.
-
Page 18: Checking A Timer Programme
Checking a Timer Programme • The VCR must be turned on, or in timer recording standby mode. • Confirm that the TV is on and the VCR viewing channel is selected. 1 Press [PROG/CHECK] (14) twice. • Alternatively, you can press [TIMER CHECK] (44) once on the VCR. -
Page 19: Search Functions
• The tape length of the inserted cassette must be set correctly. (See page 11.) • The VCR must not be in the timer recording standby mode. • A programme at least 15 minutes must be recorded on the tape. -
Page 20: Vhs Index Search System
• When you press [REC] (27) on the remote control during recording. Conditions for correct operation of the Index search function: • The VCR must be in the stop mode or in the playback mode. • Each programme recorded on the tape must be at least Erased 5 minutes long. -
Page 21: Before Requesting Service
To Cancel the Easy Programme Playback: Press [Stop] (9). Notes: • The VCR memorises the position at which timer recording is set to the standby mode by pressing [TIMER (REC)] (19) at the start point of Easy Programme Playback. • If you take out the cassette after a timer recording has finished, Easy Programme Playback function does not work. -
Page 22: Adjusting The Playback Picture
• The TV has not been tuned to the VCR. #Tune the TV to the VCR. See page 6. • The video heads are clogged or worn. #Consult Panasonic Customer Care Centre for advice on 132600. (NV-HV60GL only) #Consult your dealer for further advice. -
Page 23: Specifications
NV-HV60GL/GN Power Source: Power Consumption: Video Recording System: Video Heads: Audio Heads: Tape Speed: Tape Format: Record/Playback Time: FF/REW Time: VIDEO Television System: Modulation System: Input Level: Output Level: AUDIO Input Level: Output Level: Audio Track: Video Horizontal Resolution: Signal-to-Noise Ratio: Dynamic Range: Audio Frequency Response: Wow and Flutter:... - Page 24 Matsushita Electric Industrial Co., Ltd. Web Site: http://www.panasonic.co.jp/global/...