Table of Contents
Table of Contents

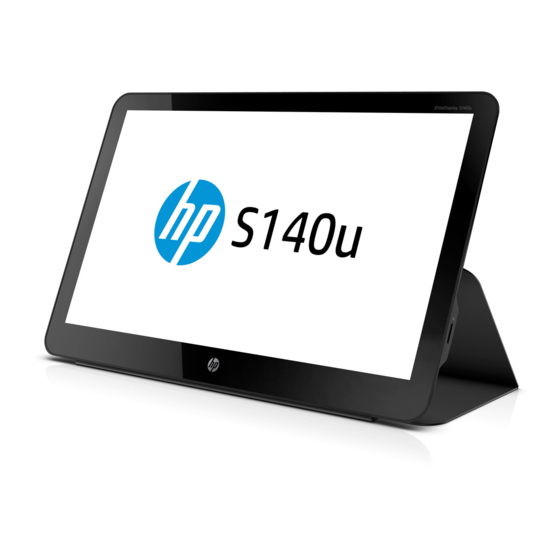
Summary of Contents for HP EliteDisplay S140u
- Page 1 User Guide...
- Page 2 Company, L.P. Windows and Windows Vista are U.S. registered trademarks of Microsoft Corporation. The only warranties for HP products and services are set forth in the express warranty statements accompanying such products and services . Nothing herein should be construed as constituting an additional warranty.
-
Page 3: About This Guide
About This Guide This guide provides information on monitor features, setting up the monitor, and technical specifications. WARNING! Text set off in this manner indicates that failure to follow directions could result in bodily harm or loss of life. CAUTION: Text set off in this manner indicates that failure to follow directions could result in damage to equipment or loss of information. - Page 4 About This Guide...
-
Page 5: Table Of Contents
Attaching the Protective Cover and Setting Up the Monitor ..............4 Attaching the Protective Cover .................... 4 Setting Up the Monitor ......................6 Installing Drivers and Connecting an HP Notebook Computer ............8 Display Modes ............................ 10 Extend Mode (Default) ....................... 10 Mirror Mode ........................ -
Page 7: Product Features
Product Features The LCD (liquid crystal display) monitor has an active matrix, thin-film transistor (TFT) panel with the following features: 35.6 cm (14-inch) diagonal viewable area display with 1600 x 900 resolution, plus full-screen ● support for lower resolutions Single USB 3.0 connection for power and video (with USB 3.0 cable provided) ●... -
Page 8: Safety And Maintenance Guidelines
Use a power strip whose manufacturer offers a Damage Replacement Policy so you can replace the equipment, if surge protection fails. Use the appropriate and correctly sized furniture designed to properly support your HP LCD monitor. CAUTION: Do not pick up the monitor by its protective case. -
Page 9: Cleaning The Monitor
Do not allow anything to rest on the USB cable. Do not walk on the cable. ● Keep the monitor in a well-ventilated area, away from excessive light, heat or moisture. ● Cleaning the Monitor Turn off the monitor and unplug the USB cable from the back of the unit. Dust the monitor by wiping the screen and the cabinet with a soft, clean antistatic cloth. -
Page 10: Setting Up And Using The Monitor
On the protective cover, locate the flap with a ridge on one side. Hold the cover with the ridge facing up and the flap over the HP logo on the monitor bezel. The top of the protective cover is now lined up with the top of the monitor. - Page 11 Fold the flap over the top of the monitor and press it onto the back of the monitor to secure the protective cover over the screen. NOTE: If the flap cannot be folded over the top of the monitor, then the cover has been attached with the wrong side up.
-
Page 12: Setting Up The Monitor
Setting Up the Monitor CAUTION: Do not pick up the monitor by its protective case. The case and monitor are attached together by magnets. If held improperly, the monitor could detach from the case and fall. Support the monitor with one hand and lift the flap. Chapter 3 Setting Up and Using the Monitor... - Page 13 Continue to support the monitor and open the protective case. Set the bottom edge of the monitor on a flat surface with the protective case behind the monitor. Fold the protective case toward the back of the monitor. Attaching the Protective Cover and Setting Up the Monitor...
-
Page 14: Installing Drivers And Connecting An Hp Notebook Computer
To set up the monitor: Install the drivers using one of the following sources: Insert the disc included with the monitor into an optical drive on your HP computer. ● Go to http://www.hp.com/supportand follow the on-screen instructions to locate and ●... - Page 15 Insert the primary USB connector on the other end of the cable into a 3.0 USB port on the ● computer. Insert both USB connectors on the other end of the cable into two USB 2.0 ports on the ● computer. Installing Drivers and Connecting an HP Notebook Computer...
-
Page 16: Display Modes
Be sure the USB Graphics driver has been installed on the PC. Install the drivers using one of the following sources: Insert the disc included with the monitor into an optical drive on your HP computer. ● Go to http://www.hp.com/supportand follow the on-screen instructions to locate and ●... -
Page 17: Mirror Mode
On Windows Vista, Windows 7, and the Windows 8 series, select the Extend the desktop ● onto this monitor check box. On Windows XP, select the Extend my Windows desktop onto this monitor check box. ● Drag the icons in the window at the top of the screen to match the physical arrangement of your notebook monitor and the attached monitor. -
Page 18: Rear Panel Controls
Function Power Turns the monitor on or off Plus Increases brightness Minus Decreases brightness NOTE: To view an OSD menu simulator, visit the HP Customer Self Repair Services Media Library at http://www.hp.com/go/sml. Chapter 3 Setting Up and Using the Monitor... -
Page 19: Finding More Information
The rating labels on the monitor provide the spare part number, product number, and serial number. You may need these numbers when contacting HP about the monitor model. The rating labels are located on the bottom of the monitor. To see them, you must remove the protective cover. -
Page 20: Technical Specifications
Technical Specifications NOTE: All specifications represent the typical specifications provided by HP's component manufacturers; actual performance may vary either higher or lower. Monitor Specifications Input Terminal USB for power and video (cable included) Maximum Weight (Unpacked) 1.25 kg 2.76 lbs Dimensions (includes cover) 21.8 cm...


