
Related Manuals for Honeywell 5203


Summary of Contents for Honeywell 5203
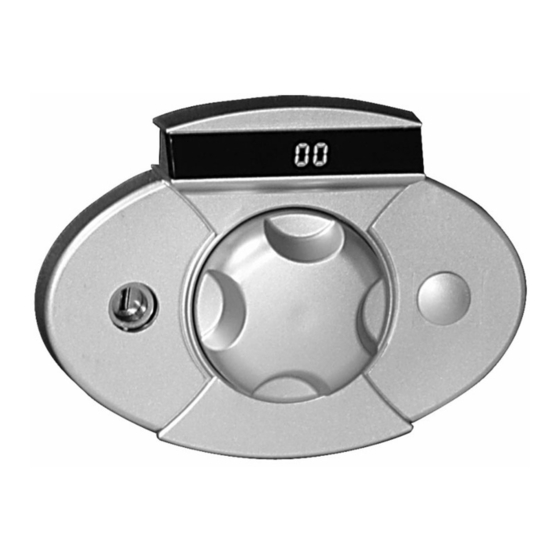
- Page 1 Models 5203 / 5205 / 5207 / 5215 STEEL SECURITY SAFE WITH DIGITAL DIAL LOCK Read this manual carefully and never store it inside the safe!
-
Page 2: Package Contents
Models 5203 / 5205 / 5207 / 5215 Steel Security Safe with Digital Dial Lock PACKAGE CONTENTS 1 – Steel Security Safe 1 – Operation Manual 2 – Entry Keys 2 – Override Access Keys 4 – “AA” Batteries 1 – Mounting Kit w/ Bolts... -
Page 3: Setup And Operation
SETUP & OPERATION STEP 1. OPEN SAFE USING OVERRIDE KEY 1. Insert the Access Key into the lock and then remove the override key lock cover and insert the override key. 2. Turn the Override key counter clockwise to the left and turn the access key clockwise to the right and pull the door open. - Page 4 IF YOU FORGET PASSCODE If you forget your pass code, you can gain access to the safe by referring to the instructions outlined in Step 1- OPEN USING THE OVERRIDE KEY. Once the safe is opened, you can then reprogram a new pass code as outlined in Step 4 – PROGRAMMING A NEW PASSCODE. SETUP &...
-
Page 5: Replacing Batteries
REPLACING BATTERIES Upon activation, If the batteries in your safe are in need of replacement a small icon will appear on the LED display alerting you. If and when this icon appears, all 4 “A” batteries should be replaced immediately. If the batteries get too low on power, than access to the safe might require use of the override key to gain entry. - Page 6 If not, then you might choose to utilize the services of a professional. MOUNTING ( Models 5203 / 5205 / 5207) Select a suitable and convenient location and determine if you want to secure it to a wall or to the floor.
- Page 7 MOUNTING ( Model 5215) Unlock the safe and Pull the drawer out until it stops. On each of the drawer glides there is a small plastic latch. To remove the drawer you need to simultaneously push down on the right side latch while pulling up on the left side latch putting forward pressure on the drawer as you do.
-
Page 8: Limited Warranty
LIMITED WARRANTY LH Licensed Products, Inc., (“LHLP, Inc.”) warrants that for a period of seven (7) years from the date of purchase, this product will be free from structural or mechanical defects resulting from materials or workmanship. LHLP, Inc., at its sole option and as the purchaser’s sole remedy under this warranty, will repair or replace this product or any component of the product found to be defective during the warranty period. -
Page 9: Consumer Assistance
The Honeywell Trademark is Used under license from Honeywell International Inc. Honeywell International Inc. makes no representations or warranties with respect to this product.