Table of Contents
Quick Links
See also:
User Manual
Table of Contents

Related Manuals for Haier HCC2230AGS


Summary of Contents for Haier HCC2230AGS
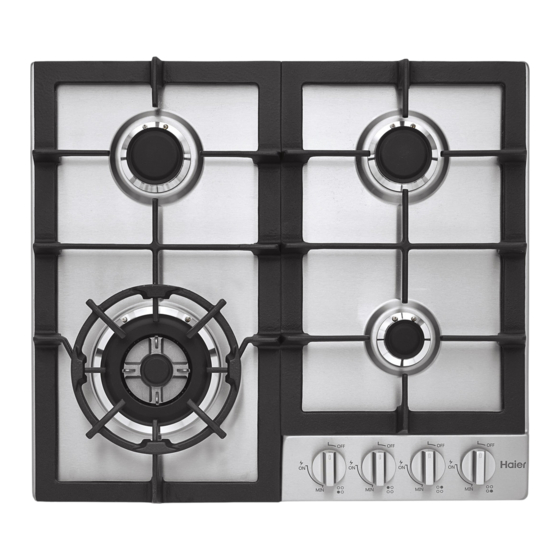
- Page 1 Installation Instructions Instructions d’installation Instrucciones de instalación HCC2230AGS HCC3230AGS 24” and 30” Gas Cooktops Tables de cuisson à gaz de 24” et 30” Superficies de cocción a gas de 24” y 30”...
-
Page 2: Installation Instructions
Installation Instructions INSTALLATION AND SERVICE MUST BE PERFORMED BY A QUALIFIED INSTALLER. IMPORTANT: SAVE THESE INSTRUCTIONS FOR LOCAL ELECTRICAL INSPECTOR'S USE. READ AND SAVE THESE INSTRUCTIONS FOR FUTURE REFERENCE. Advance Preparation • For proper operation of a gas appliance, the air necessary for the combustion of the gas must be able to flow into the room naturally. -
Page 3: Provide An Adequate Gas And Electrical Supply
• A range hood with minimum 350 CFM that projects at least 5” beyond front of cabinets can reduce risk of burns caused by reaching over heated surface units. Provide an Adequate Gas and Electrical Supply • Installation must comply with local codes. In the absence of local codes, the gas cooktop must comply with the National Fuel Gas Code ANSI Z223.1—latest edition in the United States, or in Canada CAN/CGA B149.1, and CAN/CGA B149.2, and the National Electrical Code ANSI/NFPA No. -
Page 4: Tools And Materials Needed
Tools and Materials Needed MATERIALS YOU WILL NEED: Joint Sealant Pipe Fittings Shut-Off Valve CSA-Approved Flexible ½” or ¾” Gas Line TOOLS YOU WILL NEED: Pencil Phillips-Head Screwdriver Ruler Safety Glasses Saber Saw Pipe Wrench 1/8” Drill Bit & Electric or Hand Drill Cutting the Countertop 1) Use a 24”... - Page 5 2) Cut the opening in the countertop. To ensure accuracy it is best to make a template (see Figure 9) for the opening. Make sure the sides are parallel also rear and front cuts are exactly perpendicular to the sides. Observe all minimum clearances. Figure 9 3) Before inserting the cooktop into the opening in the countertop, remove the...
-
Page 6: Installing The Pressure Regulator
5) Secure cooktop from underneath with the supplied clips and screws (see Figure 12). Figure 12 Installing the Pressure Regulator WARNING: Never reuse old flexible connectors. The use of old flexible connectors can cause gas leakage and personal injury. Always use new flexible connectors when installing a gas appliance. To reduce the possibility of gas leakage, apply Teflon tape or a thread compound approved for use with LP or Natural gases to all threaded connections. - Page 7 • The gas supply line must be equipped with an approved manual shut-off valve. In an easily accessible location in the same room as the cooktop. Do not block access to the shutoff valve. Be sure you know how and where to shut off the gas supply to the cooktop.
-
Page 8: Electrical Connection
6) After connecting the cooktop to the gas supply, make sure all burners knobs are in the OFF position and check the system for leaks with a manometer. If a manometer is not available, turn on the gas supply and use a liquid leak detector (or soap and water) at all joints and connections to check for leaks. -
Page 9: Assembling The Burners
Figure 15 Assembling the Burners The electrode of the electronic ignition system is positioned above the surface of the burner base. Do not remove a burner cap or touch the electrode of a burner while another is turned on. Damage or electrical shock may occur. -
Page 10: Lp/Propane Gas Conversion
Figure 16 Figure 17 3. Operation of the electric igniters should be tested after the cooktop and supply line have been carefully checked for leaks and the cooktop has been connected to the electrical power. To check igniters, push and turn a burner valve to the LITE position. All spark igniters will make a series of sparks (ticking sounds), but only the burner turned to LITE will light. - Page 11 The conversion must be performed by a qualified service technician in accordance with the kit instructions and all local codes and requirements. Failure to follow instructions could result in serious injury or property damage. The qualified agency performing this work assumes responsibility for the conversion.
- Page 12 1) Unscrew the regulator cap with the wrench (see Figure 19). Figure 19 2) This is how the retainer pin looks for Natural Gas usage (see Figure 20). Figure 20 3) Remove the retainer pin (see Figure 21). Figure 21...
- Page 13 4) Reverse the retainer pin and put back into the regulator cap. This is how the regulator pin looks for LP gas usage (see Figure 22). Figure 22 5) Screw the regulator cap back into the regulator and re-attach the regulator to the nipple and flare union (see Figures 14 and 23).
- Page 14 IMPORTANT: Carefully read and observe each nozzle label for correct location (see Figure 18). NOZZLES Figure 24 TRIPLE RING BURNER AUXILARY BURNER 5 NOZZLES SEMI-RAPID BURNER RAPID BURNER 1 NOZZLE EACH 3) Install the proper nozzles in the exact locations as noted in the illustrations above (see Figure 24).
- Page 15 To adjust the flame, remove the knobs, insert a screwdriver through the access hole in valve shaft as shown (see Figure 25). Make the adjustment by slowly turning the screw until flame appearance is correct. Figure 25 If the flames are too small or fluttered, open the valve more than the original setting. If the flames are too large, close the valve more than the original setting.
- Page 16 REQUIRED FOR WARRANTY SERVICE IMPORTANT Ne pas Réexpédier ce Produit au Magasin Pour tout problème concernant ce produit, veuillez contacter le service des consommateurs “Haier Customer Satisfaction Center” au 1-877-337-3639. UNE PREUVE D’ACHAT DATEE EST REQUISE POUR BENEFICIER DE LA GARANTIE. IMPORTANTE No regrese este producto a la tienda Si tiene algún problema con este producto, por favor contacte el...