Panasonic KX-HNC200 Installation Manual
Home network system
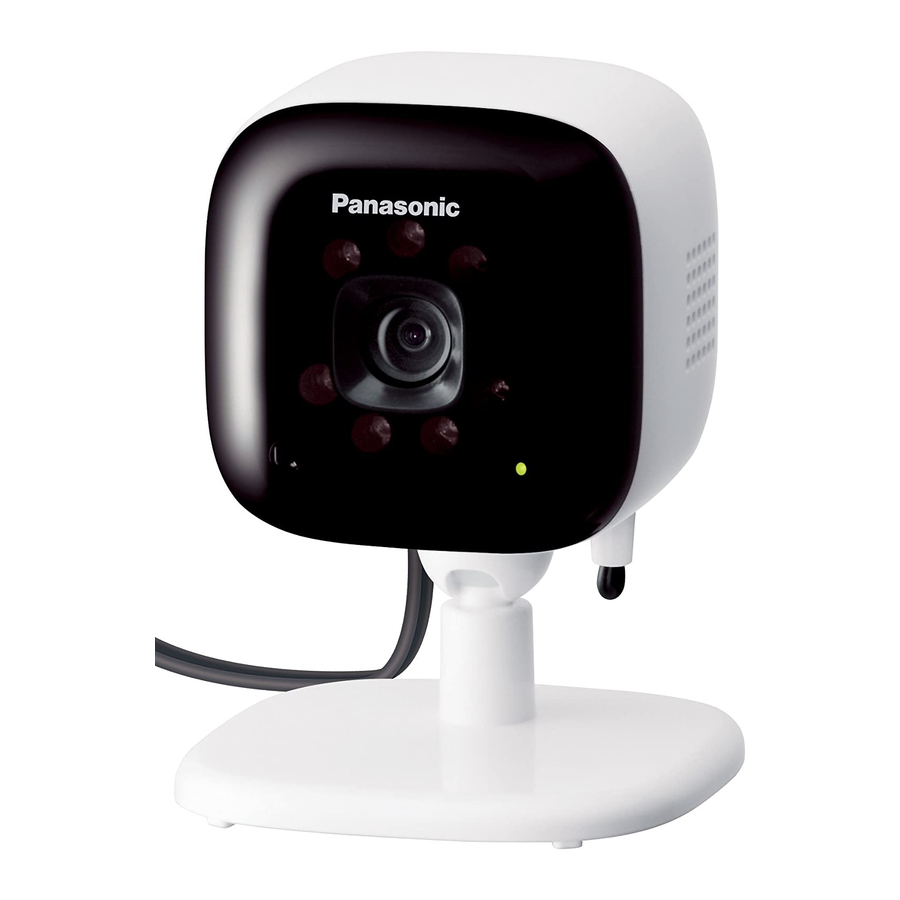
indoor camera
Hide thumbs
Also See for KX-HNC200:
- Installation manual (19 pages) ,
- User manual (120 pages) ,
- Quick setup (2 pages)
Table of Contents
Quick Links
Thank you for purchasing a Panasonic product.
This document explains how to install the indoor camera properly.
For details about how to use the system, refer to the User's Guide (page 13).
Please read this document before using the unit and save it for future reference.
For assistance, visit our Web site: www.panasonic.com/support
for customers in the U.S.A. or Puerto Rico.
Please register your product: www.panasonic.com/prodreg
Printed in China
Installation Guide
Home Network System
KX-HNC200
Model No.
Indoor Camera
Table of Contents

Related Manuals for Panasonic KX-HNC200


Summary of Contents for Panasonic KX-HNC200
-
Page 1: Installation Guide
Indoor Camera KX-HNC200 Model No. Thank you for purchasing a Panasonic product. This document explains how to install the indoor camera properly. For details about how to use the system, refer to the User’s Guide (page 13). Please read this document before using the unit and save it for future reference. -
Page 2: Table Of Contents
Table of Contents Introduction Accessory information ........3 Other information .........3 Important Information About this system .........4 For your safety ..........4 Important safety instructions ......5 For best performance ........5 Other information .........6 Setup Part names and functions ......7 About the LED indicator .......7 Setup overview ..........7 Registering the camera ........7 Information about sensor features ....8... -
Page 3: Introduction
R All other trademarks identified herein are the property of their respective owners. Notice R The hub supports microSD and microSDHC memory cards. In this document, the term “microSD card” is used as a generic term for any of the supported cards. For assistance, please visit www.panasonic.com/support... -
Page 4: Important Information
R This system is an auxiliary system; it is not Installation designed to provide complete protection from property loss. Panasonic will not be R To prevent the risk of fire or electrical held responsible in the event that property shock, do not expose the product to rain or loss occurs while this system is in operation. -
Page 5: Important Safety Instructions
Installation and location Hub location/avoiding noise R Never install wiring during a lightning storm. The hub and other compatible Panasonic R The AC adaptor is used as the main devices use radio waves to communicate with disconnect device. Ensure that the AC each other. -
Page 6: Other Information
R If a microSD card malfunctions or is exposed to electromagnetic waves or static electricity, data on the card could become corrupted or erased. Therefore we recommend backing up important data to a computer or other device. For assistance, please visit www.panasonic.com/support... -
Page 7: Setup
LED indicator blinks in amber. Motion detection You can register each device by using the feature was triggered registration buttons or the [Home Network] Red, blinking Live images are app. being viewed or recorded For assistance, please visit www.panasonic.com/support... -
Page 8: Information About Sensor Features
We do not recommend use of the sensor features in these situations. R Panasonic takes no responsibility for any injury or damage caused by the use of the camera’s sensor features. For assistance, please visit www.panasonic.com/support... -
Page 9: Confirming The Usage Area
R You can adjust the temperature setting of R Areas exposed to grease or steam, such as the temperature sensor. For more kitchens information, refer to the User’s Guide R Near fire or heating devices (page 13). For assistance, please visit www.panasonic.com/support... -
Page 10: Connections
Tie the string and hook it to the bracket. Connect the AC adaptor to the power outlet. Note: R Use only the supplied Panasonic AC adaptor PNLV236. Note about power connections AC adaptor connection R The AC adaptor must remain connected at all times. -
Page 11: Wall Mounting
Drive the screws (not supplied) into the wall. Longer than 20 mm (25/32 inches) Space 1.3 mm (1/32 inches) Note: R Use the following template when determining the location of the screw holes. 28 mm (1 3/32 inches) For assistance, please visit www.panasonic.com/support... -
Page 12: Appendix
[Home Network] app when the camera’s sensor features are triggered, for example, if a baby is crying (sound sensor) or if the room becomes too warm or too cold (temperature sensor). For assistance, please visit www.panasonic.com/support... -
Page 13: Accessing The User's Guide
Approx. 102 mm ´ 75 mm ´ 75 mm (4 inches ´ 2 15/16 inches ´ 2 15/16 inches) R Mass (weight) Approx. 160 g (0.35 lb) The IR-LED will be lighted at the low illuminance conditions. For assistance, please visit www.panasonic.com/support... -
Page 14: Fcc And Other Information
– Consult the dealer or an experienced radio/ TV technician for help. Some cordless telephones operate at frequencies that may cause interference to nearby TVs and VCRs. To minimize or prevent such interference, the base of the For assistance, please visit www.panasonic.com/support... -
Page 15: Customer Services
For hearing or speech impaired TTY users, TTY: 1-877-833-8855 Accessory Purchases (United States and Puerto Rico) Purchase Parts, Accessories and Owner’s Manual online for all Panasonic Products by visiting our Web Site at: www.pstc.panasonic.com or, send your request by E-mail to: [email protected]... -
Page 16: Warranty (For United States And Puerto Rico)
If your product does not work properly because of a defect in materials or workmanship, Panasonic Corporation of North America (referred to as “the warrantor”) will, for the length of the period indicated on the chart below, which starts with the date of original purchase (“Limited Warranty period”), at its option either (a) repair your product with new or... - Page 17 • Send the unit to Panasonic Exchange Center, prepaid and adequately insured. • Do not send your unit to Panasonic Corporation of North America listed on the back cover or to executive or regional sales offices. These locations do not repair consumer products.
- Page 18 Notes...
- Page 19 Notes...
- Page 20 We recommend keeping a record of the following information to assist with any repair under warranty. Serial No. Date of purchase (found on the bottom of the stand) Name and address of dealer Attach your purchase receipt here. Two Riverfront Plaza, Newark, NJ 07102-5490 © Panasonic System Networks Co., Ltd. 2014...