Table of Contents
Quick Links
Table of Contents

Related Manuals for Sony BKM-16R


Summary of Contents for Sony BKM-16R
- Page 1 MONITOR CONTROL UNIT BKM-16R OPERATION MANUAL [English] 1st Edition (Revised 3)
- Page 2 TV studio). This unit has no power switch. The manufacturer of this product is Sony Corporation, 1- When installing the unit, incorporate a readily accessible 7-1 Konan, Minato-ku, Tokyo, Japan. disconnect device in the fixed wiring, or connect the power The Authorized Representative for EMC and product plug to an easily accessible socket-outlet near the unit.
-
Page 3: Table Of Contents
Table of Contents Features ................. 4 Available Monitors and Functions ........5 Location and Function of Parts ........... 6 Front Panel.................. 6 Rear Panel................... 9 Inserting/Ejecting the “Memory Stick” ......10 Notes on “Memory Stick” ............10 Mounting the Unit in a Rack..........12 Connections ................ -
Page 4: Features
Features The BKM-16R is a control unit for the BVM/PVM series business & professional video monitor. Use it to power monitors on and set in standby mode, perform menu operations, and carry out monitor setup and adjustment. For monitors connectable to this unit and usable functions, see page 5. -
Page 5: Available Monitors And Functions
Available Monitors and Functions For details on how to use each function, refer to the manual of your monitor. Monitor BVM-A series BVM series PVM-L series PVM series except BVM-A except PVM-L Available function Setup/adjustment with “Memory Stick” – – CAPTURE –... -
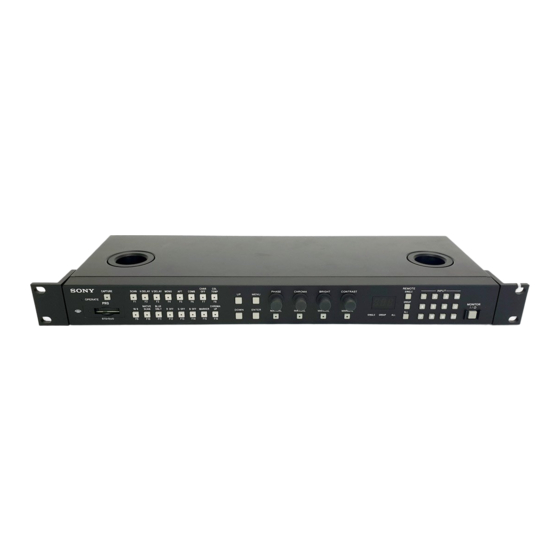
Page 6: Location And Function Of Parts
Location and Function of Parts For functions available with your monitor, see page 5. Front Panel 1 OPERATE lamp 2 Memory Stick insertion slot 3 CAPTURE button 6 MONITOR I/1 switch 7 Numeric keypad 4 Function buttons 8 Monitor selection buttons and lamps 5 Menu operation buttons 9 MANUAL adjustment buttons and knobs a OPERATE lamp... - Page 7 SCAN button: Press to change the scan size of the picture. CHROMA UP button: Press to increase the chroma setting by 12 dB. H DELAY button: Press to move the picture horizontally e Menu operation buttons and display a horizontal sync signal. The brightness of the picture increases automatically, MENU button: Displays the monitor menu.
- Page 8 Note Display window: Displays the selected ID number or ALL. The The button and knob may not function due to the input display flashes until the remote signal. For the limitations with each type of signal, refer to connection is completed. “---” is the manual of your monitor.
-
Page 9: Rear Panel
Rear Panel 1 LAN (10/100) connector 2 DC 5V/12V IN connector 3 NETWORK switch a LAN (10/100) connector (10BASE-T/100BASE-TX) Connect to the LAN (10/100) connector of the monitor by using the SMF-700 or the cable supplied with the controller attachment stand such as BKM-37H. Or connect to the network or the LAN (10/100) connector of the monitor by using a 10BASE-T/100BASE-TX LAN cable (shielded- type, optional). -
Page 10: Inserting/Ejecting The "Memory Stick
“Memory Stick” and “Memory Stick” compliant product you use. Memory Stick insertion slot What is MagicGate? MagicGate is copyright protection technology developed by Sony Corporation. Before using a “Memory Stick”/“Memory Insert the “Memory Stick” facing the arrow mark upward. Stick PRO”... - Page 11 Duo”, “Memory Stick PRO Duo”, “Memory Stick Micro”, “M2” and are trademarks or registered trademarks of Sony Corporation. Before using a “Memory Stick Micro” Attach the M2 adaptor to the “Memory Stick Micro” to Windows is a registered trademark of Microsoft insert into the slot of the unit.
-
Page 12: Mounting The Unit In A Rack
Connect the connector to the shape of the DC 5V/12V IN Attach the rack mount brackets to each side of the unit connector. with the rack mount attachment screws. BKM-16R (this unit) Plug the female Rack mount bracket connector. Rack mount attachment screws... -
Page 13: Connecting The Multiple Units With The Lan
Connecting the Multiple Units with the LAN LAN (10/100) DC 5V/12V IN connector connector BKM-16R (this unit) The unit controls up to 32 monitors. Up to four units are connected to one monitor in single mode. Note NETWORK switch tSet to LAN. -
Page 14: Specifications
NETWORK switch to LAN. Set the NETWORK switches of each monitor and the General unit to LAN. Power requirements BKM-16R Note DC IN: 5 V, 1.1 A (supplied by the connected monitor) For connection, also refer to the manual of the connected DC IN: 12 V, 0.5 A (supplied by the... -
Page 15: Dimensions
TO RECORD CONTENT OF ANY TYPE. • Always verify that the unit is operating properly 14.8 before use. SONY WILL NOT BE LIABLE FOR DAMAGES OF ANY KIND INCLUDING, BUT NOT LIMITED TO, COMPENSATION OR REIMBURSEMENT ON ACCOUNT OF THE... - Page 16 The material contained in this manual consists of information that is the property of Sony Corporation and is intended solely for use by the purchasers of the equipment described in this manual. Sony Corporation expressly prohibits the duplication of any...
- Page 17 Sony Corporation BKM-16R (WW) 3-213-868-14(1) © 2008...