Table of Contents
Table of Contents

Related Manuals for Sony IPT-DS10M


Summary of Contents for Sony IPT-DS10M
- Page 1 User guide Smart Imaging Stand IPT-DS10M...
-
Page 2: Table Of Contents
Contents Smart Imaging Stand User guide...........3 Introduction..................4 Function overview................4 Hardware overview................4 Basics.....................5 Assembly...................5 Batteries.....................5 Turning the Smart Imaging Stand on and off........6 Resetting the Smart Imaging Stand...........6 Getting started................7 Installing necessary applications............7 Pairing your Smart Imaging Stand with an Android™ phone....7 Connecting your Smart Imaging Stand with an Android™... -
Page 3: Smart Imaging Stand User Guide
Smart Imaging Stand User guide This is an Internet version of this publication. © Print only for private use. -
Page 4: Introduction
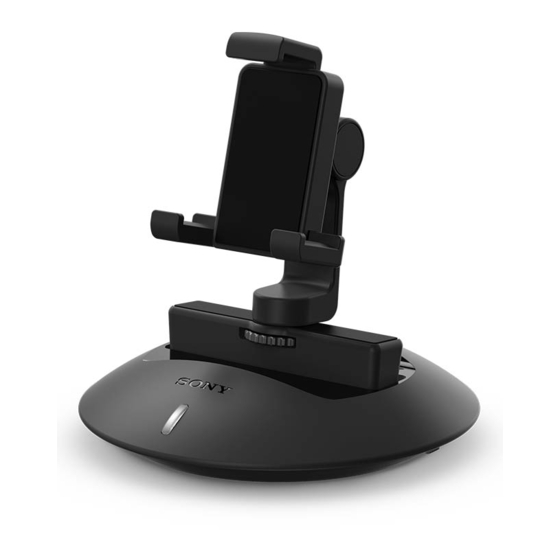
Introduction Function overview The IPT-DS10M Smart Imaging Stand is designed to make life more convenient for you when you're shooting photos and videos with the camera of your Android™ phone. The IPT-DS10M stand lets you automatically pan your phone camera clockwise or anti-clockwise and tilt it forwards or backwards in one smooth motion. -
Page 5: Basics
Basics Assembly Before using your Smart Imaging Stand for the first time, you must assemble it correctly. To assemble your Smart Imaging Stand • Rotate the screw knob anticlockwise to fasten the phone holder onto the tilt arm. The phone holder must be mounted in such a way that it faces the power indicator. Batteries Your Smart Imaging Stand uses two AA batteries as its power source. -
Page 6: Turning The Smart Imaging Stand On And Off
Turning the Smart Imaging Stand on and off To turn on the Smart Imaging Stand • Slide the power switch to the ON position. To turn off the Smart Imaging Stand • Slide the power switch to the OFF position. Resetting the Smart Imaging Stand Reset the Smart Imaging Stand if it behaves unexpectedly. -
Page 7: Getting Started
Getting started Installing necessary applications For your Smart Imaging Stand to work with an Android™ phone, you must first install the Smart Connect application (version 5.4 or higher) and then install the Smart Imaging Stand application on the phone. To install the Smart Connect application on an Android™ phone Turn on the Smart Imaging Stand. -
Page 8: Connecting Your Smart Imaging Stand With An Android™ Phone
To automatically pair the Smart Imaging Stand with an Android™ phone Turn on the Smart Imaging Stand. Make sure the Smart Connect application and the Smart Imaging Stand application are successfully installed on the phone. Make sure the phone screen is active and that the NFC function in the phone is turned on. - Page 9 To automatically connect your Smart Imaging Stand with an Android™ phone Android™ phone: Make sure the Bluetooth® function is turned on and that your Smart Imaging Stand is paired with the phone. Place the phone over your Smart Imaging Stand so that the NFC detection area of each device touches the other.
-
Page 10: Using Your Smart Imaging Stand
Using your Smart Imaging Stand Shooting photos and videos After you connect the Smart Imaging Stand with an Android phone, you are ready to take photos and record videos. To take a photo Fasten the Android™ phone onto the phone holder so that the phone screen faces the power indicator. -
Page 11: Changing The Smile Detection Sensitivity
When using the Smile Catcher application, you can take the following steps to improve the face recognition accuracy: • Make sure there is sufficient light falling on your face. • Make sure your phone camera lens is clear of any foreign matter. Changing the smile detection sensitivity You can adjust the sensitivity of the smile detection feature. -
Page 12: Legal Information
Prior to use, please read the Important information leaflet separately provided. This User guide is published by Sony Mobile Communications AB or its local affiliated company, without any warranty. Improvements and changes to this User guide necessitated by typographical errors, inaccuracies of current information, or improvements to programs and/or equipment, may be made by Sony Mobile Communications AB at any time and without notice.