HOME
MONITORING
SMALL BUSINESS
PROTECTION
BABY
MONITORING
NANNY CAM
THEFT DETECTION
& PREVENTION
NIGHT VISION
DOORWAY
MONITORING
(INDOORS)
WAITING AREAS
CAREGIVER ASSITANCE/
MONITORING
PET SUPERVISION
http://goo.gl/3wUHy
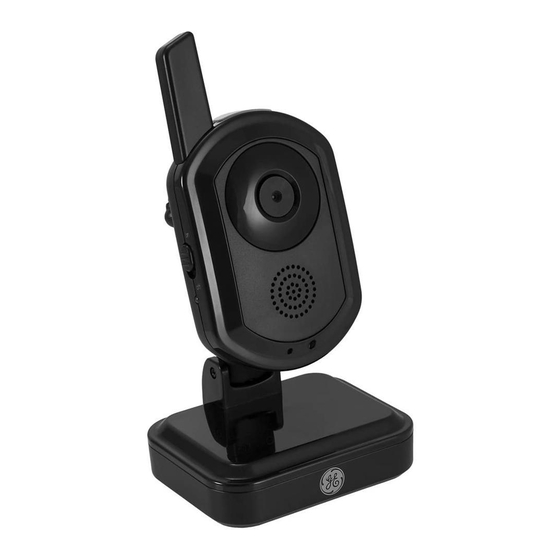
Add-on Wireless Color
Digital Camera
User Manual
NOTE: Camera and surveillance products may be
prohibited by laws that vary under federal and state
laws. IT IS THE SOLE RESPOSIBILITY OF THE USER TO
DETERMINE WHETHER THEIR USE OF THESE PRODUCTS
VIOLATES ANY APPLICABLE FEDERAL OR STATE LAWS.
45256
ver2
Table of Contents

Related Manuals for GE Add-on Wireless Color Digital Camera


Summary of Contents for GE Add-on Wireless Color Digital Camera
- Page 1 45256 ver2 Add-on Wireless Color Digital Camera User Manual HOME MONITORING SMALL BUSINESS PROTECTION BABY MONITORING NANNY CAM THEFT DETECTION & PREVENTION NIGHT VISION DOORWAY MONITORING (INDOORS) WAITING AREAS CAREGIVER ASSITANCE/ MONITORING PET SUPERVISION NOTE: Camera and surveillance products may be prohibited by laws that vary under federal and state laws.
-
Page 2: Package Contents
Congratulations on your purchase of this add-on camera for the GE Wireless Color Digital Home Monitoring Kit! Please review these instructions carefully and retain them for your future reference. PACKAGE CONTENTS: Please locate and identify all the parts before proceeding:... - Page 3 4.9mm lens infrared LEDs (night vision) speaker (lullabies & audio from monitor) IR light sensor microphone temperature sensor power switch power (fl ashes when power is low) AC power pairing control night light (manual or remote control) sensitivity control volume control wall mount slots battery...
-
Page 4: Initial Setup
INITIAL SETUP: NOTE: Before use, remove the plastic fi lm protecting the night vision LEDs (around lens). Supply power to the camera using one of the following options: • AC Adapter- 1. Plug-in one of the two AC power adapters into an electrical outlet. - Page 5 Camera Placement - Built-in Tabletop Stand and/or Wall Mount NOTE: It is recommended to complete the ‘Initial Setup’ procedures for the monitor before proceeding with mounting the camera. To simplify the mounting process, a custom wall mounting plate is included with the mounting hardware. 1.
- Page 6 4. Press and release the ‘pair’ button, located on the bottom rear part of the camera head. The monitor will allow 30 seconds before timing out. If successful, the camera will be automatically pair button added and a live video stream will appear on the display.
-
Page 7: Technical Support
TECHNICAL SUPPORT: For additional assistance: Online: www.jascoproducts.com/support Email: [email protected] Our in-house call center is open M-F, 8-5pm central (except holidays and special events). Featuring the most updated copy of the user manual, FAQs, fi rmware updates and demonstration videos. Live chat support also available for product information, troubleshooting and warranty requests (M-F, 8-5 central). - Page 8 FCC STATEMENT This device complies with part 15 of the FCC rules. Operation is subject to the following two conditions: 1) this device may not cause harmful interference, and 2) this device must accept any interference received, including interference that may cause undesired operation.