Quick Links
GE Model 19209
www.jascoproducts.com
Wireless Door Chime Kit
Installation Instructions for Battery Operated
Wireless Door Chime Kit
Required Tools: Small flat blade screwdriver, drill, drill bit, and phillips
screwdriver.
Included Hardware:
(2) Plastic screw anchors
(2) 4x20mm screws (for anchors)
(2) 3x20mm screws
(2) Double sided adhesive pads
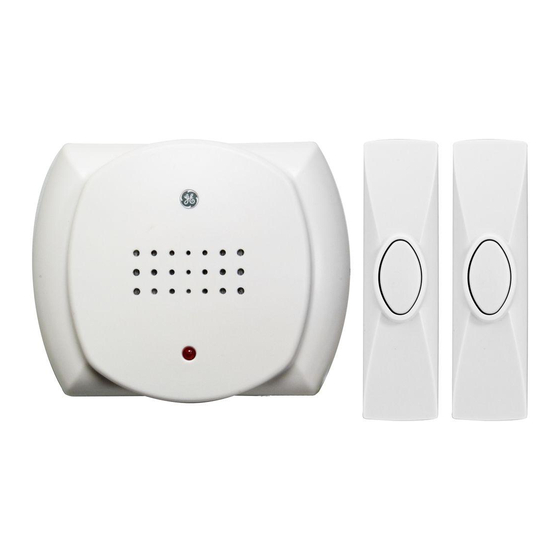
The wireless door chime Kit has two components:
Chime (receiver)
Push-Button (Transmitter).
Chime Tune Setting
All wireless chimes may have more than one push button. The chime tune for
each push button is set with jumpers 7-9.
Single Push Button Kit: If you purchased a kit with a single push button, the
chime tune will be set to Ding Dong from the factory.
Dual Push Button Kit: If you purchased a kit with two push buttons, one push
button will be set to Ding Dong and the other push button will be set to
Westminster from the factory.
The following instructions explain how to change the tune on any wireless push

Related Manuals for GE GE 19209


Summary of Contents for GE GE 19209
-
Page 1: Chime Tune Setting
(2) Plastic screw anchors (2) 4x20mm screws (for anchors) (2) 3x20mm screws (2) Double sided adhesive pads The wireless door chime Kit has two components: Chime (receiver) Push-Button (Transmitter). Chime Tune Setting All wireless chimes may have more than one push button. The chime tune for each push button is set with jumpers 7-9. - Page 2 button. 1. Remove the battery from the push button transmitter. 2. Locate the 9 position jumper shown below. 9 position jumper (This pushbutton is set for Ding Dong Chime since 7=off, 8=on, and 9=off.) 3. Select the desired chime sound from the table below. Chime Sound Table Position Westminster...
- Page 3 Parking the jumper on an open set of pins. The two jumpers on the left are in the parked position. Setting The House Security Code Each chime component has jumpers for setting the house security code. In most cases you will not need to change the factory settings for the security code.
- Page 4 2. To remove the batteries from the pushbutton, open the pushbutton case as shown below. 3. Locate the House Security Code door and screw located on the back of the AC Chime. Remove the screw and take off the door. 4. Locate the chime and pushbutton jumpers shown below.
- Page 5 Push Button Jumpers 5. Jumpers 1-6 are used to select 1 of 64 possible home security codes. 6. To change the house code, add or remove jumpers as needed. It is recommended to change only one jumper at a time and then test the system for proper operation.
- Page 6 Replacing the back cover 1. Push buttons are typically mounted at the same height as the door knob or handle (between 36" and 44" above the floor). 2. Before mounting, choose a mounting location that is not farther than 150 feet from the chime unit location.
- Page 7 Use back cover of push button as a template to mark two screw holes. Drill two holes with 3/32” drill in marked locations. Secure back cover to the mounting surface with two supplied mounting screws. Press front housing onto back cover. Test Operations, if chime does not work, see TROUBLESHOOTING.
-
Page 8: Operation
Place the chime unit’s keyhole slots over the screws and press down on the chime unit to secure it. Operation Slide power switch to “On” to turn on the chime. Gently press transmitter button to sound chime. -
Page 9: Troubleshooting
1. This device may not cause harmful interference, and 2. This device must accept interference received, including any interference that may cause undesired operation. For technical support contact Jasco Products Company at 1-800-654-8483 or www.jascoproducts.com Made in China is a trademark of...