Quick Links
1 Rotate the screw shown in the diagram and remove the
cover.
2 Attach the lens by rotating it in the direction of the arrow.
Be sure not to mistakenly remove the part indicated by §
in the diagram. If this part is removed, the internal filter
may be damaged.
≥ Use the Wide Conversion Lens under bright lightning. (If
used under insufficient lightning, the sharpness at the
center and near the edges of the picture may differ
considerably.)
≥ When you record with Wide Conversion Lens attached
and zoom to the extreme wide-angle setting, the four
corners of the picture may become dark (vignetting
effect).
1 Tourner la vis indiquée sur le schéma et retirer le cache.
2 Fixer l'objectif en le tournant dans le sens de la flèche.
Bien veiller à ne pas retirer par erreur la section indiquée
sur le schéma par un astérisque § . Cela pourrait
endommager le filtre interne.
≥ Utiliser le convertisseur grand angle dans de bonnes
conditions d'éclairage. (Si I'éclairage est insuffisant, il est
possible que la netteté de l'image soit très différente au
centre et sur les bords.)
≥ Lorsqu'on enregistre avec le convertisseur grand angle
fixé et le zoom réglé en grand angle maximal, il est
possible que les quatre coins de l'image deviennent
sombres (effect vignette).
1
2
1
2
§
≥
≥
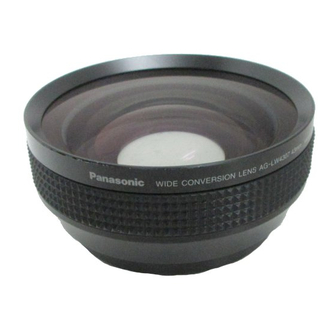
Wide Conversion Lens
AG-
Installation Guide
§
P

Related Manuals for Panasonic AG-LW4307P


Summary of Contents for Panasonic AG-LW4307P
- Page 1 Wide Conversion Lens 1 Rotate the screw shown in the diagram and remove the cover. 2 Attach the lens by rotating it in the direction of the arrow. Be sure not to mistakenly remove the part indicated by § Installation Guide in the diagram.
- Page 2 Web Site: h t t p : / / w w w . p a n a s o n i c . c o . j p / g l o b a l / AMERICA Executive Office: One Panasonic Way 4E-7, Secaucus, NJ 07094 (201) 348-7000 EASTERN ZONE: One Panasonic Way 4E-7, Secaucus, NJ 07094 (201) 348-7621...