Table of Contents
INSTRUCTION MANUAL
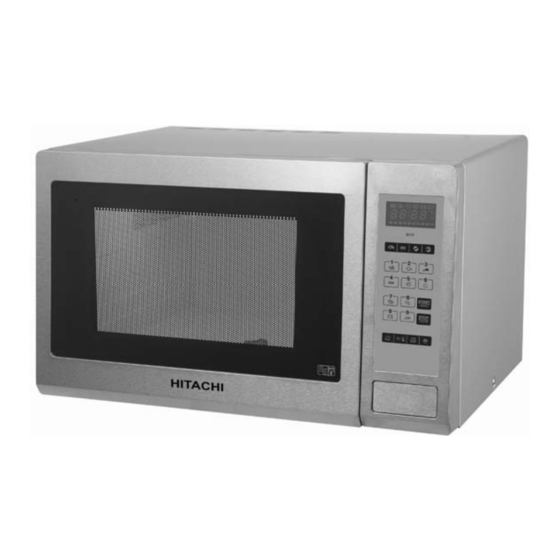
Microwave Oven
MCE130
Important - Please read these instructions fully before installing or operating and keep for future
reference.
These instructions contain important information which will help you get the best from your microwave
oven and ensure safe and correct installation and operation.
Table of Contents

Related Manuals for Hitachi MCE130


Summary of Contents for Hitachi MCE130
-
Page 1: Microwave Oven
INSTRUCTION MANUAL Microwave Oven MCE130 Important - Please read these instructions fully before installing or operating and keep for future reference. These instructions contain important information which will help you get the best from your microwave oven and ensure safe and correct installation and operation. -
Page 2: Table Of Contents
Contents IMPORTANT SAFETY INSTRUCTIONS.................. 2 COOKING UTENSILS....................... 4 OVEN OVERVIEW ........................6 TURNTABLE INSTALLATION ....................6 COUNTERTOP INSTALLATION ....................7 MICROWAVE OVEN INSTALLATION ..................7 CONTROL PANEL........................8 OPERATION ..........................9 CLEANING AND MAINTENANCE ..................15 SPECIFICATIONS........................17 TROUBLESHOOTING ......................17... -
Page 3: Important Safety Instructions
READ CAREFULLY AND KEEP FOR FUTURE REFERENCE. PRECAUTIONS TO AVOID POSSIBLE EXPOSURE TO EXCESSIVE MICROWAVE ENERGY The oven cannot be operated with the door open due to the safety interlocks built in the door mechanism which switch off cooking functions when the door is opened. - Page 4 Only use a temperature probe recommended for this oven. Avoid using straight-sided containers with narrow necks. Stir the liquid before placing the container in the oven and again halfway through the heating time. After heating, allow to stand in the oven for a short time. Stir or shake the contents (especially feeding bottles and baby foods) and carefully check the temperature before use.
-
Page 5: Cooking Utensils
WARNING: Ensure that the appliance is switched off before replacing the lamp to avoid the possibility of electric shock. NB. If the lamp needs replacing please contact your dealer. This appliance can be used by children aged from 8 years and above and persons with reduced physical, sensory or mental capabilities or lack of experience and knowledge if they have been given supervision or instruction concerning use of the appliance in a safe way and... - Page 6 Glassware Heat-resistant oven glassware only. Make sure there is no metallic trim. Do not use cracked or chipped dishes. Oven cooking Follow manufacturer’s instructions. Do not close with metal tie. Make slits to allow steam to escape. bags Paper plates Use for short-term cooking/warming only.
-
Page 7: Oven Overview
Names of Oven Parts A. Control Panel B. Turntable shaft C. Turntable ring assembly D. Glass Tray E. Oven Window F. Door assembly G. Safety interlock system Grill rack a. Never place the glass tray upside down. The glass tray should never be restricted. b. -
Page 8: Countertop Installation
Remove all packing material and Cabinet: Remove any protective film accessories. Examine the oven for found on the microwave oven any damage such as dents or broken cabinet surface. door. Do not install if the oven is Do not remove the light brown damaged. -
Page 9: Control Panel
Microwave cooking Press to set microwave power level. Grill cooking Press to set a grill cooking program. Convection cooking Press to program convection cooking. Combination cooking START Press to select one of four combination cooking settings. STOP Numeric buttons CLEAR Press to set the time or weight or select auto cook menus. -
Page 10: Operation
When the oven is plugged in, the display will show “0:00” and a beep sound will be heard. General STOP 1. Press once to temporarily stop cooking and you can start the CLEAR STOP START cooking again by pressing , or pressing twice to cancel the CLEAR cooking program. - Page 11 2. Press again to select 80% microwave power. “P80” will be shown on the display. 3. Press the numeric buttons 1, 0, 0 and 0 in order. START 4. Press to start cooking. NOTE: You can check the cooking power during cooking by pressing START During microwave cooking, each press of can increase 30 seconds of...
- Page 12 1. Press . “140” will be shown on the display. 2. Repeatedly press to set the desired temperature. START 3. Press to start preheating. When oven temperature is reached and buzzer sounds to remind you of putting food into the oven. 4.
- Page 13 Menu Weight (g) (Auto reheat) ( Dinner plate) 1 (approximately 240g) 2 (approximately 480g) (Coffee) 3 (approximately 720g) 1 (approximately 70g) 2 (approximately 140g) (Roll) 3 (approximately 210g) Defrosting by Time 1. Press once. “d-1” will be shown on the display. 2.
- Page 14 Defrosting Sea Food four times. “d-4” will be shown on the display. 1. Press 2. Press the numeric buttons to select the desired food weight. START 3. Press to start defrosting. Auto Menu For the food in the following table, it is not necessary to program the cooking power and time.
- Page 15 50 (with 450ml water) Pasta 100 (with 800ml water) 150 (with 1200ml water) 1 (about 230g) Potato 2 (about 460g) 3 (about 690g) 200ml 400ml Soup 600ml Roast 1000 1200 Bread Cake Pizza NOTE: When you choose cake, do not put the cake into the oven before the oven is preheated to 180 .
-
Page 16: Cleaning And Maintenance
NOTE: Auto cooking and preheating cannot be selected in a cooking program. Suppose you want to set the following cooking program: Microwave cooking (100% power level for 10 minutes) Microwave cooking (80% power level for 15 minutes) 1. Press then press the numeric buttons 1, 0, 0 and 0 in order. 2. - Page 17 food deposits or grease be allowed to accumulate on the cover, sparking will occur and may damage your oven invalidating the warranty. Before any maintenance or cleaning, disconnect the oven from the mains supply and wait for it to cool to room temperature. Oven Door Remove any food deposits and grease between the door seal and oven cavity using a damp cloth, it is important to keep this area clean at all times.
-
Page 18: Specifications
Power Consumption: 230V~, 50Hz Rated input power 1450W (Microwave): Rated output power 900W (Microwave): 1100W Rated input power (Grill): Rated input power 2500W (Convection): 2450MHz Microwave Frequency: Normal Microwave oven interfering Radio and TV reception may be affected TV reception when the microwave oven is operating. - Page 19 Information for Users in European Union Countries The above mark is in compliance with the Waste Electrical and Electronic Equipment Directive 2002/96/EC (WEEE). The mark indicates the requirement NOT to dispose the equipment including any spent or discarded batteries as unsorted municipal waste, but use the return and collection systems available.