
Related Manuals for Emerson CK5029


Summary of Contents for Emerson CK5029
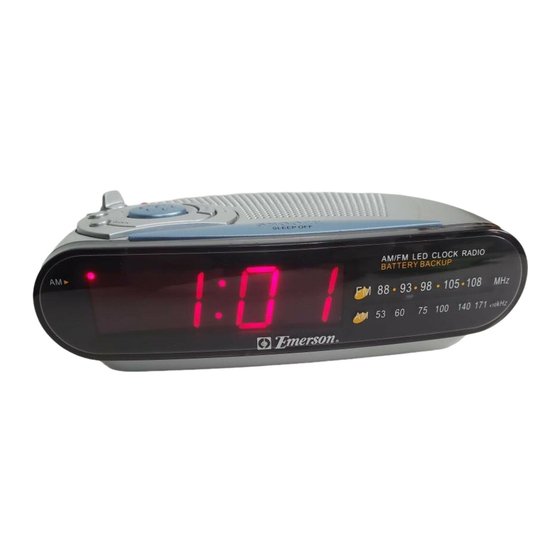
- Page 1 AM/FM Clock Radio with Sure Alarm OWNER'S MANUAL CK5029 Visit our web site at www.emersonradio.com CK5029_030405.p65 4/3/2005, 15:08...
-
Page 2: Important Safety Instructions
TO PREVENT FIRE OR SHOCK HAZARD, DO NOT USE THIS PLUG WITH AN EXTENSION CORD, RECEPTACLE OR OTHER OUTLET UNLESS THE BLADES CAN BE FULLY INSERTED TO PREVENT BLADE EXPOSURE. TO PREVENT FIRE OR SHOCK HAZARD, DO NOT EXPOSE THIS APPLIANCE TO RAIN OR MOISTURE. The lightning flash with arrow- WARNING: TO REDUCE THE head symbol, within an equi-... - Page 3 Once again, from all of us at Emerson Radio Corp., thanks for your purchase. For future reference, record the serial number in the space provided.
-
Page 4: Important Notes
IMPORTANT NOTES • Avoid installing this unit in places exposed to direct sunlight or close to heat radiating appliances such as electric heaters, on top of other stereo equipment that radiates too much heat, places lacking ventilation or dusty areas, places subject to constant vibration and/or humid or moist areas. -
Page 5: Preparation For Use
PREPARATION FOR USE Unpacking And Set Up • Remove the radio from the carton and remove all packing material from the radio. We suggest that you save the packing material, if possible, in the unlikely event that your radio ever needs to be returned for service. The original carton and packing material is the only safe way to pack your radio to protect it from damage in transit. -
Page 6: To Install The Battery
To install the battery • Open the battery compartment cover on the bottom of the radio by pressing on the locking tab in the direction of the “arrow” and lift it up. • Connect the 9-volt battery to the battery terminal. It can only be connected one way. -
Page 7: Power Source
Power Source This radio is designed to operate on normal 120V 60Hz AC power only. Do not attempt to operate the radio on any other power source. You could cause damage to the radio that is not covered by your warranty. This radio should be connected to an AC outlet that is always ‘... -
Page 8: Protect Your Furniture
Protect Your Furniture This model is equipped with non-skid rubber 'feet' to prevent the product from moving when you operate the controls. These 'feet' are made from non-migrating rubber material specially formulated to avoid leaving any marks or stains on your furniture. -
Page 9: Location Of Controls And Indicators
LOCATION OF CONTROLS AND INDICATORS Top Panel Front Panel Right Side Panel CK5029_030405.p65 4/3/2005, 15:08... - Page 10 1.) MINUTE SET Button. 2.) CLOCK Setting Button. 3.) SLEEP Button. 4.) ALARM Setting/Reset Button. 5.) HOUR SET Button. 6.) OFF-ON-BUZZ-AUTO Selector Switch. 7.) AUTO ON Indicator. 8.) AC Power Cord. 9.) DIMMER HI(High)/LO(Low) Selector Switch (Back Cabinet). 10.) Speaker. 11.) VOLUME Control.
-
Page 11: Setting The Clock
OPERATING INSTRUCTIONS Setting The Clock When you connect the radio to your AC outlet for the first time, the display will begin flashing “12:00” AM. The flashing will stop when you set the time. AM indicator 1.) Depress the CLOCK button together with the HOUR button to set the display to the correct Hour. -
Page 12: Setting The Wake Up Time
Setting The Wake Up Time 1.) Depress the ALARM button together with the HOUR button to set the display to the correct Hour. 2.) Depress the ALARM button together with the MINUTE button to set the display to the correct Minute. Note: Observe the AM indicator to make sure you have set the clock to the correct wake up hour, AM or PM. -
Page 13: Listening To The Radio
Listening To The Radio Note: Set the clock before turning the radio ‘ On’ for the first time. 1.) Set the BAND selector to the desired band, AM or FM. 2.) Set the VOLUME control to a low setting. 3.) Set the OFF-ON-BUZZ-AUTO selector switch to the “ON” position to turn the radio ‘... -
Page 14: Wake To Radio
Wake To Radio 1.) Turn the radio ‘ On’ and select the band, station, and volume level that you wish to hear when the alarm comes ‘ On’ . 2.) Reconfirm the wake up time setting. 3.) Set the OFF-ON-BUZZ-AUTO selector switch to the “AUTO” position. The AUTO ON indicator comes ‘... -
Page 15: Dimmer Control
Sleep To Music Timer The sleep to music timer allows you to fall asleep to music for up to 1 hour and 59 minutes, and then shuts the radio ‘ Off’ automatically. The sleep timer can be activated when the OFF-ON-BUZZ-AUTO selector switch is set to the OFF, BUZZ or AUTO positions. -
Page 16: Care And Maintenance
TO FIND THE LOCATION AND PHONE NUMBER OF Y OUR NEA RES T SERVI CE CE NT ER PERMITTED TO PERFORM WARRANTY... CALL TOLL FREE: 1-800-695-0098 PLEASE CALL: 1-800-898-9020 Emerson Radio Corp. Consumer Affairs Dept. 1901 Diplomat Drive, 4/3/2005, 15:08... -
Page 17: Limited Warranty
For repair or replacement, pack your unit in a padded box, enclose your check or money order payable to Emerson Radio Corp. in the amount of $5.00 (not required by California residents) to cover shipping and handling costs, and enclose a copy of your proof of purchase. - Page 18 EMERSON Part No. : 16-2984 502-01 Printed in China CK5029_030405.p65 4/3/2005, 15:08...