Table of Contents
- 1 System Set-Up
- 2 Auto Run Application
- 3 System Initialization
- 4 System Firmware Upload/Welcome Page
- 5 System Host Name Page
- 6 Setup Date/Time/Network Settings Page
- 7 Setup Disk Configuration/Disk Space Distribution
- 8 System Configuration Started
- 9 Logging into Altos Easystore Storage System
See also:
User Manual
Altos easyStore Quick Installation Guide
1.1 Packing content:
One Altos easyStore with pre-installed Hard Disk Drives
One Power cord
One Software Installation CD
One DiskSafe Express Recovery CD
One RJ-45 Networking cable
1.2 Default Setting
1.3 Hardware Installation
In order to connect Altos easyStore, perform the following steps:
1.
Carefully remove the Altos easyStore unit the package.
2. Connect an Ethernet cable from your computer directly to the back of the Altos easyStore in Figure
1-2.
3. Connect your host computer and Altos easyStore by RJ45 Networking cable in Figure 1-2.
4. Power on the Altos easyStore in Figure 1-1.
Name
User name
Password
IP Address
Subnet Mask
DHCP Client
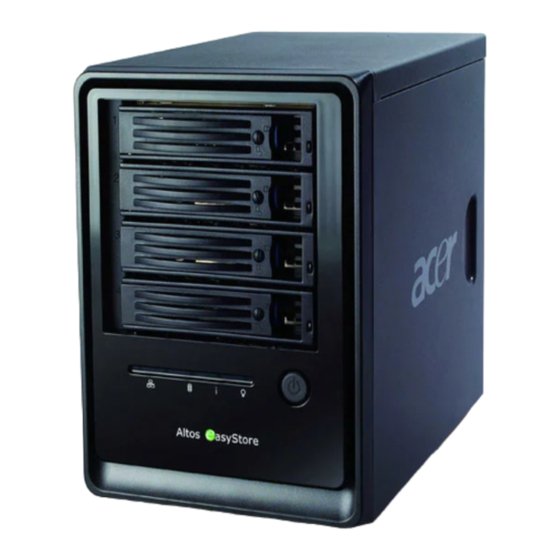
Figure 1-1: Front Panel
Figure 1-2: Rear Panel
Default Setting
admin
storage
192.168.0.101
255.255.255.0
Yes
Altos easyStore Quick Installation Guide
Table of Contents

Related Manuals for Acer Altos EasyStore


Summary of Contents for Acer Altos EasyStore
- Page 1 Altos easyStore Quick Installation Guide 1.1 Packing content: One Altos easyStore with pre-installed Hard Disk Drives One Power cord One Software Installation CD One DiskSafe Express Recovery CD One RJ-45 Networking cable 1.2 Default Setting Name Default Setting User name...
-
Page 2: System Set-Up
However, if your Altos easyStore comes with pre-installed and configured HDDs, you can skip these steps. Figure 1-4: System Initialization Note: If you plug-in HDD in system but do not display at this page. Reinstall HDD then click SCAN to search. Altos easyStore Quick Installation Guide... -
Page 3: System Firmware Upload/Welcome Page
Figure 1-8: System firmware upload complete 7. Open your web browser and type “http://192.168.0.101” in the address bar and press “ENTER”. You will be taken to the “Welcome Page”, click “NEXT” Figure 1-9: System Welcome Page Altos easyStore Quick Installation Guide... -
Page 4: System Host Name Page
9. The Host Name page appears. Click “Next” to accept the default name (NetworkStorage), or enter a desired name for Altos easyStore. The Host name can be up to 15 characters long and can include letters, numbers and hyphens. Figure 1-11: System Host Name Page Altos easyStore Quick Installation Guide... -
Page 5: Setup Date/Time/Network Settings Page
11. Setup “Network Setting”. Choose “Get an IP address automatically” (If you have DHCP server) or use the default IP 192.168.0.101. When you are done with the setting, click “Next” Figure 1-13: Network Settings Page Altos easyStore Quick Installation Guide... -
Page 6: Setup Disk Configuration/Disk Space Distribution
Figure 1-14: Setup Disk Configuration 13. The storage will be divided into 2 portions: shared folders (default is 200MB) and backups, select the desired volume for each one. When you are done, click “Finish” Figure 1-15: Disk Space Distribution Altos easyStore Quick Installation Guide... -
Page 7: System Configuration Started
16. Open your web browser and type “http://192.168.0.101” in the address bar and press “ENTER”. Default setting of username and password is “admin” and “storage” Figure 1-17: Logging into Altos easyStore Storage System 17. System initialization complete. Altos easyStore Quick Installation Guide...