HP 4400 Replacement Instructions
Controller enclosure management module
Hide thumbs
Also See for 4400:
- Software manual (77 pages) ,
- Release note (48 pages) ,
- Quickspecs (31 pages)
Quick Links
See also:
Reference, Replacement Instructions
HP Controller Enclosure
Management Module
Replacement Instructions
© Copyright 2009 Hewlett-Packard Development Company, L.P.
Second edition: May 2011
The information in this document is subject to change without notice.
Printed in Puerto Rico
www.hp.com
*593094-001*
About this document
For the latest documentation, go to
manuals, and select your product.
The information contained herein is subject to change without notice.
The only warranties for HP products and services are set forth in the
express warranty statements accompanying such products and services.
Nothing herein should be construed as constituting an additional
warranty. HP shall not be liable for technical or editorial errors or
omissions contained herein.
WARRANTY STATEMENT:
To obtain a copy of the warranty for this product, see the warranty
information website:
http://www.hp.com/go/storagewarranty
Before you begin
Port-colored (purple) latches on components like the management
module means the component is hot-swappable. The management
module can be removed and replaced without having to power the
system down.
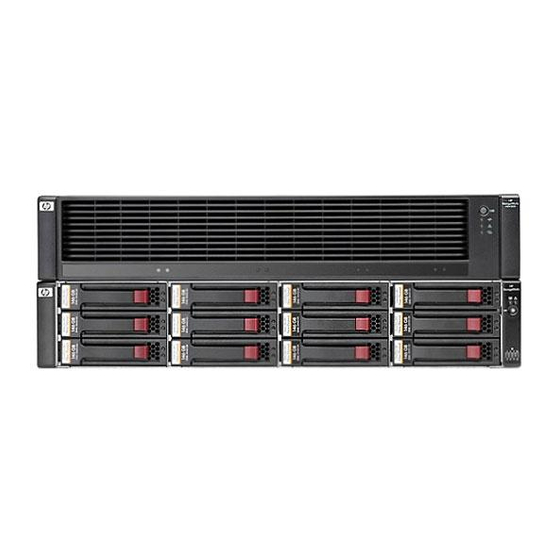
The management module is located on the rear of the chassis, above
the controllers. See
Your controller enclosure model may vary slightly from what is illus-
trated in this document.
1. Management module
Figure 1 Management module location
.
Verifying component failure
Use the following methods to verify component failure:
Check the management module status using HP P6000 Command
View:
1.
In the navigation pane, select Storage System > Hardware >
Controller Enclosure > Management Module.
2.
In the Management Module Properties window, check the status.
An operational state of
may require a replacement.
3.
To help identify the correct enclosure, select Controller Enclosure
in the navigation pane, and then click Locate > Locate On in the
content pane. This causes the blue UID indicator to blink on the
controller enclosure.
Check the array management module LEDs:
Page 1
http://www.hp.com/support/
Figure
1.
(Failed) would indicate a fault that

Related Manuals for HP 4400


Summary of Contents for HP 4400
-
Page 1: Management Module
Figure Your controller enclosure model may vary slightly from what is illus- trated in this document. © Copyright 2009 Hewlett-Packard Development Company, L.P. Second edition: May 2011 The information in this document is subject to change without notice. Printed in Puerto Rico www.hp.com... -
Page 2: Removing A Management Module
Green—Normal operation Amber—Fault condition (except during start up, when some cyc- NOTE: ling of the LED occurs) You cannot store modifications to the management module Off—No active remote management settings if the array is not initialized. Ethernet LEDs—Solid green indicates a link. Flashing yellow indic- ates activity.