Table of Contents
Quick Links
Table of Contents

Related Manuals for D-Link DPH-10U


Summary of Contents for D-Link DPH-10U
- Page 1 DPH-10U VoIP USB Phone Quick User Guide Version 1.0...
-
Page 2: Table Of Contents
TABLE OF CONTENTS 1. INTRODUCTION ...3 2. PACKAGE CONTENTS ...3 3. REQUIREMENTS...4 4. DPH-10U INSTALLATION ...4 5. ENABLING DPH-10U ...10 6. DPH-10U KEYPAD BUTTON... 11 7. DPH-10U STATES ...12 7.1 DPH-10U LED ...12 7.2 T DPH-10U...12 ESTING 8. UTILITY CONFIGURATION ...15 8.1 O... -
Page 3: Introduction
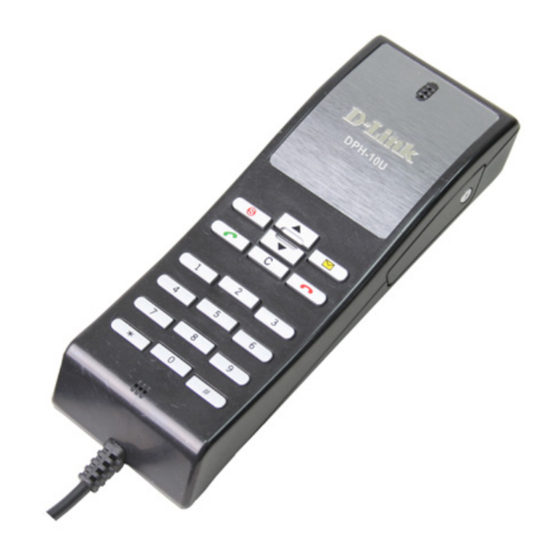
It has phone’s look but it is best to use for family, office or SOHO 2. Package Contents The DPH-10U package includes the following (note that your particular hardware and cables may look slightly different than shown below). 1. DPH-10U... -
Page 4: Requirements
3. Requirements In order to install the DPH-10U VoIP USB Phone you will need the following: 1. DPH-10U VoIP USB Phone 2. PC with the following minimum specifications: o Pentium 400MHz or equivalent o Windows 2000 or XP o Available USB port (1.0, 1.1 or 2.0) o Skype™... - Page 5 Insert the supplied CD-ROM into your PC CD-ROM drive. The installation should start automatically. Please press “Software(Utility)”. STEP 4: You will see the following popup. Press Next to proceed or cancel to stop the install processes. STEP 5: You press the Install and stare to install the DPH-10U Utility.
- Page 6 STEP 6: You will see the following progress bar below indicating that the installation is proceeding. STEP 7: The program installing audio driver. Press Next. STEP 8: You will see the driver install path. Press Next...
- Page 7 STEP 9: You will see the following progress bar below indicating that the installation is proceeding STEP 9: You will see the following progress bar below indicating that the installation is proceeding STEP 10: You will see the following popup. Press Finish to close the installation STEP 11: You will see the following popup.
- Page 8 (circled in red below) in your system tray as shown below. The USB Phone icon indicates that the DPH-10U software is installed and running and that you can start making calls with DPH-10U...
- Page 9 You will see a new program group named “USB Phone”, accessed from the Start button -> All Programs as shown below. You final configuration should resemble the following. DPH-10U connect PC DPH-10U connect NB...
-
Page 10: Enabling Dph-10U
PC, (2) the DPH-10U utility must be running (see green telephone in the Windows System Tray). If the DPH-10U utility is not running (i.e. no blue telephone in the system tray), make sure the DPH-10U VoIP USB Phone is connected to the PC and start the DPH-10U as shown below (Start ->... -
Page 11: Dph-10U Keypad Button
You should now see the DPH-10U in the Windows System Tray as shown below. You are now ready to use the DPH-10U VoIP USB Phone. 6. DPH-10U Keypad Button Icon Define Switching AP Switching tabs(Skype mode) User define key(Mapping mode)... -
Page 12: Dph-10U States
If you send “callme” in a chat with echo123, the echo123 service will call you and let you leave a message which will be played back to you. This will help you verify that the DPH-10U VoIP USB Phone, D-Link driver and the telephone are all connected and installed properly. - Page 13 VoIP USB Phone should ring. Pick up the handset and follow the instructions. The Echo Test Service will ask you to leave a message which will be played back immediately. This will help you verify that the DPH-10U VoIP USB Phone, DPH-10U Utility and DPH-10U Device are all connected and installed...
- Page 14 When the test concludes you can press OK on the following screen. and then press Finish on the following screen.
-
Page 15: Utility Configuration
8. Utility Configuration Please right click on the DPH-10U in the system tray and select “Open” as shown below. 8.1 Overview You can see the software version and firmware version in this page S/W Ver. : 1.00 F/W Ver. : 1.00 8.2 System... -
Page 16: Mapping Mode
8.3 Mapping Mode If You select “Mapping Mode”. You can define 6 keys to control softphone After define key. You can save the key value in your computer. The default path C:\Program Files\USB Phone\USBPhone.ini. This files name can be change. 8.4 Skype Mode If You select “Skype Mode”. -
Page 17: Recode
9. Recode ● Please press button and start to recording The system will show the icon. ● If you need stop recording, press button. The system will popup the Windows. Give a name to Files name. Press save to keep the file in your computer The record film path is “... -
Page 18: Disabling Dph-10U
10. Disabling DPH-10U In order to disable DPH-10U, right click on the DPH-10U in the system tray and select Close as shown below. You can now disconnect the DPH-10U from the PC. 11. Uninstall In order to uninstall the DPH-10U, click on the uninstall utility in the DPH-10U program group accessed from the Start button ->... - Page 19 You will see the uninstall indicator as follows. When the uninstall indicator disappears, the un-installation is complete.
-
Page 20: Technical Support
Technical Support You can find software updates and user documentation on the D-Link website. D-Link provides free technical support for customers within the United States and within Canada for the duration of the warranty period on this product. U.S. and Canadian customers can contact D-Link Technical Support through our website, or by phone.