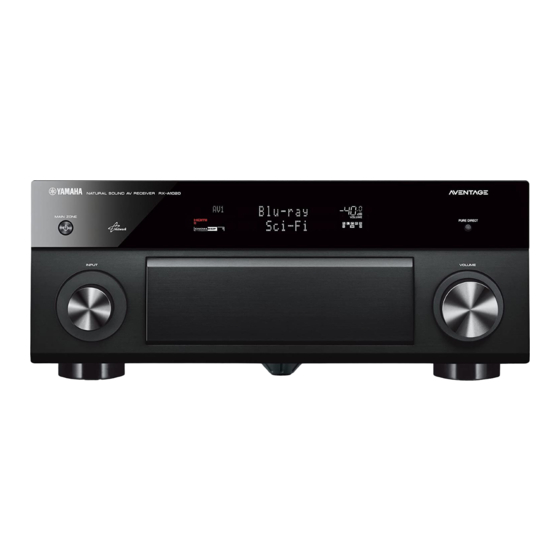
Yamaha RX-A1020 Easy Setup Manual
Easy start guide
Hide thumbs
Also See for RX-A1020:
- Owner's manual (150 pages) ,
- Specifications (2 pages) ,
- Easy setup manual (19 pages)
AV Receiver
Easy Setup Guide
English
This document explains how to set up a 5.1- or 7.1-channel system and
play back surround sound from a BD/DVD on the unit.
To reduce the impact on natural resources, the Owner's Manual for this product is
supplied on CD-ROM. For more information about this product, refer to the
Owner's Manual on the supplied CD-ROM.
PDF versions of this guide and "Owner's Manual" can be downloaded from the
following website.
http://download.yamaha.com/
[For U.S. customers only]
Visit the following website for additional information, FAQ's, downloads such as
"Owner's Manual" and product updates.
http://usa.yamaha.com/support/
UAB
1
Preparation
Accessories
Check that the following accessories are supplied with the product.
Remote control
AM antenna
*One of the above is supplied depending
on the region of purchase.
Power cable
CD-ROM
*The supplied power cable
varies depending on the
region of purchase.
• The illustrations of the main unit used in this guide are of the U.S.A. model, unless otherwise specified.
Cables required for connections
The following cables (not supplied) are required to build the system described in this
document.
• Speaker cables (depending on the number of speakers)
• HDMI cable (x2)
• Audio pin cable (x1)
• Digital optical cable or stereo pin cable (x1*)
* Not required if your TV supports ARC (Audio Return Channel)
Batteries
(AAA, R03, UM-4) (x2)
Insert the batteries the right way round.
FM antenna
*One of the above is supplied depending
on the region of purchase.
Safety Brochure
(Owner's Manual)
YPAO microphone
Easy Setup Guide
Table of Contents

Summary of Contents for Yamaha RX-A1020
- Page 1 BD/DVD on the unit. • The illustrations of the main unit used in this guide are of the U.S.A. model, unless otherwise specified. To reduce the impact on natural resources, the Owner’s Manual for this product is Cables required for connections supplied on CD-ROM.
-
Page 2: Placing Speakers
Placing speakers Set up the speakers in the room using the following diagram as a reference. For information on other speaker systems, refer to “Owner’s Manual”. 5.1-channel system 7.1-channel system 10° to 30° 10° to 30° 30 cm (1 ft) or more... -
Page 3: Connecting Speakers/Subwoofer
– (black) b Loosen the speaker terminal. c Insert the bare wires of the cable into the gap on the side (upper right or bottom left) of the terminal. d Tighten the terminal. Using a banana plug (U.S.A., Canada, China,... - Page 4 For 7.1-channel system Connect the surround speakers Connect the subwoofer (9) to the (4/5) to the SURROUND (//\) SUBWOOFER (1) jack. Connect the surround back speakers terminals. (6/7) to the SURROUND BACK (//\) terminals. CENTER ZONE OUT PRE OUT (SINGLE)
-
Page 5: Connecting External Devices
INPUT VOLUME • By connecting a TV to the unit with an HDMI cable, you can configure the unit’s settings with the menu displayed on the TV. In addition, you can select the on-screen menu language from English (default), Japanese, French, German, Spanish, Russian and Chinese. -
Page 6: Optimizing The Speaker Settings Automatically (Ypao)
The Yamaha Parametric room Acoustic Optimizer (YPAO) function detects speaker connections, measures the The following screen appears on the TV. distances from them to your listening position(s), and then automatically optimizes the speaker settings, such as volume balance and acoustic parameters, to suit your room. - Page 7 This completes optimization of the speaker settings. try YPAO measurement again. • The YPAO microphone is sensitive to heat, so should not be placed anywhere where it could be exposed to direct sunlight or high temperatures (such as on top of AV equipment).
-
Page 8: Playing Back A Bd/Dvd
We recommend playing back multichannel audio Please refer to “Owner’s Manual” on the supplied source. (5.1-channel or more) to feel surround sound produced CD-ROM to help you get the most out of the unit. by the unit. SP IMP. - DOCK...


