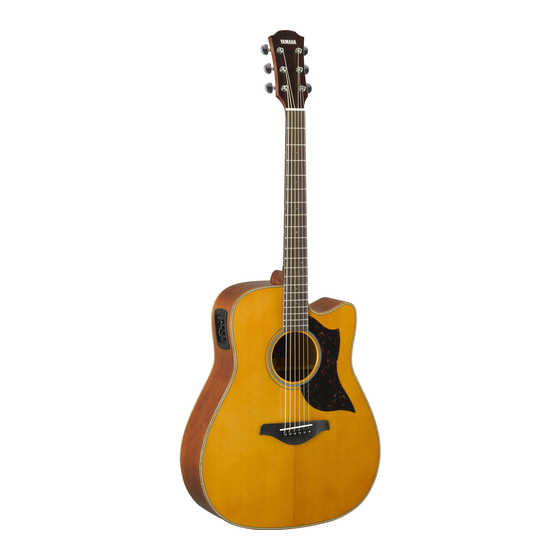
Summary of Contents for Yamaha A1M
- Page 2 Thank you for choosing a Yamaha guitar! We know that your new instrument is going to provide you with years of musical enjoyment. Your Yamaha guitar is built to be reliable and easy to maintain year after year. However there are also things the player must do to keep the guitar in top shape.
-
Page 3: Electric Guitars
Extra light gauge strings will be easier to bend, but will also have a lighter sound. It depends on the player and the style of music played. Yamaha steel-string acoustics come strung with light gauge strings. This is the most popular tension, and strikes a good balance between playability and tone. - Page 4 (not on classicals), and the levelness of the frets. All of these factors must be adjusted, and depend on one another. Your Yamaha guitar is designed to have good action right out of the box.
- Page 5 This can help prevent cracking and other problems. Yamaha guitars sold in Canada are made with wood especially designed for our climate. Most do not require humidity control, but it never hurts, especially...
-
Page 6: Suggested Tools
You can also use a set of pliers or wire cutters if necessary. Do this with care, as the pliers can scratch the guitar or mark the pin. Note: change one string at a time to keep the tension even on the neck, unless you have a specific reason to remove all of the strings. - Page 7 This ensures that the ball of the string is pulled up tightly against the inside of the top of the guitar. If this hasn’t been secured, the pin will lift up and pop out as you tighten the string and you’ll have to start again.
- Page 8 Changing Strings on a Classical (Nylon String) Guitar Classical guitar strings, in almost all cases, do not have a ball end on the string. This means that they must be tied to the bridge. Note: The guitar comes with the strings neatly tied, as shown here;...
- Page 9 Classical guitar restringing, cont’d Step 1: Tie a knot on one end of the unwound strings. Step 2: Pass the unknotted end through the hole. Step 3: Tie the end of the string as shown. Step 4: Pull the string tight.
- Page 10 They will eventually stabalize. It is best not to pull them or stretch them, as this can make the intonation uneven. Have a great time playing your Yamaha guitar! Special thanks to master guitar technician Ken Newfield for advice and photos.
- Page 11 Dave Navarro has always been on the leading edge of rock. Dave’s acoustic weapon of choice is the LLX6DN—his signature model. Your Journey wi t h Yamaha has just begun... Welcome to the Fami l y Troy Van Leeuwen is a highly respected rock guitar player with great chops and an appreciation for semi-acoustic instruments.


