Table of Contents
COMPACTORS
Use & Care Guide
For questions about features, operation/performance,
parts, accessories or service, call: 1-800-253-1301
or visit our website at
www.whirlpool.com
In Canada, for assistance, installation or service,
call: 1-800-807-6777 or visit our website at
www.whirlpool.ca
Table of Contents ................................................. 2
9872208B
Table of Contents

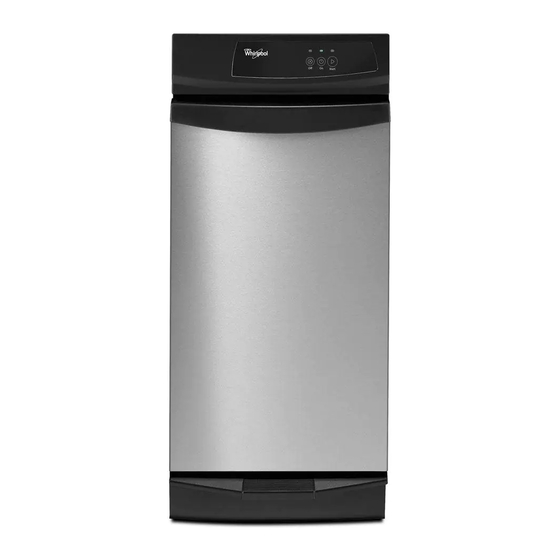
Related Manuals for Whirlpool GX900QPPB


![Trash Compactor Whirlpool [12:36:03] ?????????????????: GC900QPPB Use & Care Manual](https://static-data2.manualslib.com/product-images/d0b/614777/60x60/whirlpool-12-36-03-gc900qppb-trash-compactor.jpg)


Summary of Contents for Whirlpool GX900QPPB
- Page 1 Use & Care Guide For questions about features, operation/performance, parts, accessories or service, call: 1-800-253-1301 or visit our website at www.whirlpool.com In Canada, for assistance, installation or service, call: 1-800-807-6777 or visit our website at www.whirlpool.ca Table of Contents ... 2...
-
Page 2: Table Of Contents
COMPACTOR SAFETY ...2 INSTALLATION INSTRUCTIONS ...3 Unpacking ...3 Location Requirements...3 Electrical Requirements ...4 Freestanding and Undercounter Installation ...4 Changing the Decorative Panel ...6 COMPACTOR USE...7 How Your Compactor Works...7 Loading...8 Starting the Compactor ...8 Removing a Filled Bag ...8 Installing a New Bag ...9 Your safety and the safety of others are very important. -
Page 3: Installation Instructions
INSTALLATION INSTRUCTIONS Installer: Leave Use and Care Guide with the homeowner. Homeowner: Keep Use and Care Guide for future reference and for local electrical inspector’s use, if required. Unpacking WARNING Excessive Weight Hazard Use two or more people to move and install compactor. Failure to do so can result in back or other injury. -
Page 4: Electrical Requirements
Cutout dimensions 3" min. (7.6 cm) 24" min. (61 cm) 18" min. (45.7 cm) 15 " min. (38.7 cm) A. Grounded electrical outlet must be a minimum of 3" (7.6 cm) away from surrounding cabinets or nearby walls as shown. It can be placed either to the left or the right side of the product. - Page 5 Freestanding Installation 1. Use pliers to lower leveling legs away from cabinet. With the drawer still removed from the compactor cabinet, place level inside on the floor of the cabinet. Check that the compactor is level from front to back and side to side. Adjust the leveling legs until the compactor is level.
-
Page 6: Changing The Decorative Panel
Cabinet-face mounting A. Mounting clip (provided in conversion kit) B. Kitchen cabinet C. Retaining bracket (provided in conversion kit) D. Mounting screw (provided in conversion kit) 9. Grasp sides of compactor drawer and place bottom of drawer into tracks. Lift at the handle so drawer will go over drawer stops. -
Page 7: Compactor Use
Trimless Panel without Handle Dimensions Use these dimension drawings to create a custom panel for use without a trim kit. The panel should be 15" ( 38.1 cm ) Installation 1. Remove the mounting screws attaching the foot pedal to the compactor. -
Page 8: Loading
Loading IMPORTANT: Do not push items down into compactor with hands or feet. NOTE: You will not see compacting of trash the first few times you load the compactor. The compactor drawer should be about full before the compactor can begin to compress the load. 1. -
Page 9: Installing A New Bag
3. Push Side-Lock Latch down and tilt drawer side open. 4. Lift out bag. Installing a New Bag Do not use any kind of bag other than those designed especially for use in your compactor. Order replacement compactor bags through your local dealer or by calling the toll-free number on the cover or in the “Assistance or Service”... -
Page 10: Troubleshooting
4. Wash the interior of the drawer with a clean sponge or soft cloth and a mild detergent in warm water. Rinse and dry thoroughly with a soft cloth. 5. If the drawer side was removed, slide it back into the tilted position. -
Page 11: Assistance Or Service
To locate the Whirlpool designated service company in your area, you can also look in your telephone directory Yellow Pages. For further assistance If you need further assistance, you can write to Whirlpool Corporation with any questions or concerns at: Whirlpool Brand Home Appliances Customer eXperience Center... -
Page 12: Warranty
This warranty gives you specific legal rights, and you may also have other rights which vary from state to state or province to province. Outside the 50 United States and Canada, this warranty does not apply. Contact your authorized Whirlpool dealer to determine if another warranty applies.