Table of Contents
Quick Links
See also:
Manual
Table of Contents

Related Manuals for Samsung yePP MCD-HF920


Summary of Contents for Samsung yePP MCD-HF920
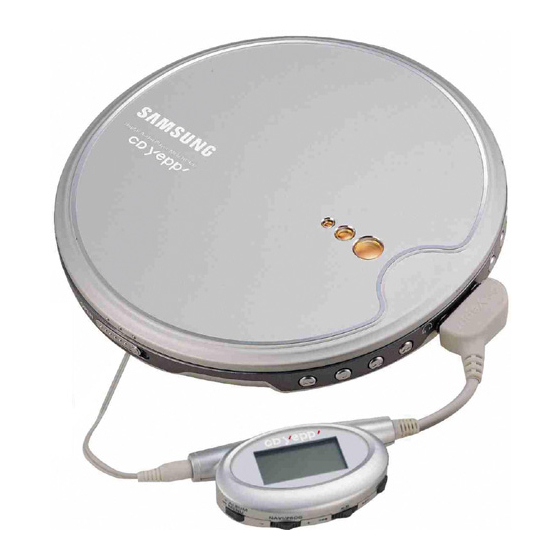
- Page 1 Portable MP3-CD Player MP3-CD, WMA-CD, CD-DA Playback SAMSUNG ELECTRONICS AMERICA, INC. MCD-HF920 SERVICE DIVISION 400 Valley Road, Suite 201 Mount Arlington, NJ 07856 1-800-SAMSUNG (1-800-726-7864) www.samsungusa.com Instruction Manual AH68-01218Q...
-
Page 2: Table Of Contents
Main Features NAVIGATION function MENU function You can easily scan and select a file You can easily customize the on an MP3(WMA)-CD. settings to your liking. ESP function FM Radio Reception You can listen to FM radio using The ESP function ensures high various functions such as resistance to shock or vibration so automatic tuning, preset FM... -
Page 3: Safety Warning
Safety Warning Take care not to allow dust Do not apply heavy or other contaminants to pressure to the player. come into contact with your player. Do not put anything other Do not use broken or than a CD (CD-R or CD-RW) scratched MP3 CDs. - Page 4 Buttons and Controls Main Unit Accessories (AH59-01138A) Remote Control Open switch Skip/Search buttons Stop ( Play/Pause ( √» ) button 6 7 8 (AH59-01152A) (4302-001089) Rechargeable Batteries Over-the-Ear (Ni-MH: 1350mAh 1.2V) x 2 Headphones Remote control Connection jack • FM button •...
-
Page 5: Buttons And Controls
Buttons and Controls Remote Control HOLD Headphone Connection jack • FM button • ST/MO button • +10 button HOLD switch • ALBUM button • MENU button Display The picture of the display panel below is based on MP3-CD playback. • NAVI/PROG button •... -
Page 6: Preparation Before Using Your Unit
Preparation before using your unit How to Connect Connect the headphones to the remote control. Connect the main unit connection jack to the main unit. Wearing headphones • Push the ear hangers in the direction of the arrow. • Place the ear hangers over your ears as shown in the picture and then push the caps close to your ears. -
Page 7: Cd Playback
Preparation before using your unit Using standard batteries (not supplied) Attach the external battery pack as shown in the picture. Open the cover of the battery compartment. Carefully check the correct orientation of the positive and negative terminals of the batteries. •... -
Page 8: Mp3(Wma)-Cd Playback
• Buttons pressed during CD playback will not function. (On the display, the “Hold” indicator will flash.) • Use the HOLD function when carrying your CD Player around with you. Use of this function will allow you to conserve battery life as it prevents the CD Player from being turned on unintentionally if a button is pressed. -
Page 9: Menu Function
Menu function You can customize the settings to your liking. • Menu Structure Menu SYSTEM MODE DISPLAY Album Last Memory Repeat Display Bar Anti shock Random Default Press and hold the ALBUM MENU/ALBUM button MENU on the remote control. • A group of menu icons will appear. Use the Iî... -
Page 10: Last Memory/Esp Function
MP3(WMA)-CD. • When MP3(WMA)-CD playback is selected again after your CD player has been stopped or turned off, the unit plays back from the start of the track that you last listened to. If the CD cover is opened, the unit resets to Track 1. -
Page 11: Default Function
Default function This function initializes all settings to their default values. Select SYSTEM in the MENU screen, and then use the Iî , ïI buttons to select Default. Use the Iî , ïI buttons to select Default YES or NO, and then press the Play/Pause ( √»... -
Page 12: Random Function
Random function Random function • All tracks will be played back in random order. Select MODE in the MENU screen, and then use the Iî , ïI buttons to select Random. Use the Iî , ïI buttons to select Random ON or OFF, and then press the Play/Pause ( √»... -
Page 13: Scroll Function
Scroll function This function is used to adjust the scroll speed of the song title. Select Display in the MENU screen, and then use the Iî , ïI buttons to select Scroll. DISPLAY Use the Iî , ïI buttons to select the desired scroll speed. -
Page 14: Navigation Function
Navigation function You can easily select and play the song you want from the album. In the stop mode Press the NAVI/PROG button. NAVI/PROG • Albums in the root folder will be displayed. Using Iî or ïI button, select the desired album or song. -
Page 15: Program Function
Program function You can store up to 30 tracks of your favorite tunes. Example) When storing track number 4 to program number 1. In the stop mode, press the NAVI/PROG button on the NAVI/PROG remote control. • When playing an MP3(WMA)-CD, press and hold the NAVI/PROG button in the stop mode. -
Page 16: Listening To Fm Radio
Listening to FM Radio To select the desired radio station Press and hold the FM button. • The frequency of the received station appears on the display of the remote control. • Press the button to select either Mono or Stereo. Use the Iî... -
Page 17: Features
Features Playback sequence of albums and tracks • Albums with .jpg, .wav or .doc are not audio files and therefore will be skipped. The player can recognize up to about 700 files. Maintaining and looking after your unit Looking after your CDs Wash the disc with a neutral detergent diluted in water, and then wipe gently with a soft dry cloth from the center of the disc to the outside. -
Page 18: Troubleshooting Guide
Troubleshooting Guide Problem Did you insert the battery with the correct polarity? Are the batteries drained? Unit has no power. Is the AC adaptor connected correctly? Is the door open? Is the disc inserted correctly? Is the disc damaged or deformed? Has the unit been locked with the HOLD switch? Has the unit been moved from a cold place to a Playback does not... - Page 19 SAMSUNG will repair or replace this product, at our option and at no charge as stipulated herein, with new or reconditioned parts or products if found to be defective during the limited warranty period specified above. All replaced parts and products become the property of SAMSUNG and must be returned to SAMSUNG.