Kenwood DRV-A501W - GPS Integrated Dashboard Camera Quick Start Guide
- Instruction manual (74 pages)
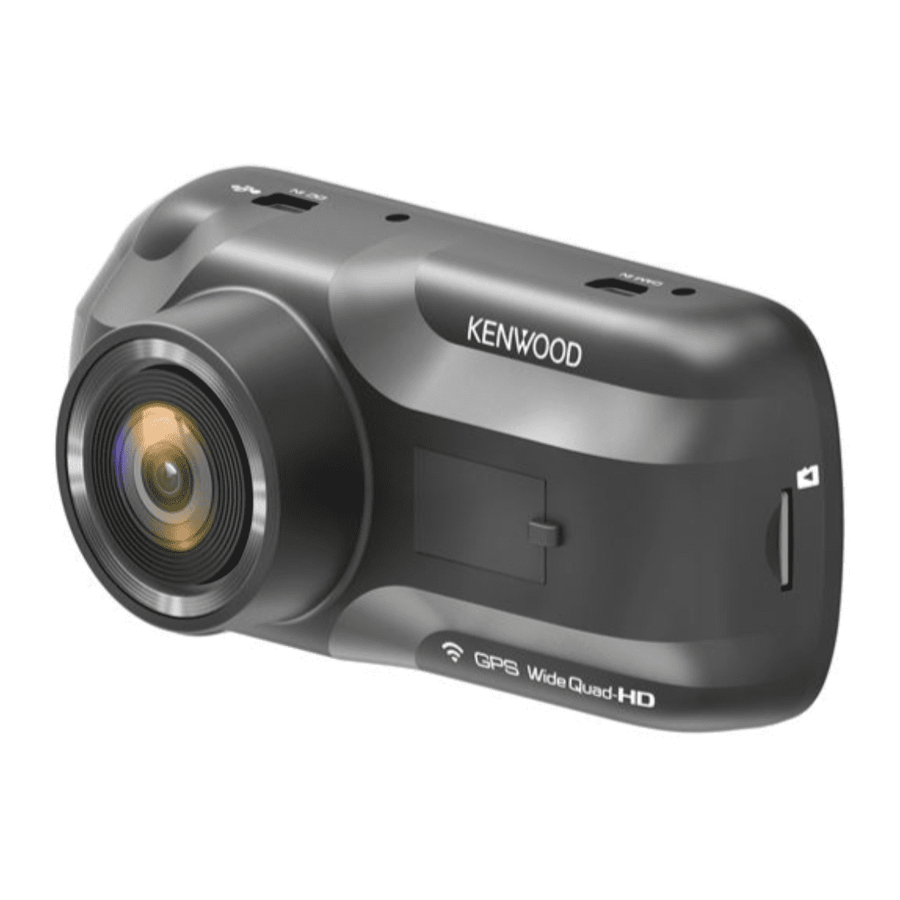
Parts Name and Functions

Parts Name
- Power Button
- Up / Mute Button
- Down / Screen Off Button
- File Protect / Wireless Link Button
- LED Indicator
- Menu Button
- Record / OK Button
- Mode / Screen Shot Button
- CAM-IN
- DC-IN / Data Transfer Port
- HD OUT
- microSD Card Slot
- Connector Port
- Reset Status Button
- Speaker
Function
Power Button
Press and hold the button for 3 seconds to turn the device on / off.
Status LED Indicator
Red: Power On, Red (Flashing): Recording, Blue: Charging
File Protect / Wireless Link Button
File Protect
Simply press the button to protect the current video file from overwriting.
Wireless Link
Press and hold for 3 seconds to turn on the Wireless Link function, this is not available while recording or during playback.
Menu Button
Press this button to open the menu of the current mode. Press this button twice to enter the general setting menu.
Record / OK Button
Record
In Video mode, press to start or stop recording. / In Photo mode, press to take a photo.
OK
The confirm button used to select options in menus.
Mode / Screen Shot Button
Mode
This button allows you to navigate between video, photo and playback modes.
Screen Shot
While you are recording in video mode, press the button and you will be able to take a screenshot of the current frame.
Reset Button
On the rare occasions the device has a problem, use the reset button to shut down the device. Simply press the reset until the device turns off and press power button to turn on.
In-Vehicle Installation
- Insert microSD Card Into The Dash Cam

The dash cam supports class 10 or above microSD card with 8GB to 256GB capacity.
Follow the symbol as directed to insert the SD card.
Do not remove or insert the memory card while the device is turned on. The microSD card is inserted as factory shipment condition. - Install Circular Polarizer Filter

Align the threaded side of the polarizer filter with device and turn it clockwise to make sure the rotation is smooth along the threaded metal area.
Rotate the polarizer filter outer metal ring clockwise and align arrow mark on the polarizer lens with the arrow mark on the device. - Connect The Dash Cam To The Magnetic Mount

Make sure you align the camera within the connector port for proper installation. - Attach The Mount To The Windshield

Select a location on the whindshield within wiping range where won't distract you. Then, put the suction mount in place and lock the mount. - Connect To Car Power Outlet

Connect the cigar lighter adapter cable that is in the package to your vehicle's 12 V outlet.
The vehicles ignition will let the camera turn on and record while connected to your vehicles 12 V outlet. When the vehicle is turned off, the camera will automatically shut down. - The First-Time Setup

When connecting the power, the dash cam will turn on and display the first-time setup. Please set your language, country, time zone, time and date etc. - First Time Use SD Card Format
When the SD card is inserted into the device for the first time, the device will ask you to format the card. - Start Recording Automatically
After formatting the card, the dash cam will start recording and you are all set.


Feature & Support
Parking Mode
Access the VIDEO MENU by pressing the MENU button while in VIDEO MODE, and then turn the Parking Mode Sensor setting to On.
In parking mode, the device will stay in a standby mode in conjunction with our hardwire kit CA-DR1030 (optional accessory). It can detect an impact above the normal level, recording events that could damage your vehicle. Also, the hardwire kit has an automatic power cutoff function. When the device detects that the car battery is below a certain level, it will cut off power to prevent draining the battery.
KENWOOD DASH CAM MANAGER Smartphone App
"KENWOOD DASH CAM MANAGER" is a smartphone app for displaying video recorded with the device. It can be used to review data and videos of the latest KENWOOD dash cameras. Download and install the app from App Store(iOS) / Google Play(Android) on your mobile device.


How to Connect:
- Long press the Wireless Link button on the device and enter the connecting mode.(Make sure the dash cam is not recording)
- Open the KENWOOD DASH CAM MANAGER of the smartphone app.
- Press the Connect button and select from the network list to pair the dashboard camera device.
- Enter the Wireless Link password into the input field.
- Connect completed, press the Continue button into the main screen of app.
KENWOOD VIDEO PLAYER Desktop Software
"KENWOOD VIDEO PLAYER" is a desktop software for displaying video recorded with the device. It can be used to review data and videos of the latest KENWOOD dash cameras.
Download the installer from https://www.kenwood.com/cs/ce/, and Install the software in a computer environment in which you have administrator's rights.
For More Information
For detailed operations and information, refer to the INSTRUCTION MANUAL on the following website:
https://www.kenwood.com/cs/ce/ or contact your dealer/JVCKENWOOD service center.
microSDXC Logo is a trademark of SD-3C LLC.
Android is a trademark of Google Inc. in the U.S. and other countries.
iOS is a trademark or registered trademark of Cisco in the U.S. and other countries.

Documents / Resources
References
Download manual
Here you can download full pdf version of manual, it may contain additional safety instructions, warranty information, FCC rules, etc.


