Table of Contents
Quick Links
Table of Contents

Summary of Contents for Hitachi GPM1NB10
- Page 1 Multi OS DVD Writer GPM1NB10 GPM1NW10...
-
Page 2: Table Of Contents
Table of Contents Product Description Before First Use Intended Use Operation 4.1. System requirements 4.1.1 DVD and CD 4.1.2 Drivers Connecting to a power source Disconnecting from the power source Inserting a disc Ejecting a disc Performing an emergency eject Installing software (Windows®... -
Page 3: Product Description
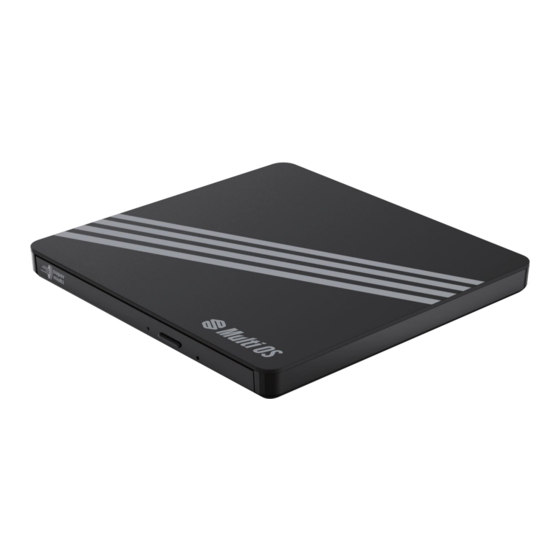
1. Product Description Micro USB port (USB 2.0) Main unit Emergency eject hole Open compartment button Indicator Disc compartment (for 3"/8 cm and 4.7"/12 cm discs) Software disc/user manual disc USB-A power/data cable... -
Page 4: Before First Use
2. Before First Use DANGER Risk of suffocation! Keep any packaging materials away from children and pets – these materials are a potential source of danger, e.g. suffocation. - Remove all the packing materials - Remove and review all components before use - Check the product for transport damages 3. -
Page 5: Connecting To A Power Source
4.2 Connecting to a power source NOTICE Do not install the product in an inclined position. It is designed to be operated in a horizontal position only. Connection to computer or A/V Device Connect the drive to the computer as shown in figure. A. -
Page 6: Disconnecting From The Power Source
NOTICE In case of computers/laptops, a single USB port might not supply enough power to operate the product. If this happens, connect both USB-A plugs (1 and 2) of the USB-A power/data cable (H). - Connect the micro USB plug of the USB-A power/data cable (H) to the micro USB port (USB 2.0) (A) (Fig. -
Page 7: Inserting A Disc
4.4 Inserting a disc CAUTION The disc rotates at high speed in the drive unit. Use of worn, damaged, or non-standard discs can adversely affect the drive and cause the disc to shatter or crush while in use. Disc crush can only occur when damaged disk is used. -
Page 8: Installing Software (Windows® Only)
4.7 Installing software (Windows® only) NOTICE The provided software is for Windows® only. Mac® software has to be installed or purchased separately. The product comes with a disc (G) containing audio/video playback, video/image editing and disc writing software. After connecting the product to power, insert the disc (G) then follow the on- screen instructions to install the desired software. -
Page 9: Mac
7. To burn the added files, click the “Manage” tab then “Drive Tools” on the tool bar ribbon of the File Explorer then click “Finish burning”. 8. Once a pop-up window opens, set the disc title, recording speed then click “Next” to start the writing process. -
Page 10: Listening To Music
2. Once a pop-up window opens, set action to “Open Finder” then click “OK”. 3. Finder opens the blank disc drive folder. 4. Copy and paste or drag files or folders that are to be burned into the disc drive. 5. -
Page 11: Disc Region Code
4.10 Disc region code Each region around the world has a different region number on the disc being sold in a region. The region code of the product can be changed to other regions up to 5 times by using the software decoder. -
Page 12: Handling Discs
5.3 Handling discs - Protect discs from dust or scratches. - Keep discs out of direct sunlight and away from heat sources. Always store the compact disc in the disc case when not in use (Fig. A). - To maintain the original content quality, occasionally wipe off the disc with a soft cloth, from the center to the outer edge (not in a circular motion) (Fig. -
Page 13: Frequently Asked Questions
6. Frequently Asked Questions Problem Possible Cause Solution The product does The power/data cable is not Check if the power/data cable is properly not switch on. connected properly. connected to 2 USB-A ports and the main unit. No sound. Volume is set too low. Increase the volume level. -
Page 14: Copyright Statement
You (the user) assume full responsibility for the responsible and legal use of this product and its software. This product was designed for private use only. 8. Specifications Model number GPM1NB10, GPM1NW10 Power input 1.6 A Protection class Supported disc sizes 3"...