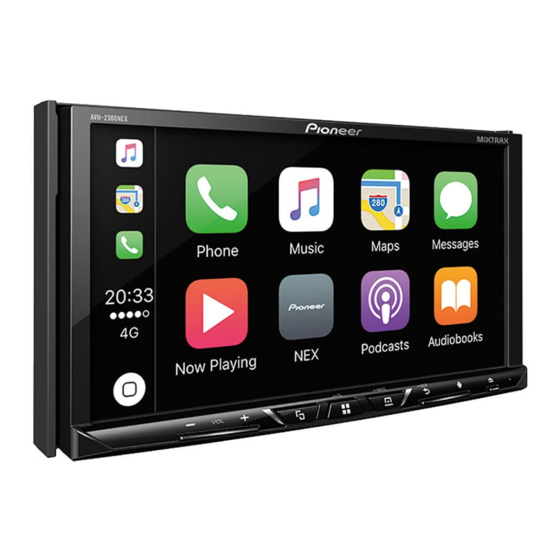
Summary of Contents for Pioneer AVH-2300NEX
- Page 1 AVH-2330NEX AVH-2300NEX AVH-1330NEX AVH-1300NEX DVD RDS AV RECEIVER Installation Manual...
-
Page 2: Important Safeguards
, use speakers over 50 W WARNING • It is extremely dangerous to allow cables (Maximum input power) and between 4 Pioneer does not recommend that you ACC position No ACC position to become wound around the steering Ω to 8 Ω (impedance value). Do not use 1 install this product yourself. -
Page 3: Notice For The Blue/White Lead
• For connecting a power amp or other This product the power amp (max. 300 mA 12 V DC). devices to this product, refer to the Pioneer navigation system Light green manual for the product to be connected. Contact your dealer to inquire about Used to detect the ON/OFF status of the •... -
Page 4: Power Amp (Sold Separately)
Right NOTE iPhone with 30-pin Front speaker (STD) or high range Select the appropriate speaker mode connector speaker (NW) between standard mode (STD) and Rear speaker (STD) or middle range network mode (NW). For details, refer to speaker (NW) the Operation Manual. White Connecting via the USB port White/black... -
Page 5: External Video Component And The Display
USB Type-C cable (Type USB A - USB C) To audio outputs External video (supplied with CD-CU50 (sold External video component (sold component and the separately)) separately) display Smartphone NOTE The appropriate setting is required to use NOTE The length of Type USB A - micro USB B the external video component. -
Page 6: Precautions Before Installation
Installation sure you leave ample space behind the rear panel and wrap any loose cables so they are not blocking the vents. Precautions before Before installing 5 cm installation • Consult with your nearest dealer if Leave ample installation requires drilling holes or space CAUTION other modifications of the vehicle. -
Page 7: Installation On The Steering Column
Microphone lead Groove Microphone base Attach the microphone clip to the sun Mount the microphone on the visor. steering column. Microphone clip Double-sided tape Clamps Clamps Use separately sold clamps to secure Use separately sold clamps to secure the lead where necessary inside the the lead where necessary inside the vehicle.


