Table of Contents
Quick Links
Table of Contents

Related Manuals for AEG AC756S


Summary of Contents for AEG AC756S
- Page 1 AC756S Original instructions...
- Page 2 mportant! It is essential that you read the instructions in this manual before assembling, operating and maintaining the product. Subject to technical modifications.
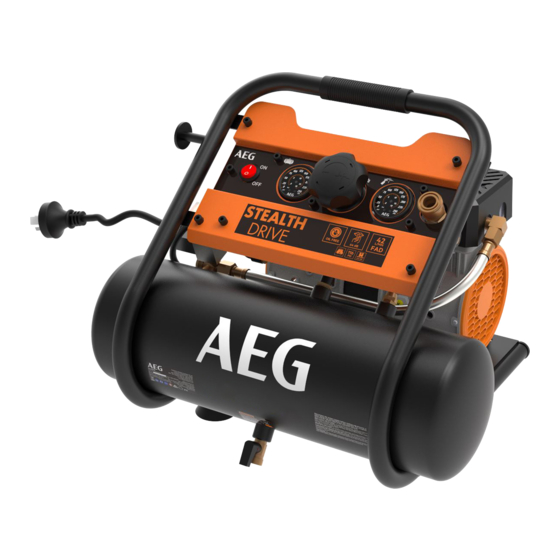
- Page 3 1 - On/off switch 2 - Tank pressure gauge 3 - Pressure regulator knob 4 - Carrying handle 5 - Regulated pressure gauge 6 - Quick connect coupler 7 - Tank 8 - Drain valve 9 - Rubber foot x4 10 - Safety valve 11 - Cord wrap hook x2 12 - Power cord...
- Page 4 Fig. 1 Fig. 4 1 - Safety valve 2 - Rotate counterclockwise to release pressure 1 - Pressure regulator knob 2 - Quick connect coupler 3 - Rotate clockwise to close Fig. 2 Fig. 5 1 - On/off switch Fig. 3 1 - Drain valve 2 - Open position 3 - Closed position...
-
Page 5: General Safety Warnings
AC756S TECHNICAL DATA AIR COMPRESSOR Rated motor power 600 W Rated current 2.5 A Air outlet 6.35mm (1/4”) NITTO style connector/ coupler (suitable for NITTO fitments) Quick connector fitting size 6.35 mm (1/4”) BSP thread Weight 16.4 kg Product dimensions (L x W x H):... -
Page 6: Air Compressor Safety Warnings
■ Remove adjusting keys and wrenches. Form habit of checking ■ Inspect tank yearly for rust, pin holes, or other imperfections that to see that keys and adjusting wrenches are removed from tool could cause it to become unsafe. before turning it on. ■... -
Page 7: Residual Risks
UNPACKING to instruct others who may use this product. If you loan someone this product, loan them these instructions also. Carefully remove the product and any accessories from the box. ■ The machine shall be connected to a circuit protection device WARNING! Inspect the product carefully to make sure no (fuse or circuit breaker). - Page 8 TURNING THE AIR COMPRESSOR ON/OFF 1. Turn the air compressor on and allow the tank to fill. The compressor will shut off when the pressure reaches the preset See figure 2. maximum. With the air compressor plugged in, press the on/off switch to the 2.
-
Page 9: Maintenance
AEG service centre. section. Leave the valve open until the next usage. Use only AEG accessories and spare parts. Should components need 5. Wrap the power cord around the cord wrap hooks. to be replaced which have not been described, please contact one of 6. - Page 10 Risk of fire or explosion. Spray area must be well ventilated. Do not smoke while spraying or spray where spark or flame is present. Keep compressors as far from the spraying area as possible. Keep compressor, at least 10 m from the spraying area and all explosive vapours.
-
Page 11: Troubleshooting
TROUBLESHOOTING PROBLEM POSSIBLE CAUSE SOLUTION Compressor will not run Loss of power or overheating Check for proper use of extension cord No electrical power Check to be sure unit is plugged in Check fuse/breaker Blown shop/house fuse Replace shop/house blown fuse Shop/house breaker open Reset shop/house breaker, determining why problem happened... -
Page 12: Parts List
PARTS LIST... - Page 13 Description Description Description Description Cover Valve Protector box Connector Left fan Washer Switch Elbow Left crankcase Bolt Safety valve PU tube Pistod rod Right fan Blockage Elbow Piston cup Shaft seal Regulator Blockage Binder plate Bearing Pressure gauge Handle cover Bolt Bolt Quick valve...
- Page 16 Techtronic Industries N.Z. Limited Unit C, 70 Business Parade South Highbrook, Auckland 2013, New Zealand AEG is a registered trade mark used under license from AB Electrolux (publ) NITTO is a registered trade mark owned by Nitto Kohki Co., Ltd. 20210813v1...