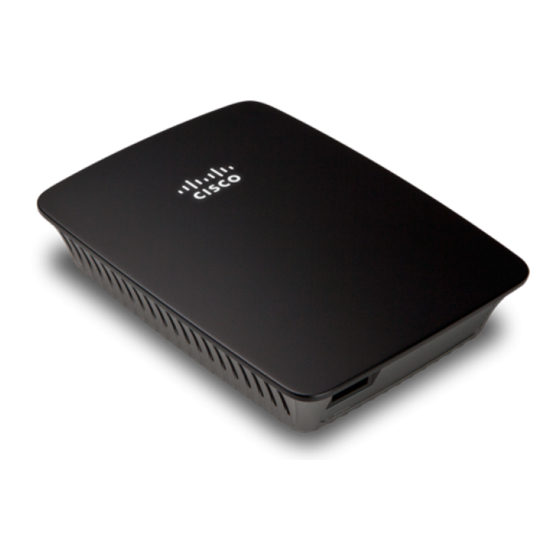
Cisco Linksys RE1000 Getting Started
Wireless-n extender
Hide thumbs
Also See for Linksys RE1000:
- User manual ,
- Getting started manual (15 pages) ,
- Quick installation manual (4 pages)
Quick Links

Related Manuals for Cisco Linksys RE1000


Summary of Contents for Cisco Linksys RE1000
- Page 1 Getting Started Linksys RE1000 Wireless-N Extender...
-
Page 2: Table Of Contents
RE1000 Range Extener Getting Starte Introduction Overview This Getting Started guie can help you connect the extener to your network an solve common setup issues. You can fin more help from our awar- Front winning, 24/7 customer support at Linksys.com/support. Contents Overview . -
Page 3: How To Install The Range Extener
RE1000 Range Extener Getting Starte How to install the range extender 1. Insert the Setup CD into a computer that is connecte to the network router. You will nee to be near the router or access point an have access to a networke computer. IMPORTANT Set up the extener close to the computer an... - Page 4 RE1000 Range Extener Getting Starte 4. Select the network to use, then click Next. 6. Click Next. Your extener is set up, an you are prompte to move the extener to its final location. 5. Type your network’s passwor, then click OK. - OR - If your network is hien (your router oes not broacast its name), click For best performance, position the extener where the wireless...
- Page 5 RE1000 Range Extener Getting Starte 7. Move the extener to its primary location, then click Next. Your router How to change the power plug configuration tests the wireless connection to your relocate extener an prompts You can connect the extener’s built-in power plug irectly to a wall power you if it nees further ajustment.
-
Page 6: How To Open The Browser-Base Utility
RE1000 Range Extener Getting Starte How to open the browser-based utility Using a wireless computer: 1. Locate the extener’s SSID. The extener comes with a pre-configure After setting up the extener with the setup software (locate on the CD), the SSID showing as LinksysExtenderxxxxx in the wireless site survey of your extener will be reay for use. -
Page 7: Using Wi-Fi Protecte Setup
isplay of networke computers. Refer to your operating system’s help for instructions.) Wi-Fi Protected Setup light activity The Cisco logo on the top panel of the extener functions as the Wi-Fi On a Mac OS X computer: Protecte Setup light. - Page 8 RE1000 Range Extener Getting Starte Connecting with the Wi-Fi Protected Setup Button Connecting devices to your network through the extender Use this metho if your router or access point has a Wi-Fi Protecte Setup button. If you have network evices, such as wireless printers, that support Wi-Fi Protecte...
- Page 9 RE1000 Range Extener Getting Starte Connecting with the Wi-Fi Protected Setup Button Connecting with the extender’s PIN Use this metho if your client evice has a Wi-Fi Protecte Setup button. Use this metho if your client evice asks for the extener’s PIN. 1.
- Page 10 RE1000 Range Extener Getting Starte How to use Site Survey To associate your extender with your known access point or router: 1. Make a note of the SSID an the security passphrase that your access The Site Survey gives a snapshot of all neighboring access points or routers point or router is actually configure...
-
Page 11: Troubleshooting
RE1000 Range Extener Getting Starte Troubleshooting You cannot access your range extender To access your range extener, you must be connecte to your own network. If NOTE you currently have wireless Internet access, the problem may be that you have Your range extener works only on the 2.4 GHz network. - Page 12 1. In the menu bar across the top of the screen, click the AirPort icon. A list JimsRouter. The name of the correct network, BronzeEagle in this example, of wireless networks appears. Cisco Connect has automatically assigne is shown selecte.
- Page 13 RE1000 Range Extener Getting Starte You have intermittent connection problems When you position your range extener, place it in a location where the signal strength can be kept between 60% an 100% for optimum performance.
-
Page 14: Specifications
WPA2™, WMM®, Wi-Fi Protecte Setup™ Buttons Reset, Wi-Fi Protecte Setup™ Operating Temperature 32 to 104°F (0 to 40°C) LEDs Backlit Cisco logo, Ethernet (active, traic) Storage Temperature -4 to 140°F (-20 to 60°C) Cabling Type CAT 5 Operating Humiity 10 to 80% nonconensing... - Page 15 Cisco, the Cisco logo, an Linksys are traemarks or registere traemarks of Cisco an/or its affiliates in the Unite States an other countries. A listing of Cisco’s traemarks can be foun at www.cisco.com/go/traemarks. All other traemarks mentione in this ocument are the property of their respective owners.