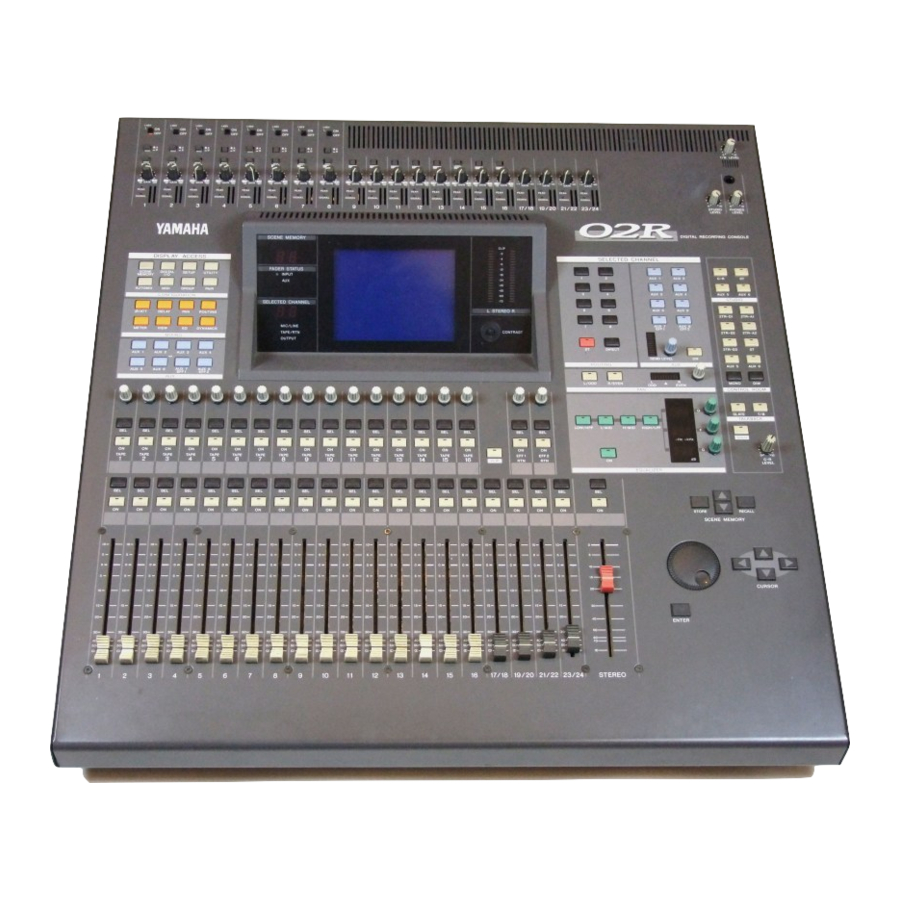
Yamaha 02R Installation Manual
Faderupgrade
Hide thumbs
Also See for 02R:
- Application manual (89 pages) ,
- Owner's manual (354 pages) ,
- Manual (398 pages)
Quick Links
AUDIO-SERVICE GMBH
02R Faderupgrade Installation
Audio-Service Ulrich Schierbecker GmbH
Schnackenburgallee 173
22525 Hamburg/Germany
Tel. : 0049/40/8517700
FAX : 0049/40/8512764
E-MAIL: [email protected]

Related Manuals for Yamaha 02R


Summary of Contents for Yamaha 02R
- Page 1 AUDIO-SERVICE GMBH 02R Faderupgrade Installation Audio-Service Ulrich Schierbecker GmbH Schnackenburgallee 173 22525 Hamburg/Germany Tel. : 0049/40/8517700 FAX : 0049/40/8512764 E-MAIL: [email protected]...
- Page 2 Disconnect all externel Equipment Opening the 02R Cover 1. Remove 18 Screws like discribed in the drawing above Open the 02R`s Topcover 4 x Screws located under the front of the 02R 6 x Screws " left and right of the 02R Frame...
- Page 3 Audio-Service Opening the 02R Frontpanel 2. The 02R`s Frontpanel is fixed at the Faderside via a hinge, so if you open the panel you should use a Stay to fix the panel in the opened position.
- Page 4 Audio-Service Remove the Connection`s of the Faderpanel Remove Cable connected to : CN 361 = Power Supply Board; CN 361; CN 362; CN 363;CN 364; CN 365. = SubCPU Board.
- Page 5 Audio-Service 5. Connectors disconnected...
- Page 6 Audio-Service 6. Move the Fader in the middle position ánd remove the Faderknobs. Remove all Faderpanelsrews from the Frontpanel. 7. Carefully take the Faderpanel out of the Frontpanel...
- Page 7 Audio-Service 1. Opened 02R showing the back of the Frontpanel without the Fader Module 2. Insert the Fadermodule in the Frontpanel...
- Page 8 Audio-Service 3. Now it should look like on the two Pictures above...
- Page 9 Audio-Service 4. Place the smal metal bar like it is visible at the Pictures above...
- Page 10 5. Carefully push the Metalbar(Circuitboardholder) under the Switch Circuit Board and move the Metallbar 90 degree down. 6. Now place the Metalbarscrews on the Faderchassis to fix the Bar, but do not thighten this screws, because you need to adjust the Boardholder. Place all the screws connecting the Switchboard and the Metalbar, don`t thighten them! 7.
- Page 11 Audio-Service 8. Here you can see one of the Metalbarholderscrews (longhole) and one of the Screws connecting the switchboard. 9. Now install the SubCPU Board and connect the Cables from the Fadermodul.
- Page 12 02R Fadermodul Frontview Upside down 02R Fadermodul Backsideview ¶ ¶ ¶ ¶ ¶ ¶...
- Page 13 Connection to 02R SubCpu Board ¶ ¶ ¶ ¶ ¶ Connection to Powersupply ¶...
- Page 14 Faders are working. Switch the 02R off. performing Fader calibration: Switching the Power on while holding down the St. Fader Sel key and the right cursor key will bring the 02R in Test Program, select Fader Test (Test 9) . Perform the calibration and the Fader Moving Time then assemble the 02R.