Quick Links
See also:
User Manual
Acer LCD Monitor Quick Start Guide (QSG)
Important safety instructions
Please read the following instructions carefully.
1
To clean the LCD monitor screen:
•
Turn off the LCD monitor and unplug the power cord.
•
Spray a non-solvent cleaning solution onto a rag and clean the screen gently.
2
Do not place the LCD monitor near a window. Exposing the monitor to rain, moisture or sunlight can severely damage it.
3
Do not apply pressure to the LCD screen. Excessive pressure may cause permanent damage to the display.
4
Do not remove the cover or attempt to service this unit yourself. An authorized technician should perform servicing of
any nature.
5
Store the LCD monitor in a room with a temperature of -20° to 60° C (-4° to140° F). Storing the LCD monitor outside this
range may result in permanent damage.
6
Immediately unplug your monitor and call an authorized technician if any of the following circumstances occur:
•
Monitor-to-PC signal cable is frayed or damaged.
•
Liquid spills onto the LCD monitor or the monitor is exposed to rain.
•
The LCD monitor or case is damaged.
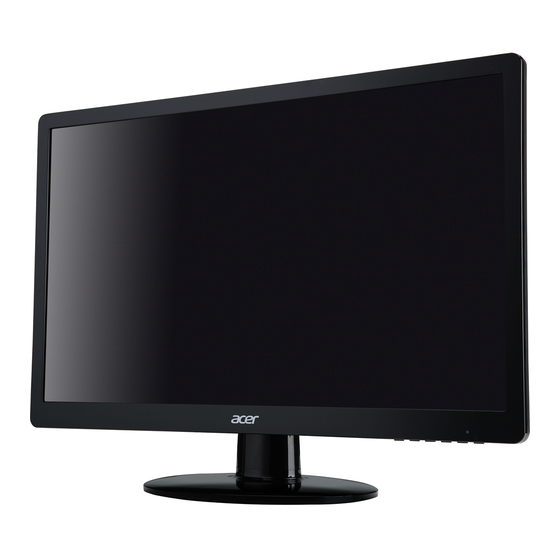
Package contents
LCD monitor
AC Power cable
Attaching the monitor to the base
1
Remove the monitor base from the packaging and place it on a stable and level workspace.
2
Remove the monitor from the packaging.
3
Attach the monitor stand arm to the base.
•
Ensure that the base is locked onto the monitor stand arm. (for selected models)
•
Secure the base to the monitor stand arm by turning the white screw using the integrated tab or a suitable coin. (for
selected models)
Connecting your monitor to a computer
1
Turn off your computer and unplug your computer's power cord.
2
Connect the signal cable to the VGA and/or DVI-D (optional) and/or
HDMI (optional) input socket of the monitor, and the VGA and/or DVI-D
(optional) and/or HDMI (optional) output socket of the graphics card
on the computer. Then tighten the thumbscrews on the signal cable
connector.
3
Connect one end of the adapter to the monitor and the other end to a
properly grounded, AC outlet.
4
Plug the power cords of your computer and your monitor into a nearby
electrical outlet.
Panel controls
No.
Item
Description
1
Power button /
Turns the monitor on/off. Blue indicates power
indicator
on. Blinking blue indicates standby / power
saving mode.
<
>
2
/
button
Press the
function or to change the settings of the current
function.
3
Menu / Enter
Press to view the OSD menu. Press it again to
button
enter a selection in the OSD menu.
•
4
Auto / Exit
button
•
5
Empowering
Press this button to open the Acer eColor
Key
Management OSD and access the scenario modes.
DVI cable
VGA cable
(Optional)
<
>
/
button to navigate to the desired
When the OSD menu is active, press this
button to exit the OSD menu.
When the OSD menu is inactive, press
this button to activate the Auto Adjustment
function.
HDMI cable
AC Adapter
(Optional)
Quick start
User guide
guide
D-SUB
DC-IN
5
4
3
2
1

Related Manuals for Acer S220HQL


Summary of Contents for Acer S220HQL
-
Page 1: Important Safety Instructions
OSD menu. • When the OSD menu is inactive, press this button to activate the Auto Adjustment function. Empowering Press this button to open the Acer eColor Management OSD and access the scenario modes. HDMI cable VGA cable AC Adapter (Optional) >... -
Page 2: Fcc Notices
Consult the dealer or an experienced radio/television technician for help. CE declaration of conformity Hereby, Acer Inc., declares that this LCD monitor is in compliance with the essential requirements and other relevant provisions of EMC Directive 2004/108/EC, Low Voltage Directive 2006/95/EC, and RoHS Directive 2002/95/EC and Directive 2009/125/EC with regard to establishing a framework for the setting of ecodesign requirements for energy-related product.