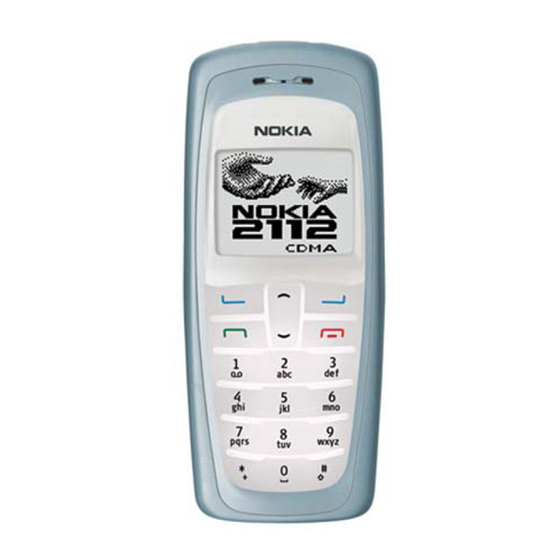
Nokia RH-57 Series Disassembly/Assembly
Hide thumbs
Also See for RH-57 Series:
- Troubleshooting manual (46 pages) ,
- Troubleshooting manual (8 pages)
Summary of Contents for Nokia RH-57 Series
- Page 1 Nokia Customer Care 2112 (RH-57) Series Transceivers Disassembly/Assembly ©2004 Nokia Corporation Issue 1 07/2004 Company Confidential...
- Page 2 2112 (RH-57) Disassembly/Assembly Nokia Customer Care Disassembly Instructions Use the following instructions to disassemble the 2112. Use the reverse order to assemble the phone. 1. Press the release button before removing the C-cover. 2. Remove the A-cover. 3. Always protect the window with a protection film to avoid dust and scratches.
- Page 3 2112 (RH-57) Nokia Customer Care Disassembly/Assembly 5. Separate the module from the B-cover and unplug the display connector carefully by removing the UI shield from system module. 6. Separate the UI shield from the system module carefully. The key dome is attached with adhesive tape, which must not be touched.
- Page 4 2112 (RH-57) Disassembly/Assembly Nokia Customer Care 9. Remove the earpiece. Note the guiding pin when re-assembling. 10. The shielding is attached with hooks at its backside. To remove the shielding from the B-cover, first expand the B-cover, then push the shielding upwards.
- Page 5 2112 (RH-57) Nokia Customer Care Disassembly/Assembly 13. Remove the antenna. 14. Use tweezers to remove the vibra motor. 15. Use tweezers to pull up the microphone. 16. To remove the DC jack, place tweezers between the spring contacts and under the jack.
- Page 6 2112 (RH-57) Disassembly/Assembly Nokia Customer Care 17. Use a flathead screwdriver as a lever to remove the release spring. 18. Turn the B-cover as shown to allow the release button to fall out. 19. Open the SIM flap and turn it as shown in the picture.
- Page 7 2112 (RH-57) Nokia Customer Care Disassembly/Assembly Exchange of Battery Connector X103 These are the two soldered support angles. 1. Use a side cutter to cut the support angles. 2. Push tweezers into the outside openings of the battery connector and lift up the plastic cover.
- Page 8 2112 (RH-57) Disassembly/Assembly Nokia Customer Care You need a soldering iron with a higher temperature when cleaning or soldering the ground pad. Note the location markings to fit the connector precisely. 4. Tin one of the pads to fix the connector before soldering the following pins.


