Philips CED1700/00 Service Manual
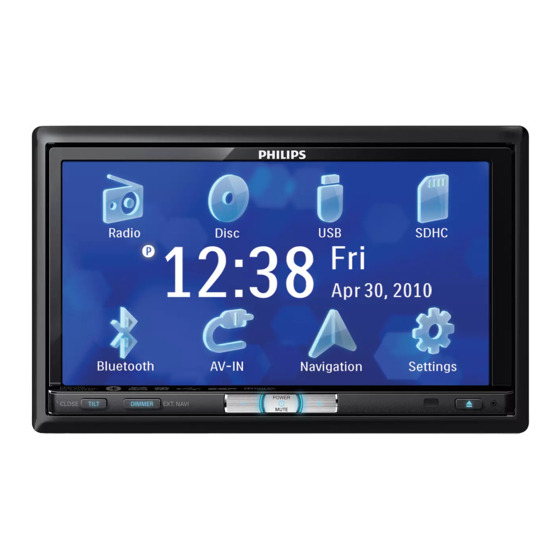
Bluetooth car audio video system
Hide thumbs
Also See for CED1700/00:
- Quick start manual (2 pages) ,
- Specifications (3 pages) ,
- Service manual (18 pages)
Table of Contents
Quick Links
Bluetooth Car audio video system
CONTENTS
Technical specification ..................................................................1-2
Version variation ...........................................................................1-2
Service measurement setup..........................................................1-3
Service aids .................................................................................1-4
Instructions on CD playability ................................................2-1..2-2
Block diagram................................................................................3-1
Wiring diagram...............................................................................4-1
Disassembly diagram............ ........................................................5-1
Main board
Circuit diagram ..................................................................6-1..6-3
Layout diagram ..................................................................6-4..6-5
Servo board
Circuit diagram ..................................................................7-1..7-2
Layout diagram .........................................................................7-3
Exploded view diagram .................................................................8-1
©
Copyright 2010 Philips Consumer Electronics B.V. Eindhoven, The Netherlands
All rights reserved. No part of this publication may be reproduced, stored in a retrieval
system or transmitted, in any form or by any means, electronic, mechanical, photocopying,
or otherwise without the prior permission of Philips.
Published by LX 1047 Service Audio
Version 1.1
Subject to modification
CED1700
/00/51/98
3141 785 35161
Table of Contents

Related Manuals for Philips CED1700/00


Summary of Contents for Philips CED1700/00
-
Page 1: Table Of Contents
Exploded view diagram ..............8-1 © Copyright 2010 Philips Consumer Electronics B.V. Eindhoven, The Netherlands All rights reserved. No part of this publication may be reproduced, stored in a retrieval system or transmitted, in any form or by any means, electronic, mechanical, photocopying, or otherwise without the prior permission of Philips. -
Page 2: Technical Specification
1 - 2 TECHNICAL SPECIFICATION Picture/Display Sound • Display screen type: LCD TFT • Equalizer: 3-bands • Diagonal screen size: 7" • Equalizer settings: Classic, Jazz, Pop, Rock, Flat, • Resolution: 800(W) x 480(H) x 3(RGB) Optimal, Techno, User defined •... - Page 3 MEASUREMENT SETUP Tuner FM Bandpass LF Voltmeter 250Hz-15kHz e.g. PM2534 e.g. 7122 707 48001 RF Generator e.g. PM5326 S/N and distortion meter e.g. Sound Technology ST1700B Use a bandpass filter to eliminate hum (50Hz, 100Hz) and disturbance from the pilottone (19kHz, 38kHz). Tuner AM (MW,LW) Bandpass LF Voltmeter...
-
Page 4: Service Aids
SERVICE AIDS WARNING All ICs and many other semi-conductors are susceptible to electrostatic discharges (ESD). Careless handling during repair can reduce life drastically. When repairing, make sure that you are connected with the same potential as the mass of the set via a wrist wrap with resistance. Keep components and tools also at this potential. -
Page 5: Instructions On Cd Playability
2 - 1 INSTRUCTIONS ON CD PLAYABILITY Customer complaint "CD related problem" Set remains closed! check playability playability ok ? For flap loaders (= access to CD drive possible) "fast" lens cleaning cleaning method is recommended check playability playability ok ? Play a CD for at least 10 minutes check playability... - Page 6 2 - 2 INSTRUCTIONS ON CD PLAYABILITY PLAYABILITY CHECK LIQUID LENS CLEANING Before touching the lens it is advised to clean the surface of the lens by blowing clean air over it. For sets which are compatible with CD-RW discs This to avoid that little particles make scratches on use CD-RW Printed Audio Disc ....7104 099 96611 the lens.
-
Page 7: Block Diagram
3 - 1 3 - 1 SET BLOCK DIAGRAM... -
Page 8: Wiring Diagram
4 - 1 4 - 1 SET WIRING DIAGRAM... -
Page 9: Disassembly Diagram
5 - 1 5 - 1 SET DISASSEMBLY DIAGRAM MAIN UNIT DISSEMBLY INSTRUCTIONS Step1:Remove screw "A" as indicated to open the panel Step2:Open top cover be carefully to avoid scratch Step3:Remove screw "B" & "C" as indicated on right side Step4:Remove screw "D"... -
Page 10: Circuit Diagram
6 - 1 6 - 1 CIRCUIT DIAGRAM - MAIN BOARD AUDIO & VEDIO PART BAT+ C500 C310 DVD_R 100nF 3.9nF R500 DVD_B 0.1uF DVD_G C501 3.9nF DVD_VS DVD_HS DVD_V DVD_L R300 C300 10uF R501 100R R308 C315 CD300 TO SERVO DVD_R SE3L R301... - Page 11 6 - 2 6 - 2 CIRCUIT DIAGRAM - MAIN BOARD POWER PART 1 BAT+ U900 AP1507 BAT+ DVD_+5V L900 100uH/15A L901 100uH/2A Q903 ACC_DET R906 R907 8550 1.5K 6.8K CD910 BAT+ R902 R908 ZD901 6.8K 47uF D901 D900 C901 CD901 CD902 C902...
- Page 12 6 - 3 6 - 3 CIRCUIT DIAGRAM - MAIN BOARD POWER PART 2 Blue Tooth Module CN100 7703R R104 3.3K RA_R TU_R C101 C102 R105 CN702 47uF 100nF CON2 1.8nF ANT1 CD700 C704 MCU_+5V BT_+5V C100 BT_RX BT_TX BT_MUTE C700 10uF R106...
-
Page 13: Layout Diagram
6 - 4 6 - 4 LAYOUT DIAGRAM - MAIN BOARD COMPONENT SIDE... - Page 14 6 - 5 6 - 5 LAYOUT DIAGRAM - MAIN BOARD COPPER SIDE...
-
Page 15: Circuit Diagram
7 - 1 7 - 1 CIRCUIT DIAGRAM - SERVO BOARD PART 1... - Page 16 7 - 2 7 - 2 CIRCUIT DIAGRAM - SERVO BOARD PART 2...
- Page 17 7 - 3 7 - 3 LAYOUT DIAGRAM - SERVO BOARD...
-
Page 18: Exploded View Diagram
8 - 1 8 - 1 EXPLODED VIEW DIAGRAM 6503 6501 CD01...