Quick Links
Installation instructions for the EPSON TMT T20 Printer with Corner Store
POS
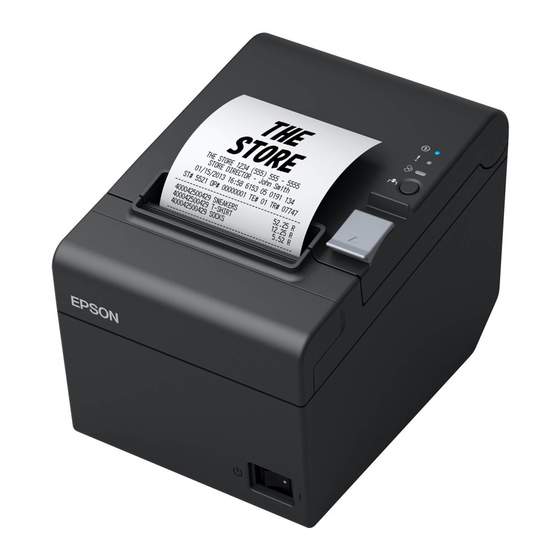
Corner Store POS supports Epson TMT T20 printers and cash drawers. This
document will detail the process of installing the correct drivers for the printer
and cash drawer and then setting up the printer and cash drawer in Corner
Store POS. Visit our
Our Store
Site.
1-866-468-5767 or 201-928-0222
International Point of Sale
1

Summary of Contents for Epson TMT T20
- Page 1 Installation instructions for the EPSON TMT T20 Printer with Corner Store Corner Store POS supports Epson TMT T20 printers and cash drawers. This document will detail the process of installing the correct drivers for the printer and cash drawer and then setting up the printer and cash drawer in Corner Store POS.
- Page 2 Installing Appropriate Drivers NOTE: Please leave printer disconnected for driver installation! 1. Start by running the setup.exe installer file, which can be downloaded at: http://www.cornerstorepos.com/downloads/hardware/OPOSADK270E.exe 2. At this initial screen, select Run. 3. Now, the file has to be unzipped. Please select any folder to download the file, and then click on Unzip.
- Page 3 4. Once the file is unzipped, now click on OK. 5. Now go to the folder where the file has been unzipped. And look for the setup.exe file and execute it by clicking on it. 6. Next, click on OK. 1-866-468-5767 or 201-928-0222 International Point of Sale...
- Page 4 7. Now click on Next. 8. Select the option, ‘I accept the terms of the license agreement’, and then click on Next. 9. Now, click on Next. 1-866-468-5767 or 201-928-0222 International Point of Sale...
- Page 5 10. Select Next. 11. Again, select Next. 1-866-468-5767 or 201-928-0222 International Point of Sale...
- Page 6 12. Select USB port and then click on Next. 13. Setup is configuring and installing the software. 1-866-468-5767 or 201-928-0222 International Point of Sale...
- Page 7 14. The installation is complete. Click on Finish. 15. Now, EPSON OPOS Utility window opens. 16. Now, right click on the POS Printer and select Add New Device. 1-866-468-5767 or 201-928-0222 International Point of Sale...
- Page 8 17. A new window, Add New Device opens. 18. Now, select from Select Device Name, TM-T20 and then click on Next. 1-866-468-5767 or 201-928-0222 International Point of Sale...
- Page 9 19. Click on the Check Health Interactive to check if the printer is working. 20. Click on Start button. Printer must work. 1-866-468-5767 or 201-928-0222 International Point of Sale...
- Page 10 21. Once this done, you get a message in the Result as OPOS_SUCCESS. Now, click on Close button. 22. Message is shown that CheckHealth was successful. Now, click on OK. 1-866-468-5767 or 201-928-0222 International Point of Sale...
- Page 11 23. Click on Finish. 24. Now, note that TM-T20U is configured. 1-866-468-5767 or 201-928-0222 International Point of Sale...
- Page 12 Similarly, right click on CashDrawer and then click on Add New Device. Select Multi A from Select Device Name; and from Select detailed model select Multi_AU option. Then, click on Next. 1-866-468-5767 or 201-928-0222 International Point of Sale...
- Page 13 Select the printer from the dropdown. In this case its, TM- T20. And then click on OK. Click on HealthCheck Interactive button. And then a window pops up click on start button. HealthCheck successful must be displayed. Cash drawer should pop out. 1-866-468-5767 or 201-928-0222 International Point of Sale...
- Page 14 Using Printer and Cash Drawer with Corner Store POS: 1. Open Corner Store POS>Set Up>Hardware Set up. 2. Within Hardware Setup select Printers tab. Select Receipt and TM-T20U. 1-866-468-5767 or 201-928-0222 International Point of Sale...
- Page 15 3. Select the option (Yes, No or Prompt) to print the receipt and then select Save & Exit. 4. Select Cash Drawers tab. Select the name of cash drawer which you had added within Installed Cash Drawers list and then select Save &...