
Related Manuals for RCA MC3770T


Summary of Contents for RCA MC3770T
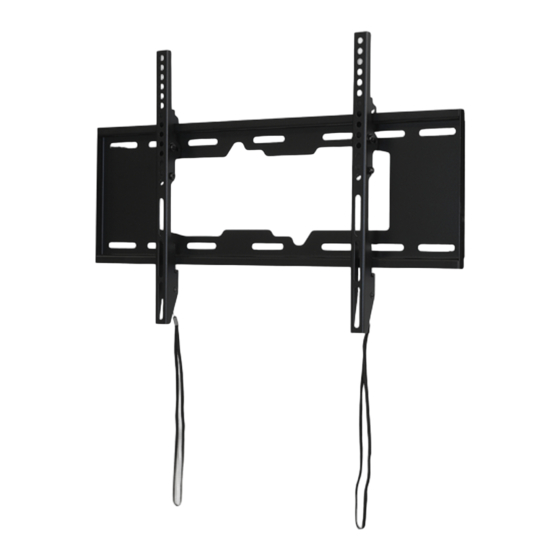
- Page 1 TILT universal tv wall mount S’INCLINE support mural universel pour tv INCLINACIÓN soporte universal de pared para TV Installation Manual Manuel d’installation Manual de instalación 70” 200x200 / 300x200 50kg 300x300 / 400x200 (110lbs) 400x300 / 400x400 RATED 600x400 MC3770T...
-
Page 2: Des Questions
Questions? Please call us at 1-800-645-7750 or visit RCAAudioVideo.com DISCLAIMER Voxx Accessories Corp. has extended every effort to ensure to accuracy and completeness of this manual. However, Voxx Accessories Corp. does not claim that the information covers all installation or operational variables. The information contained in this document is subject to change without notice or obligation of any kind. - Page 3 Si le produit est endommagé ou que des fixations sont manquantes ou endommagées, n’installez pas le produit. Si vous avez besoin de pièces ou de quincaillerie de rechange, veuillez contacter le Service à la clientèle au 1-800-645-7750. Pour les clients internationaux, contactez le détaillant auprès duquel vous avez acheté le produit. La quincaillerie fournie est conçue pour servir sur des parois verticales en bois ou en béton massif.
- Page 4 Tools Required (Not Included) Outils nécessaires (non inclus) Herramientas requeridas (no incluidas) For drywall installation Pour une installation sur une cloison sèche Para la instalación en mampostería 4.5mm (3/16”) For solid wall installation Pour une installation sur un mur plein Para la instalación en pared maciza 10mm (3/8”)
-
Page 5: Package Contents
Package Contents Contenu de l’emballage / Contenido del embalaje Level Niveau TV Wall Mount Nivel Support mural pour TV Soporte de pared para TV Allen Wrench Clé Allen Llave “Allen” Mounting Arms D (x2) Bras de montage Brazos de montaje Mounting Hardware Bags Sacs de matériel de montage / Bolsas de tornillería de montaje M-A (x4) - Page 6 Attach the mount arms to your TV Fixation des bras de montage au téléviseur Sujete los brazos de montaje a la TV IMPORTANT! Use extra care during this part of the installation. If possible, avoid placing your display facedown as it may damage the viewing surface. NOTE: This mount comes with a selection of different bolt diameters and lengths to accommodate a wide variety of display models.
- Page 7 Determine the correct diameter of bolt to use by carefully trying one of each size (M-A, M-B, or M-C) from the hardware kit. Do not force any of the bolts – if you feel resistance stop immediately and try a smaller diameter bolt. Déterminer le diamètre approprié...
- Page 8 Installation on wood stud Installation sur un montant en bois Instalación en montante de madera Use a stud finder to locate two wood studs where you wish to install your mount. Mark both edges of each stud to help identify the exact center.
- Page 9 Place the base of the mount against the wall over the marked studs. Use the included bubble level (B) to make sure the base is level and mark where the four mounting screws will go. Placer la base du support contre le mur à l’endroit des montants marqués. Utiliser le niveau à bulle (B) fourni pour s’assurer que la base est de niveau et marquer l’emplacement des quatre vis de fixation.
- Page 10 Place the base against the wall over the pilot holes. Placer la base contre le mur sur les avant-trous. Coloque la base contra la pared sobre los orificios guía. Attach the wall mount base and arm to the wall using four of the mounting screws (W-A) and mounting washers (W-C) provided.
-
Page 11: Installation On Concrete
Installation on concrete Installation sur béton Instalación en hormigón IMPORTANT! For safety reasons, the concrete wall must be capable of supporting the combined weight of the mount and the display. The manufacturer takes no responsibility for failure caused by walls of insufficient strength. IMPORTANT! Pour des raisons de sécurité, le béton doit être capable de supporter le poids total du support et de l’écran. - Page 12 Drill four 10 mm (3/8”) holes in the wall 10mm where you marked, 2.4” deep. Remove (3/8”) any excess dust from the hole. Percer quatre avant-trous de 10 mm (3/8 po) de diamètre et de 60 mm (2,4 po) de profondeur dans le mur aux emplacements marqués.
- Page 13 Place the wall plate against the wall over the inserted anchors and attach it using the mounting screws (W-A) and mounting washers (W-C) provided. Do not over-tighten these screws and do not release the wall plate until all screws are in place. Ensure that the wall plate remains level after the screws are secured.
- Page 14 Place your TV on the mount Placer le téléviseur sur la plaque murale Coloque la TV en el soporte Use the Allen wrench (C) to loosen the tilt adjustment bolts on each mount arm. Extend each tilt mechanism all the way from the TV. Then use the Allen wrench to tighten the bolts again.
- Page 15 Adjust the tilt of your TV Réglage de l’inclinaison verticale du téléviseur Ajuste el movimiento vertical de la TV To adjust the tilt: Use the included Allen wrench (C) to loosen the tilt adjustment bolts on each arm. Tilt your TV to the desired angle. Use the Allen wrench to tighten the bolts and secure the TV at the desired angle.
- Page 16 énoncées ci-dessus pourraient être nulles dans votre cas. Cette Garantie vous confère des droits juridiques spécifiques qui s’ajoutent aux autres droits éventuels qui peuvent varier d’une juridiction à l’autre. ©2020 Voxx Accessories Corp. 3502 Woodview Trace, Suite 220 Indianapolis, IN 46268 MC3770T IB 02...