
Related Manuals for Siemens CD634GA.0B


Summary of Contents for Siemens CD634GA.0B
- Page 1 Steamer CD634GA.0B User manual and installation instructions Register your product on My Siemens and discover exclusive ser- vices and offers. siemens-home.bsh-group.com/welcome The future moving in. Siemens Home Appliances...
-
Page 2: Table Of Contents
en Safety Only use this appliance: Table of contents ¡ To prepare meals and drinks. ¡ In private households and in enclosed spaces in a domestic environment. USER MANUAL ¡ Up to an altitude of max. 2000 m above sea level. Safety .............. 2 Avoiding material damage........ -
Page 3: Safety
Safety en ▶ Keep children at a safe distance. ▶ Never let the power cord come into contact If there is water in the cooking compartment with sharp points or edges. when it is hot, this may create hot steam. ▶ Never kink, crush or modify the power ▶... -
Page 4: Avoiding Material Damage
en Avoiding material damage 2 Avoiding material damage Never operate the appliance if the seal is damaged ▶ ATTENTION! or missing. Silicone bakeware is not suitable for combined opera- The prolonged presence of moisture in the cooking tion with steam. compartment leads to corrosion. Cookware must be heat- and steam-resistant. -
Page 5: Familiarising Yourself With Your Appliance
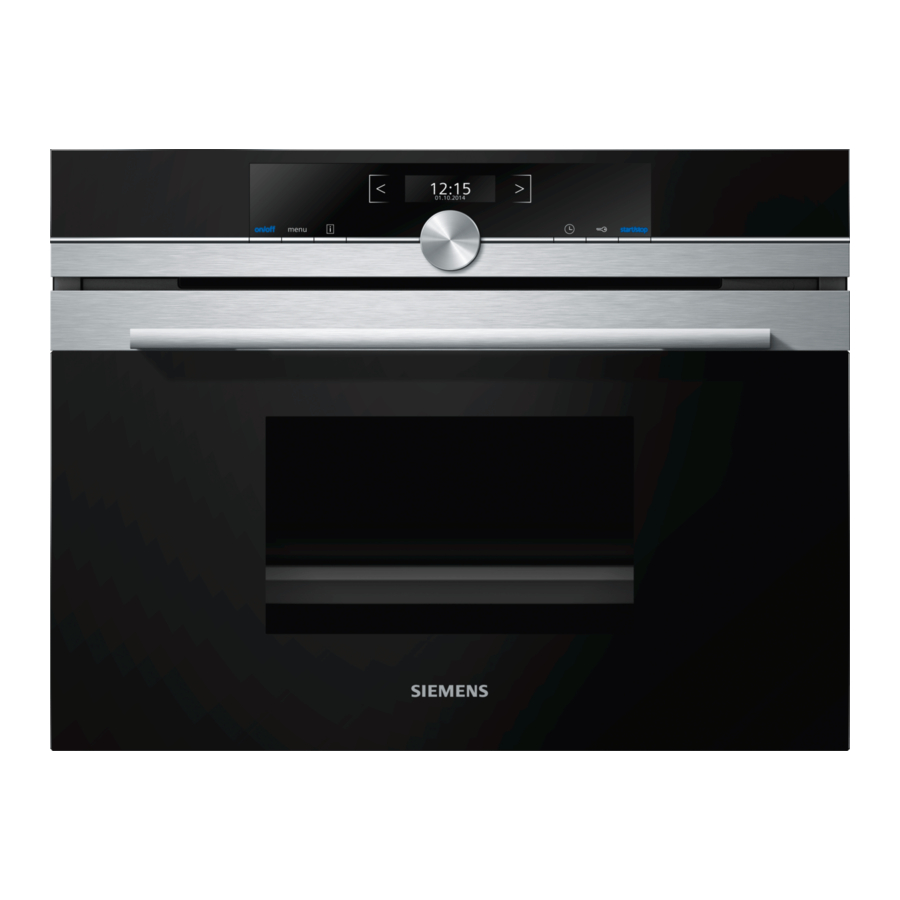
Familiarising yourself with your appliance en 4 Familiarising yourself with your appliance 4.1 Controls You can use the control panel to configure all functions of your appliance and to obtain information about the operating status. Note: On certain models, specific details such as col- our and shape may differ from those pictured. - Page 6 en Familiarising yourself with your appliance Display ¡ Residual heat indicator When the appliance is switched off, the line under The display shows the current setting values at different the status bar shows how much residual heat is in levels. the cooking compartment. Once the temperature has dropped to approximately 60 °C, the indicator Value in the The value in the foreground is high-...
-
Page 7: Accessories
Accessories en Shelf positions 4.5 Cooking compartment The shelf positions are numbered from bottom to top. The functions in the cooking compartment make your appliance easier to use. Interior lighting When you open the appliance door, the light in the cooking compartment switches on. If the appliance door remains open for longer than 15 minutes, the light switches off again. -
Page 8: Before Using For The First Time
. You will find a comprehensive range of products for your appliance in our brochures and online: www.siemens-home.bsh-group.com Accessories vary from one appliance to another. When purchasing accessories, always quote the exact product number (E no.) of your appliance. -
Page 9: Basic Operation
7.1 Switching on the appliance ating mode should appear when you switch on the ap- Press to switch the appliance on. ▶ pliance. a The Siemens logo will appear on the display, fol- → "Basic settings", Page 15 lowed by the heating function selection list. - Page 10 en Basic operation Remove the water tank from the tank recess. 7.2 Switching off the appliance Press to switch the appliance off. ▶ a The appliance will now shut down. Any functions currently in progress will be aborted. a The time will appear on the display. 7.3 Starting the appliance To start the appliance, press ...
-
Page 11: Time-Setting Options
Time-setting options en 7.6 Refilling the water tank 7.8 “Fill water tank” message If the water tank runs dry during operation, steaming If you select a heating function and the water tank is will be paused. only half full, the appliance will display the message "Fill water tank". - Page 12 en Dishes Press to confirm. Press to confirm. 8.3 Setting the cooking time 8.4 Setting the end time Once the set cooking time has elapsed, the appliance You can delay the time at which cooking is due to fin- switches off automatically. You can only use the cook- ish by up to 23 hours and 59 minutes.
- Page 13 Dishes en If necessary, use the rotary selector to change the 9.2 Setting a later end time cooking time. You can set a later end time for certain dishes. to start the operation. Requirements a The appliance starts to heat and the time counts ¡...
- Page 14 en Dishes Dish Weight/amount Accessories/cookware Shelf pos- ition Make yoghurt in jars Jars + Unperforated steaming tray Make rice pudding Unperforated steaming tray Make fruit compote Unperforated steaming tray Sterilise bottles Unperforated steaming tray Make soft-boiled eggs Medium eggs, max. 1 kg Perforated + unperforated steaming 2 + 1 tray...
-
Page 15: Dishes
Childproof lock en 10 Childproof lock You can secure your appliance to prevent children a A confirmation notification will appear on the dis- from accidentally switching it on or changing the set- play. tings. a The control panel is now locked. The appliance can only be switched off using the button. - Page 16 en Cleaning and servicing Save or discard the settings that you have just con- figured. 12 Cleaning and servicing To keep your appliance working efficiently for a long time, it is important to clean and maintain it carefully. 12.1 Cleaning agents Do not use limescale remover on the door handle or Only use cleaning products that are suitable for the dif- ▶...
-
Page 17: Cleaning And Servicing
Cleaning and servicing en Appliance door Door panels Glass cleaner After cleaning the surface, dry it with a soft cloth. Door seal Hot, soapy water Open the appliance door. 12.2 Microfibre cloth Remove the water tank and empty out the remaining The microfibre cloth removes liquids and grease. water. - Page 18 en Cleaning and servicing Running the first rinse cycle 12.7 Appliance door Remove the descaling solution from the evaporator To clean or remove the door panels, you can detach dish using the cleaning sponge provided and then the appliance door. thoroughly rinse the cleaning sponge with water. The appliance's door hinges each have a locking lever.
- Page 19 Cleaning and servicing en Open the left- and right-hand locking levers. Close the locking levers. Partially close the appliance door such that it re- Close the appliance door. mains ajar at an angle of approx. 30°. Take hold of the appliance door with both hands 12.8 Door panels (one on each side) and pull it up and out.
-
Page 20: Troubleshooting
en Troubleshooting Tilt the condensate trough upwards and remove it. Slide in the inner panel . Clean the door panels with glass cleaner and a soft When doing this, ensure that the glossy side of the cloth. Clean the condensate trough with a cloth and panel is on the outside and the cut-outs on the left hot soapy water. - Page 21 Troubleshooting en 13.1 Malfunctions Fault Cause and troubleshooting The appliance is not working. The circuit breaker is faulty. Check the circuit breaker in the fuse box. ▶ There has been a power cut. Check whether the lighting in your kitchen or other appliances are working. ▶...
- Page 22 en Troubleshooting Fault Cause and troubleshooting Appliance prompting you to fill Water tank dirty and moving water level indicators jammed. water tank even though water Shake and clean the water tank. tank not yet empty/appliance not If the jammed parts cannot be freed, order a new water tank from our after- prompting you to fill water tank sales service.
-
Page 23: Disposal
Disposal en Remove the old door seal. 13.4 Replacing the door seal Push the new door seal in on one side of the cook- If the cooking compartment's outer door seal is defect- ing compartment and then work it in all the way ive, you must replace the door seal. - Page 24 en How it works Cooking time and quantity Cooking whole menus When steaming food, cooking times depend on the With Steam functions, you can cook whole menus at size of the individual pieces and not on the total quant- once without the risk of flavours being transferred from ity.
- Page 25 How it works en Food Piece size Accessories/ Heating function Temperature in Cooking time in cookware °C Leek Sliced Perforated + un- 6 - 9 perforated steam- ing tray Sweetcorn Whole cob Perforated + un- 25 - 35 perforated steam- ing tray Chard Shredded Perforated + un- 8 - 10 perforated steam- ing tray...
- Page 26 en How it works Food Ratio Accessories/ Shelf position Heating func- Temperature in Cooking time cookware tion °C in min Peeled boiled Perforated + 2 + 1 20 - 25 potatoes unperforated steaming tray Brown rice 1:1.5 Unperforated 35 - 45 steaming tray Long-grain rice 1:1.5 Unperforated 20 - 30 steaming tray Basmati rice...
- Page 27 How it works en Beef Food Amount Accessories/ Shelf position Heating func- Temperature in Cooking time cookware tion °C in min Thin piece of 1 kg Unperforated 25 - 35 sirloin, medium steaming tray Thick piece of 1 kg Perforated + 3 + 1 30 - 40 sirloin, medium unperforated steaming tray...
- Page 28 en How it works Food Amount Accessories/ Shelf position Heating func- Temperature in Cooking time cookware tion °C in min Salmon fillet 0.15 kg each Perforated + 2 + 1 8 ‑ 10 unperforated steaming tray Mussels 1.5 kg Unperforated 10 ‑ 15 steaming tray Ocean perch 0.15 kg each Perforated + 2 + 1 80 ‑ 90...
- Page 29 How it works en Food Accessories/cook- Heating function Temperature in °C Cooking time in min ware Crème caramel Ramekins + perfor- 15 - 20 ated steaming tray Rice pudding Unperforated steam- 25 - 35 ing tray Yoghurt Glass jars + perfor- 300 - 360 ated steaming tray Apple compote Unperforated steam- 10 - 15...
- Page 30 en How it works Defrosting Food Amount Accessories/ Shelf position Heating func- Temperature in Cooking time cookware tion °C in min Berries 0.5 kg Perforated + 2 + 1 50 ‑ 55 15 - 20 unperforated steaming tray Vegetables 0.5 kg Perforated + 2 + 1 40 - 50 15 ‑ 50 unperforated steaming tray Pour the berries into the perforated steaming tray 15.11 Extracting juice and insert at position 2.
- Page 31 How it works en You may use whichever shelf position you like for 15.13 Dough proving the perforated steaming tray. Recommended settings for proving dough. Place the mixing bowl with the dough into the per- You can prove yeast dough more quickly in your appli- forated steaming tray.
-
Page 32: Customer Service
en Customer Service 15.15 Test dishes These overviews have been produced for test institutes to facilitate appliance testing in accordance with EN 60350-1:2013 or IEC 60350-1:2011 and EN 60705:2012, IEC 60705:2010. Recommended settings for test dishes Food Accessory Height Type of heating Temperature in Cooking time in °C... - Page 33 Installation instructions en ¡ Do not install the appliance behind a decor- ATTENTION! ative door or the door of a kitchen unit. Carrying the appliance by the door handle There is a risk of overheating. could break it. The door handle cannot sup- ¡...
- Page 34 en Installation instructions 17.4 Installation underneath a hob If the appliance is installed under a hob, the following minimum dimensions must be adhered to (including substructure, if applicable). The minimum worktop thickness a is based on the required minimum clearance . Hob type a raised in mm a flush in mm...
- Page 35 Installation instructions en ¡ The appliance must only be connected using the Screw the appliance into place. power cable provided. ¡ The power cable must be plugged in at the rear of the appliance until you hear a clicking sound. A 3 m power cable can be obtained from the after-sales service.
- Page 36 Valid within Great Britain: Imported to Great Britain by BSH Home Appliances Ltd. Grand Union House Old Wolverton Road Wolverton, Milton Keynes MK12 5PT United Kingdom Manufactured by BSH Hausgeräte GmbH under the trademark licence of Siemens AG *9001589406* 9001589406 (010507)