
Summary of Contents for Zanussi ZBHC8
- Page 1 Thermo ventilation ZBHC8 Caution: In order to avoid any damage or injury, installation and wiring should be done by dealers or authorized persons.
- Page 2 Installation and Usage Precaution: This product should be installed in the place which can bear the weight of this product. Incorrect installation may cause noise, resonance. Please assembly properly. In order not to cause the dew flowing back from exhaust pipe to the bathroom, the exhaust pipe should be set in downward sloping to the outdoor.
-
Page 3: Name Of Parts
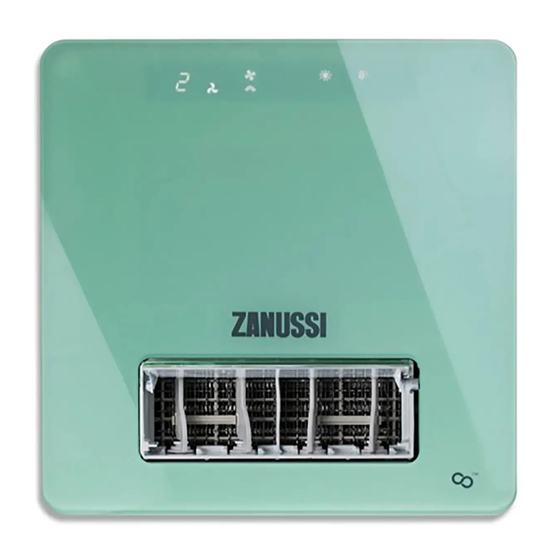
Name of Parts 1. Name of Parts Main Body Main body Receiver Oscillation louver Filter Front cover Carbon filter Glass front cover 2. Infrared Remote control DRY COOL DRY HOT HEAT AUTO VENT MODE Function key TIMER ON/OFF TURBO Delay Vent Function 15 minutes Power ON/OFF... -
Page 4: Installation Method
Installation Method A. Ceiling fixed frame method Installation schematic diagram: Adaptor Exhaut Pipe Over 5cm Main Body Downdip 1-2 Screw hole 1、 2、 3、 4 applicable Over 50cm to the wall for ceiling joist installation, suspended ceiling installation and Inspection opening window installation. - Page 5 B. Integrated suspended ceiling method 1. Install the main body Fix the main body to the booms(recommended boom M6, if necessary) 1.screw 2.nut 3.washer 4.fixed hole for the machine 5.hooded nut 2.Install the exhaust pipe Use tape or the filling to seal the junction between the exhaust pipe and adaptor. The exhaust pipe should have the tendency (1 degree to 2 degrees) down towards outside.
- Page 6 C. Window type method Front cover size: 254mmX254mm Window frame size: 210mmX219mm Main body thickness: 160mm. ≥20mm ≥20mm *Remark: Window type installation must be transverse installation. The machine needs The vent is under the ≥20mm from the wall 2 sides Wall Wall stainless steel cover...
-
Page 7: Installation Of Remote Controller
Installation of Remote Controller This is the wireless remote control, please install it to the suitable place with the accessory holder if necessary 1.Fix the R/C holder to the designated place and make marks according to the arrows 2.Dig holes 1/4(6mm) according to the marks, and fill in the holes with 4 plastic plugs. 3.Put the remote controller into the holder. - Page 8 Installation of Exhaust Pipe Please avoid the following situations when installing the exhaust pipe. 1. Over bending. 2. Bending too much. 3. The bend of the pipe comes too close to the main body. 4. The pipe shrinks. Over bending Bending too much The bend of the The pipe shrunks...
-
Page 9: Operation Status
Instructions Pre-set OPERATION STATUS FUNCTION APPLICATION Default Circulation Air outlet PTC heater setting Automatic detection AUTO operation mode VENT High/Low/ (Wind speed switch Air exhaust Turbo 2h (1-24h) key high/low) speed Delay power off Air exhaust 15 Min 15 minutes speed The bathroom in the COOL... -
Page 10: Function Descriptions
Function Descriptions 1. AUTO Function Start: press "AUTO " button, the “AUTO " indication light gets on, and the machine starts to run in automatic mode, and the air volume runs at the mode of "Lo ". After 20 seconds, the machine will run at different modes according to the room temperature(air volume automatically at "Hi "... -
Page 11: Heat Function
5. Heat Function Start: press “Heat ” button to start with a “Lo ” mode for operation and indication light gets on. You can choose “Hi ” or “Lo ” air volume by continuously press ”SPEED” button, Press "Turbo " button, enter the strong working state (running noise of the whole will be a corresponding increase), after entering the HI icon, LO lit up at the same time, again according to the... -
Page 12: Emergency Button
8. Auto-swing Start: default running the on and off operation, same with fan. If it is ON, LCD “ ” icon will display, and “ ” icon will disappear when it is off. When it is off, the swing function is invalid, and the louver will resume to 0 degree position. -
Page 13: Troubleshooting Guide
Maintenance and Safety Items ★ Maintenance: Please make sure that the machine is power off before maintenance. Please clean the front cover a] please use the soft rag or soft brush to clean the dirty place of the cover. b] Put a clean rag in the warm water dissolved with neutral detergent, then use the rag to wipe the front cover. -
Page 14: Specification
Specification Max air volume Heater Motor power Max of circulation Ventilation Function consumption 50.8 1350 HEATER(Turbo) 1300 HEATER(Hi) 1250 HEATER(Lo) 1280 DRY HOT(Turbo) 50.8 1200 DRY HOT(Hi) 1120 DRY HOT(Lo) 50.8 VENT(Turbo) VENT(Hi) VENT(Lo) 50.2 DRY COOL(Turbo) DRY COOL(Hi) DRY COOL(Lo) Delay power off Adaptor size 4”(98mm) -
Page 15: Screw List
Screw list * Be aware that any change of the specification and design will not be informed. * If any item in the English Version is different from that on Chinese Version, please refer to the Chinese Version. -14-... - Page 16 -15-...