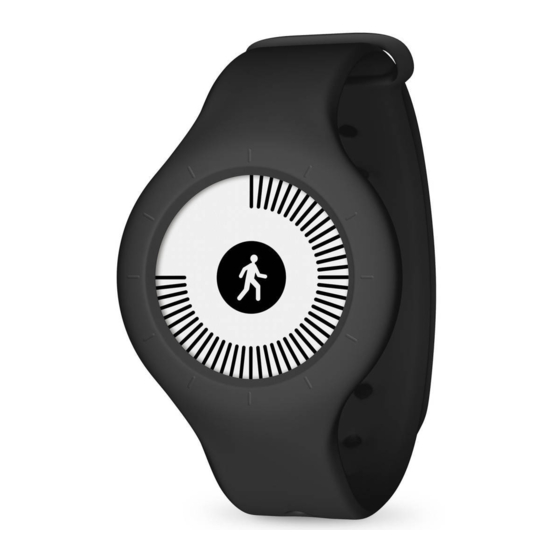
Nokia Go Manual
Hide thumbs
Also See for Go:
- Quick installation manual (20 pages) ,
- Quick installation manual (20 pages) ,
- Quick installation manual (20 pages)
Quick Links
I'm having issues installing my device. What should I do?
This article will help you if you encounter any of the following issues:
- The screen of your Nokia Go
- The
setup process fails
Before proceeding with troubleshooting, please make sure that
with the Nokia Go.
The screen of your Nokia Go doesn't turn on
If the screen of your Nokia Go doesn't turn on, try to
If you still encounter issues, reach out to Customer Service by clicking the Contact us button at
the bottom of the page.
The setup process fails
If the setup process fails, perform the following steps:
1. Make sure you have access to the internet on your mobile device.
2. Make sure that you keep the app open during the installation process.
3. Make sure that the screen of your mobile device stays on during the installation process.
4. Keep your Nokia Go close to your mobile device during the installation process.
5. Make sure your Nokia Go isn't already installed.
The screen should look like one of the following pictures if it can be installed.
doesn't turn on
your mobile device is compatible
replace the
battery.

Summary of Contents for Nokia Go
- Page 1 2. Make sure that you keep the app open during the installation process. 3. Make sure that the screen of your mobile device stays on during the installation process. 4. Keep your Nokia Go close to your mobile device during the installation process. 5. Make sure your Nokia Go isn't already installed.
- Page 2 If your Nokia Go is already installed, perform a factory reset. If you still encounter issues, reach out to Customer Service by clicking the Contact us button at the bottom of the page. Factory reset...
- Page 3 2. If necessary, try to turn off Bluetooth on your mobile device and then turn it back on. 3. If your Nokia Go is not installed on the main user profile of your account, log out from the app and then log back in with the correct user profile.
- Page 4 If your Nokia Go doesn't detect sleep when you're sleeping, it's probably because you haven't specified in the app that you're wearing your Nokia Go at the wrist. If that's the case, your Nokia Go won't be able to track your sleep. To update this, perform the following steps: 1.
- Page 5 Your Nokia Go lets you track your sleep without requiring any action on your part. All you have to do is wear your Nokia Go around your wrist when you go to sleep: it will do the rest on its own.
- Page 6 Changing the way I wear my Nokia Go in the app It is required to specify how you wear your Nokia Go in the app. The reason for that is that sleep and swim detection are only enabled when the app knows you’re wearing your Nokia Go at the wrist.
- Page 7 4. Tap Change how you wear your Go.
- Page 8 Your Nokia Go lets you track your sleep without requiring any action on your part. All you have to do is wear your Nokia Go around your wrist when you go to sleep: it will do the rest on its own.
- Page 9 Changing the way I wear my Nokia Go in the app It is required to specify how you wear your Nokia Go in the app. The reason for that is that sleep and swim detection are only enabled when the app knows you’re wearing your Nokia Go at the wrist.
- Page 10 2. Tap My devices. 3. Tap Nokia Go. 4. Tap Change how you wear your Go.
- Page 11 The time displayed on my Nokia Go is not correct. What should I do? If the time displayed in your Nokia Go is not correct, perform the following steps: 1. Open the Nokia Health Mate® to sync your Nokia Go.
- Page 12 More than 6 hours have passed since the last sync took place Manual syncing All you have to do to sync your data is open the Nokia Health Mate® app. When you do, your Nokia Go automatically syncs your data with the app. Make sure your Nokia Go is close enough to your iOS or Android device and that Bluetooth is enabled on your device or you will not be able to synchronize your data.
- Page 13 Alternatively, you can use a coin to do so. If you do so, be careful not to damage the groove. 3. Replace the battery. 4. Make sure the O-ring is still in place as it is what allows your Nokia Go to be waterproof. 5. Put the cover back in place.


